Guides
How to Connect to Home Hardware with EDI and Canada Cornhole (WooCommerce) for Dropship
In this guide, we will go through the steps to connect Canada Cornhole with Home Hardware for a standard dropship model. This will allow Canada Cornhole to continue to use WooComemrce for managing products and orders, while Home Hardware will communicate with EDI.
Our objective (Hendricks) is to provide a transaparent and fast onboarding process for Canada Cornhole to start selling Home Hardware products. EDI setup can be a black box, require a lot of unnessary sales call, and have a lot of human blockers - we will demostrate it does not have to be that way.
Although this guide uses, Canada Cornhole and Home Hardware as examples, the same steps can be applied to other EDI retailer and Suppliers using WooCommerce (or other platforms). If you are Canada Cornhole, follow it for connecting with Home Hardware. If you are Home Hardware, we can generate similar guides for other suppliers. If you are connecting to a non-EDI retailer, we have another product to make that easier.
Home Hardware Stores Ltd. is an independent home improvement retailer located in Canada. ome Hardware offers a wide selection of housewares, hand and power tools, plumbing and electrical materials, paint and painting supplies, sporting goods, automotive and farm items. Home Hardware locations also carry giftware and seasonal items, including lawn and garden products.
Canada Cornhole is premium seller of high quality Canadian made Cornhole Boards and Bags! They were establish in 2013.
For this guide, we will also focus on the Dropship business model. We should note that Home Hardware does not indicate publicly indicate they support dropship and that will need to be work out with them. We have a standard wholesale model here. For retailers, dropship can be extremely effective for making sure your customers get what they want without taking on the risk of holding inventory. For suppliers, dropship can be a great way to expand your reach and get your products in front of more customers. We often see our customers introducing this dropship model to test new products, make their product catalog more elastic for a changing world, or support programs like Buy Online, Pickup In Store, endless aisle, or other omnichannel strategies.
All steps below are for the supplier to follow. For the retailer, it follow your standard EDI onboarding process. Hendricks will act as translation layer between WooCommerce and EDI.
Step 1: Setup your Hendricks Account & Integration
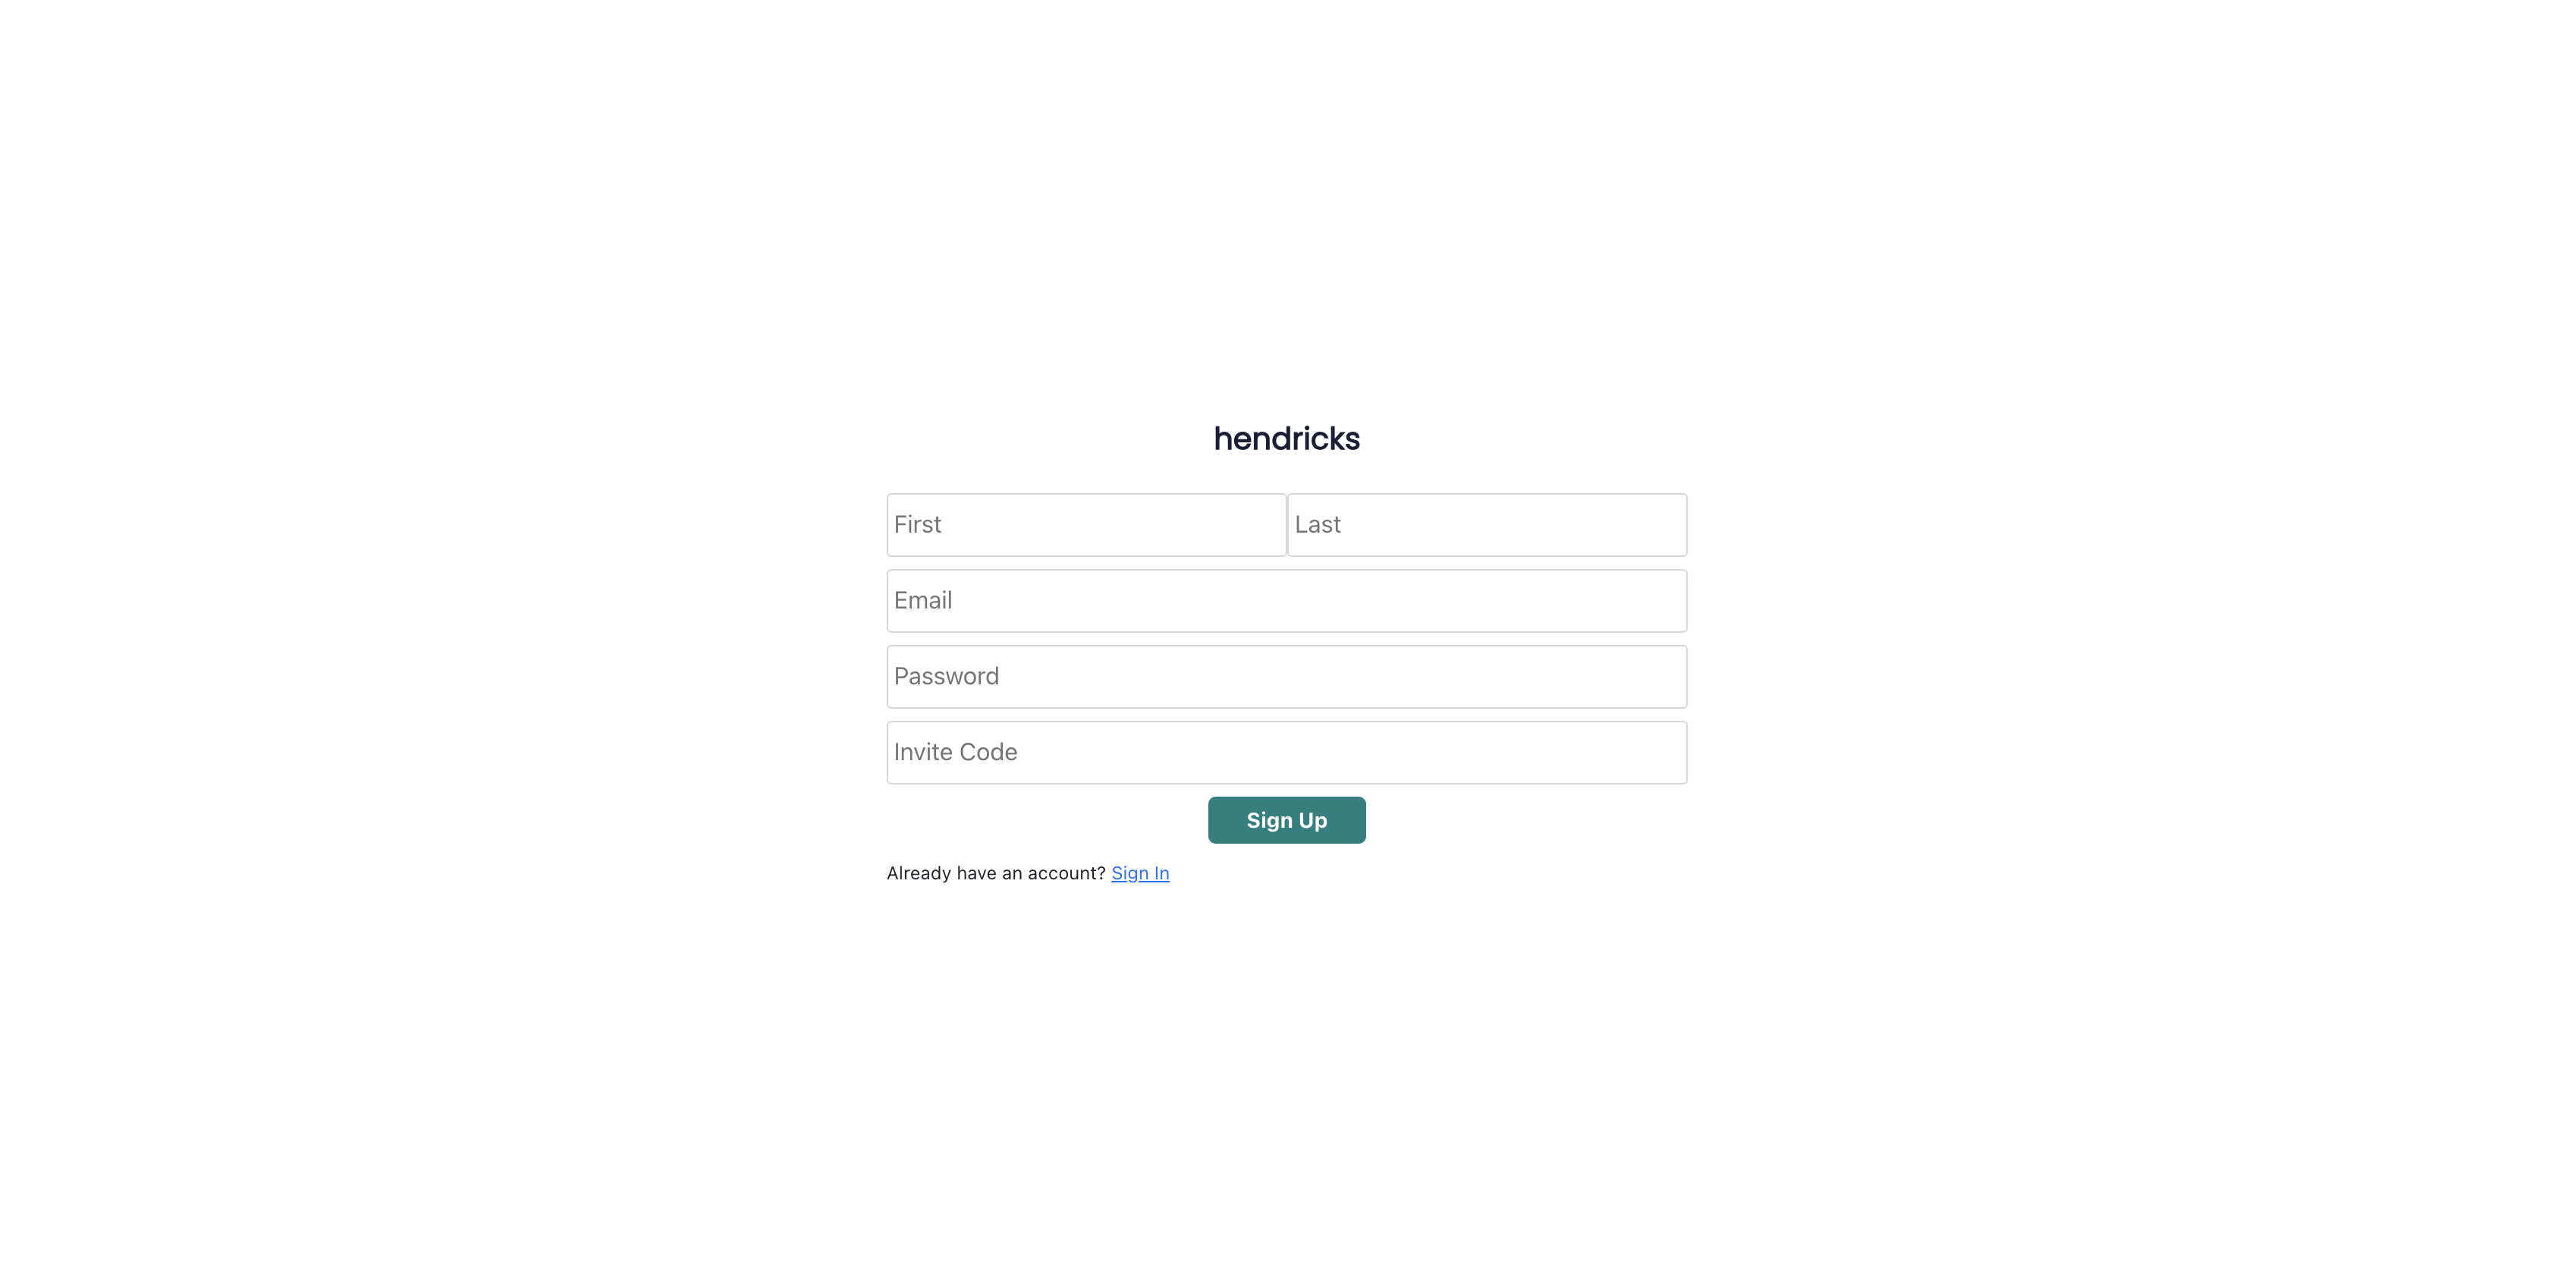
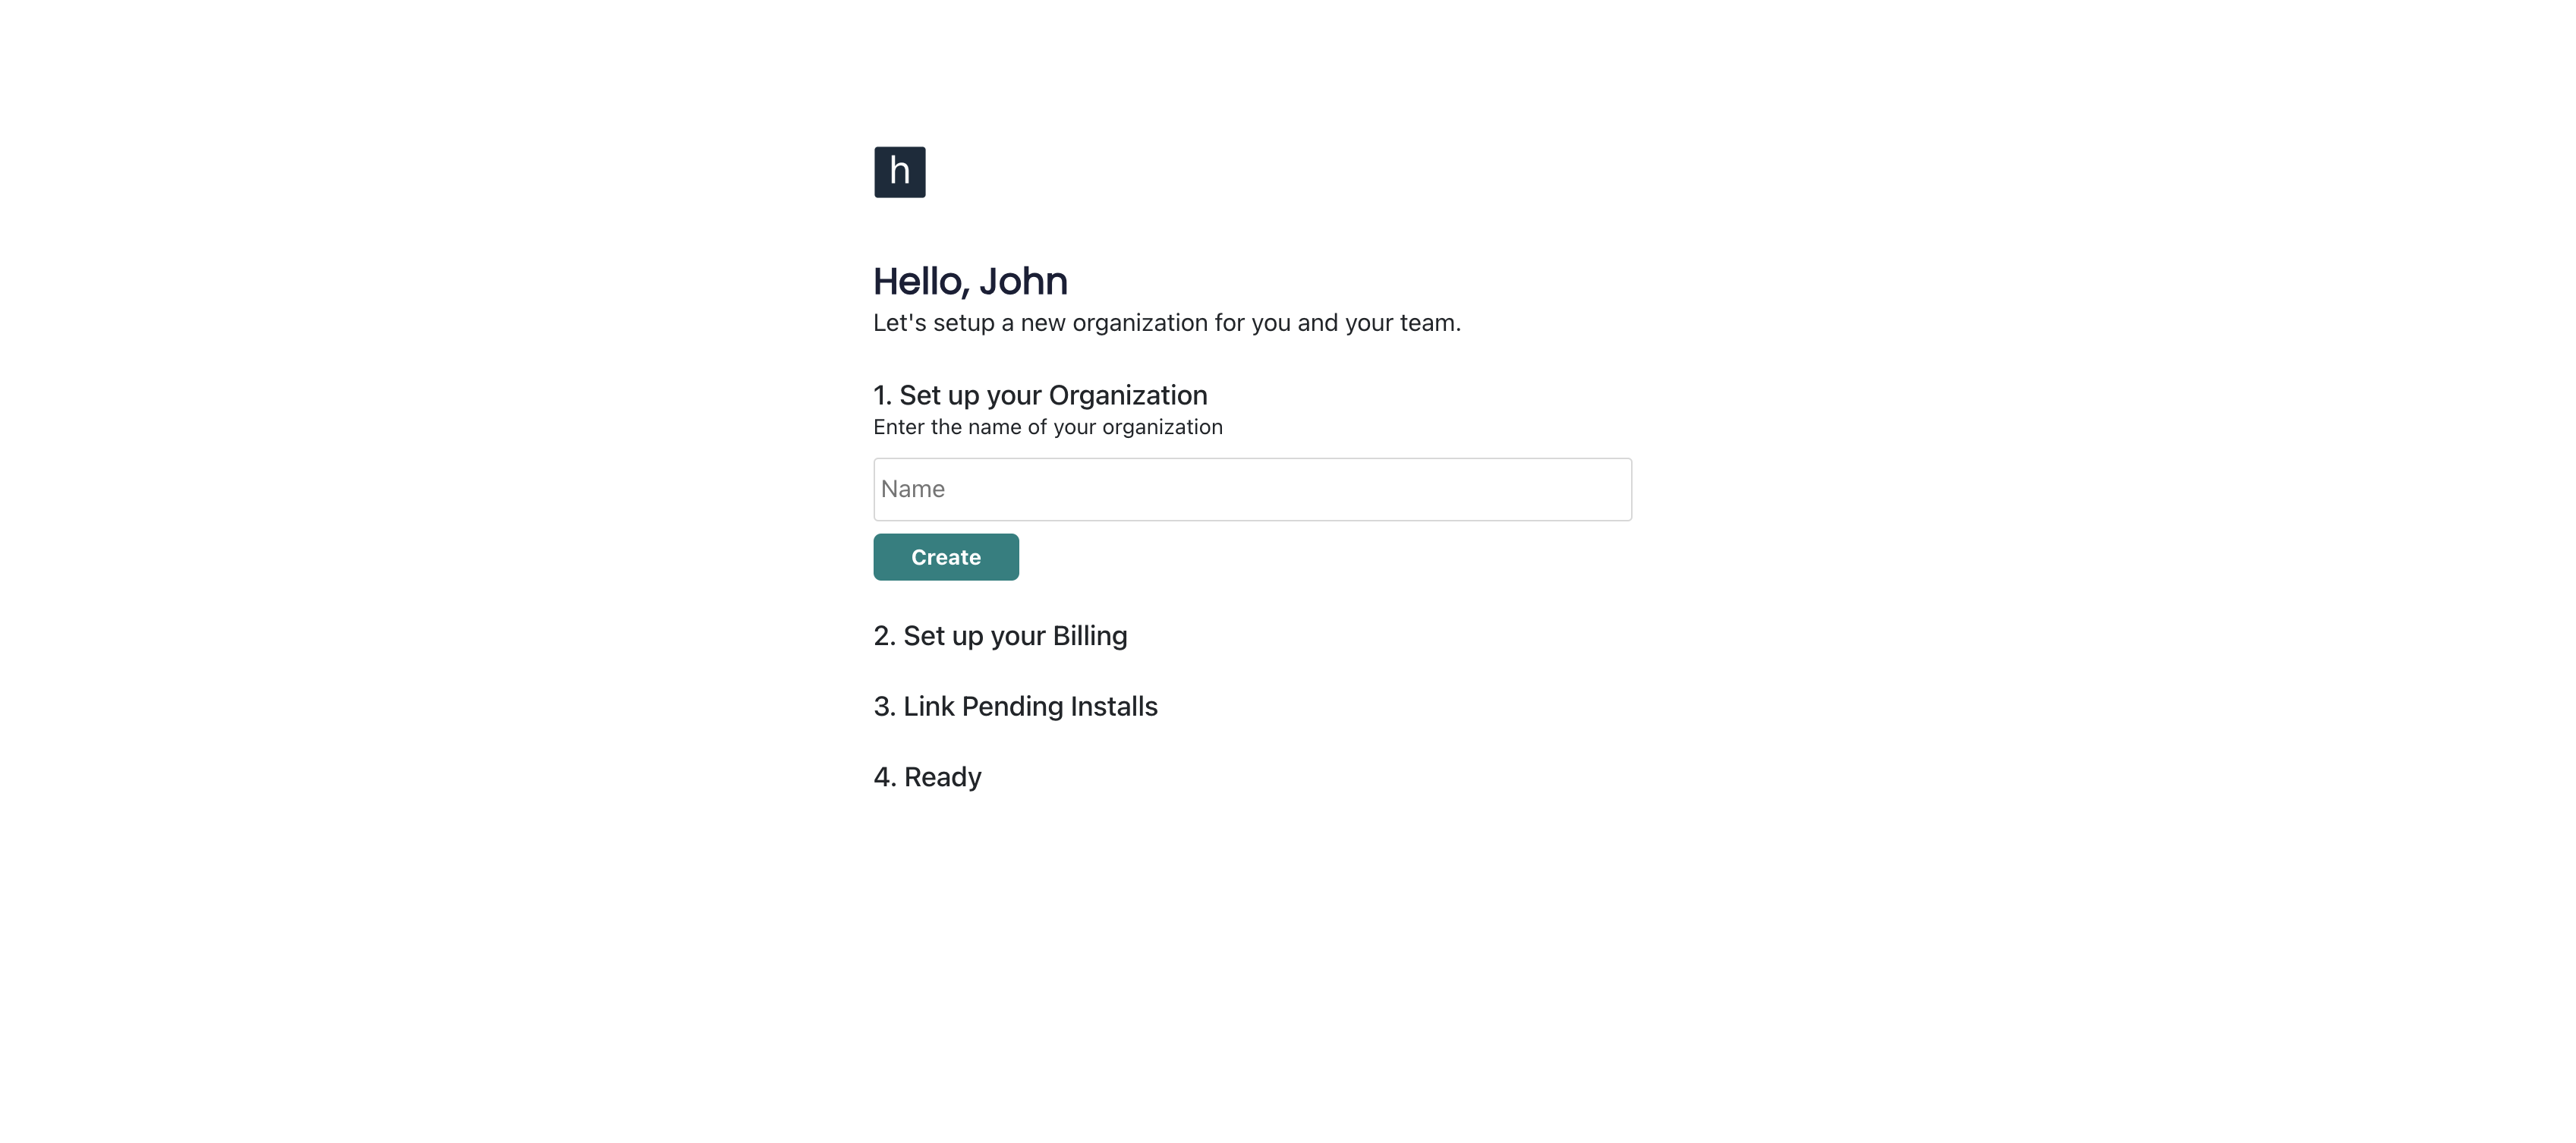
Sign up for a new Hendricks account. You will be redirected to an onboarding page that you can create an Organization that will represent your business.
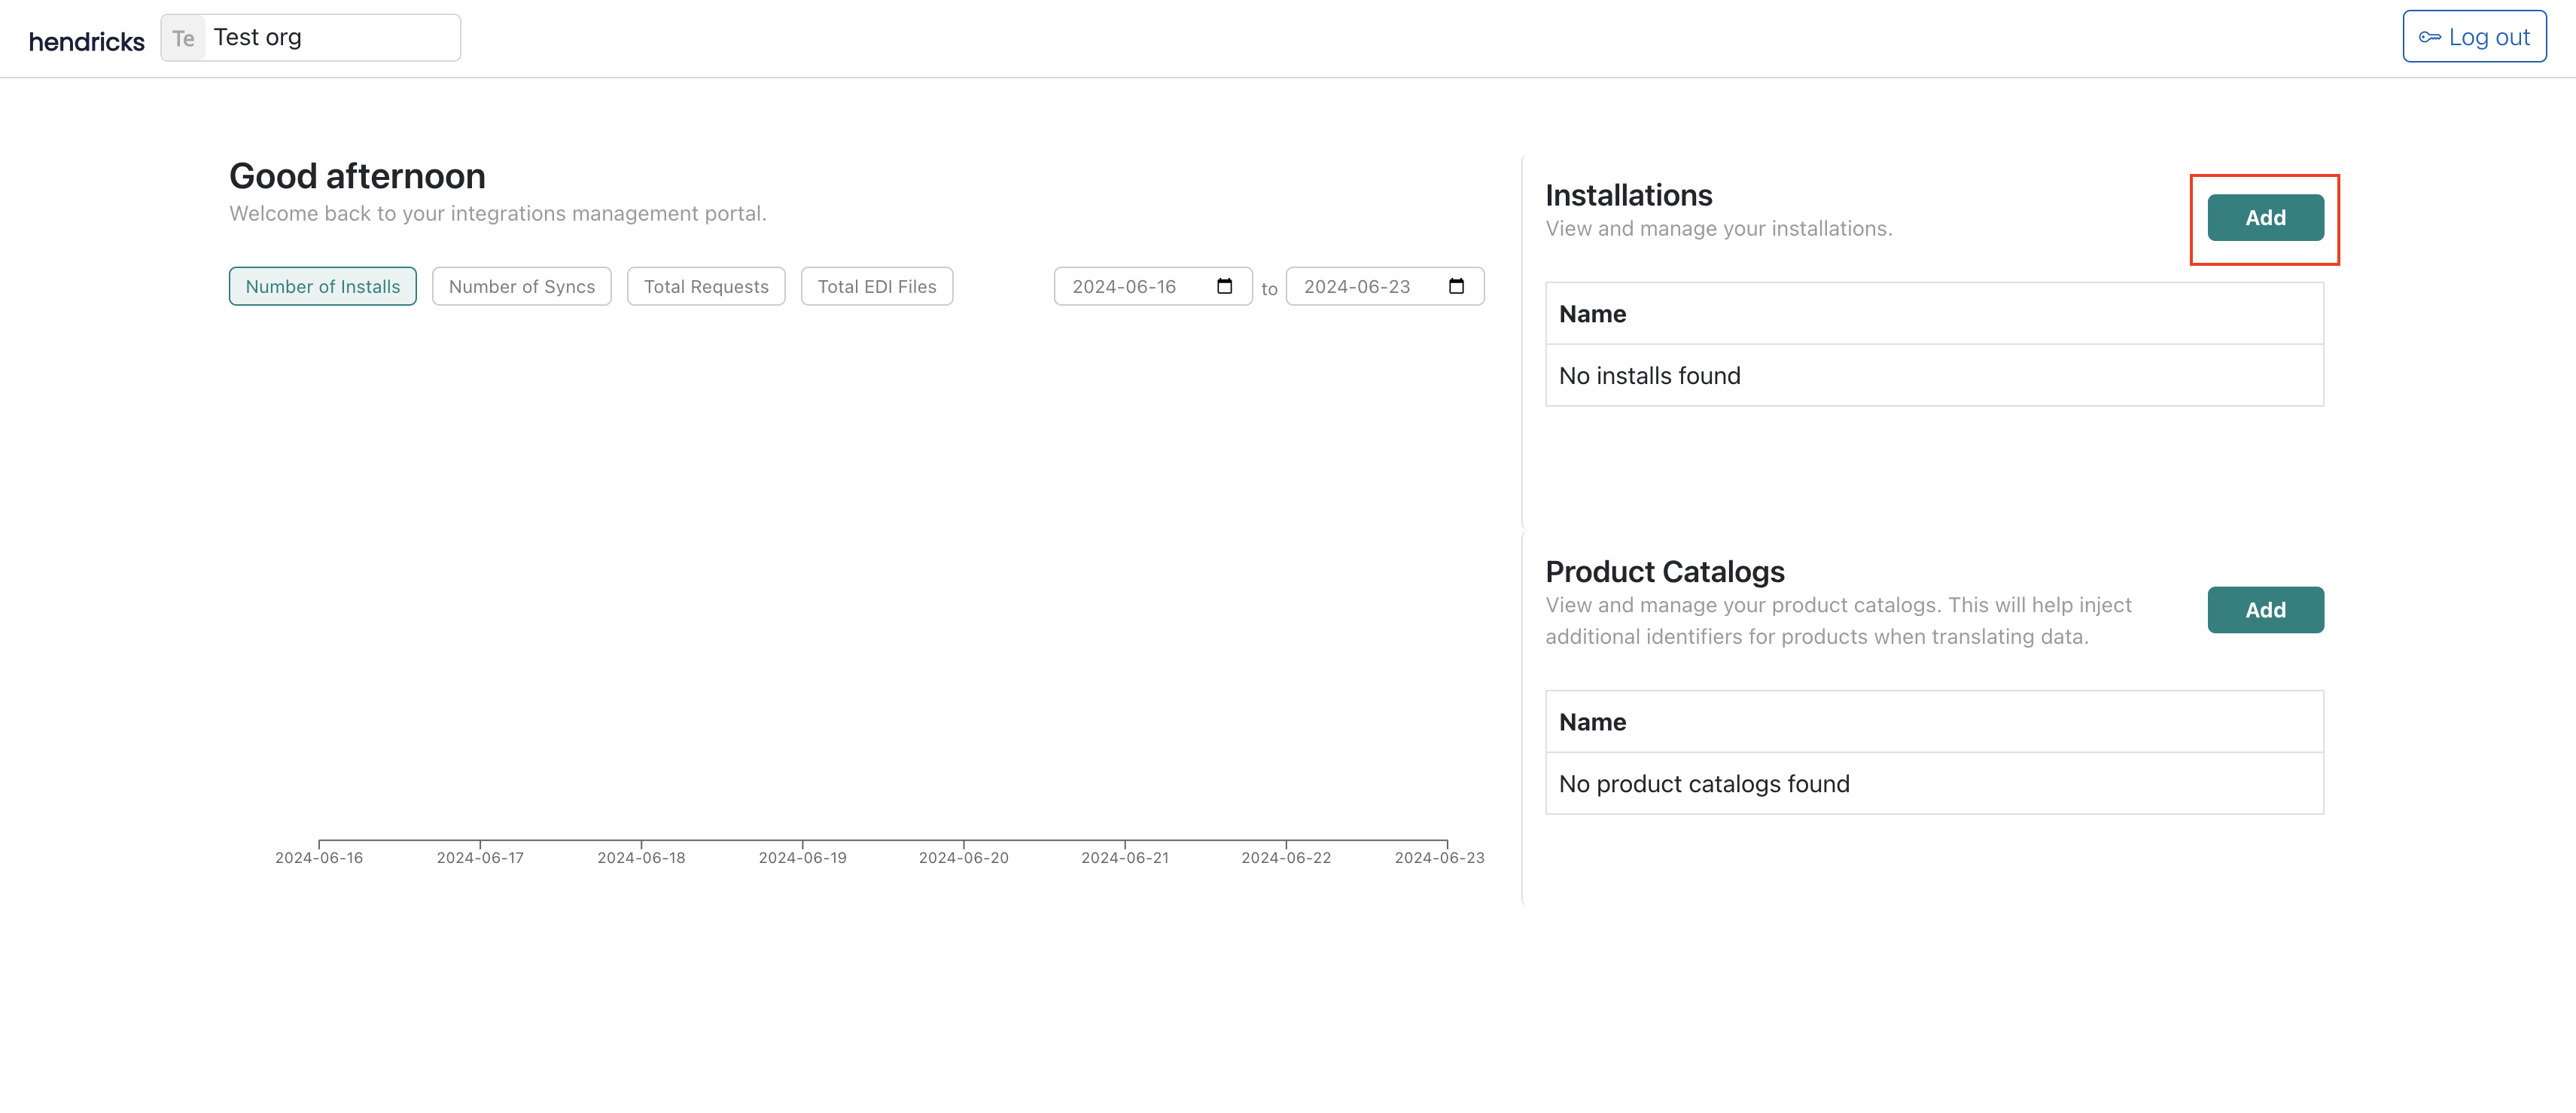
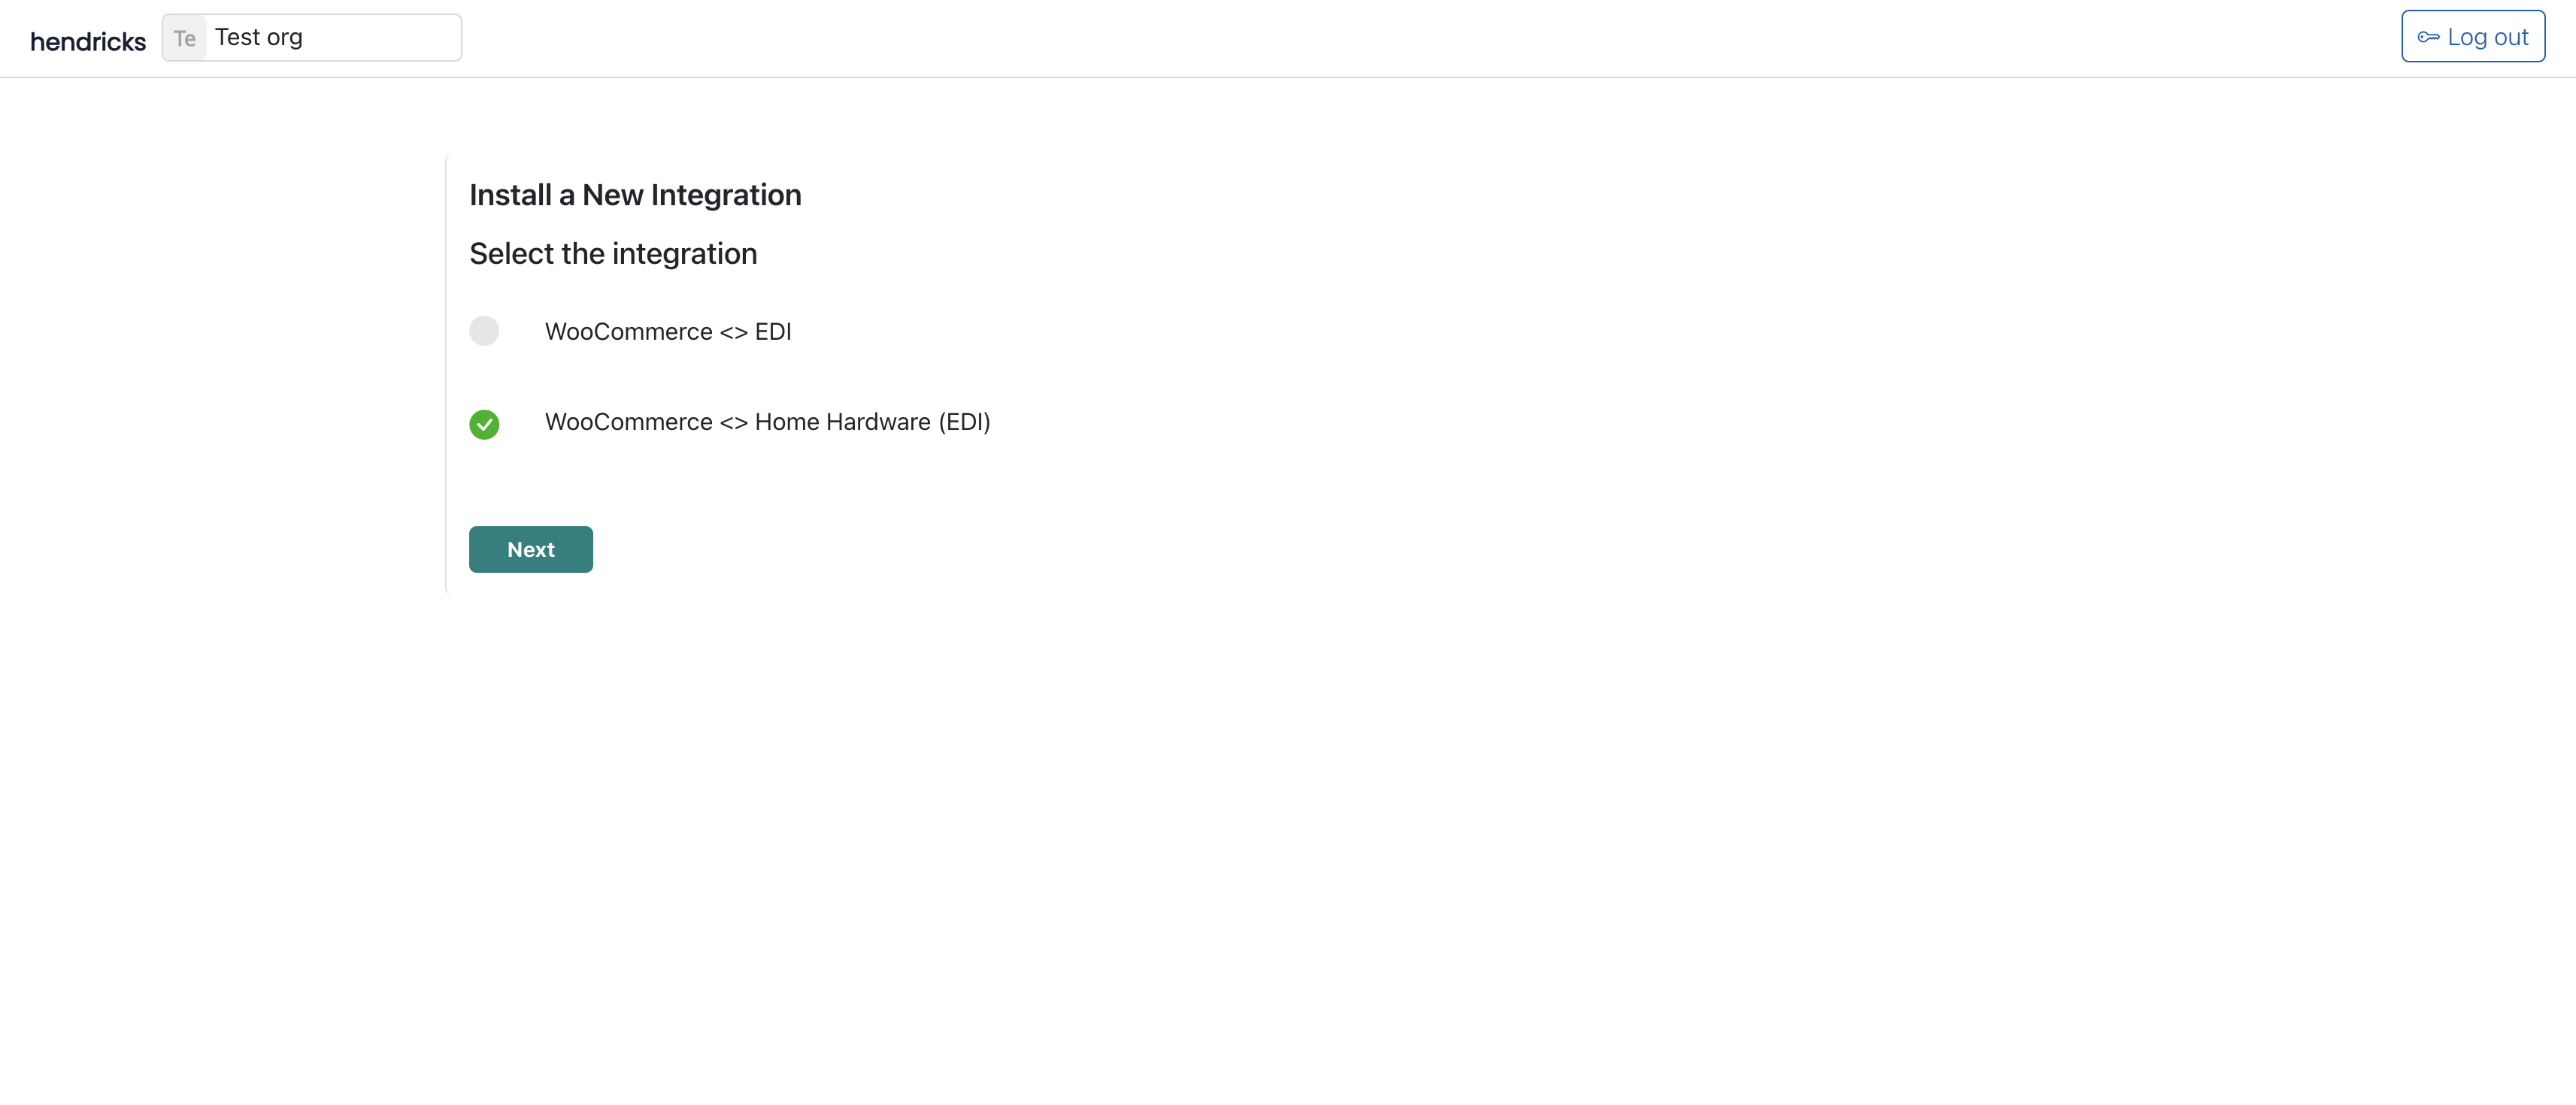
Once onboarding is completed, it should have created a new install for the "WooCommerce <> Home Hardware (EDI)" integration. We have done the heavily lifting of going through the Home Hardware EDI specifications and created a template for you to use.
Step 2: Understand What's Being Transacted
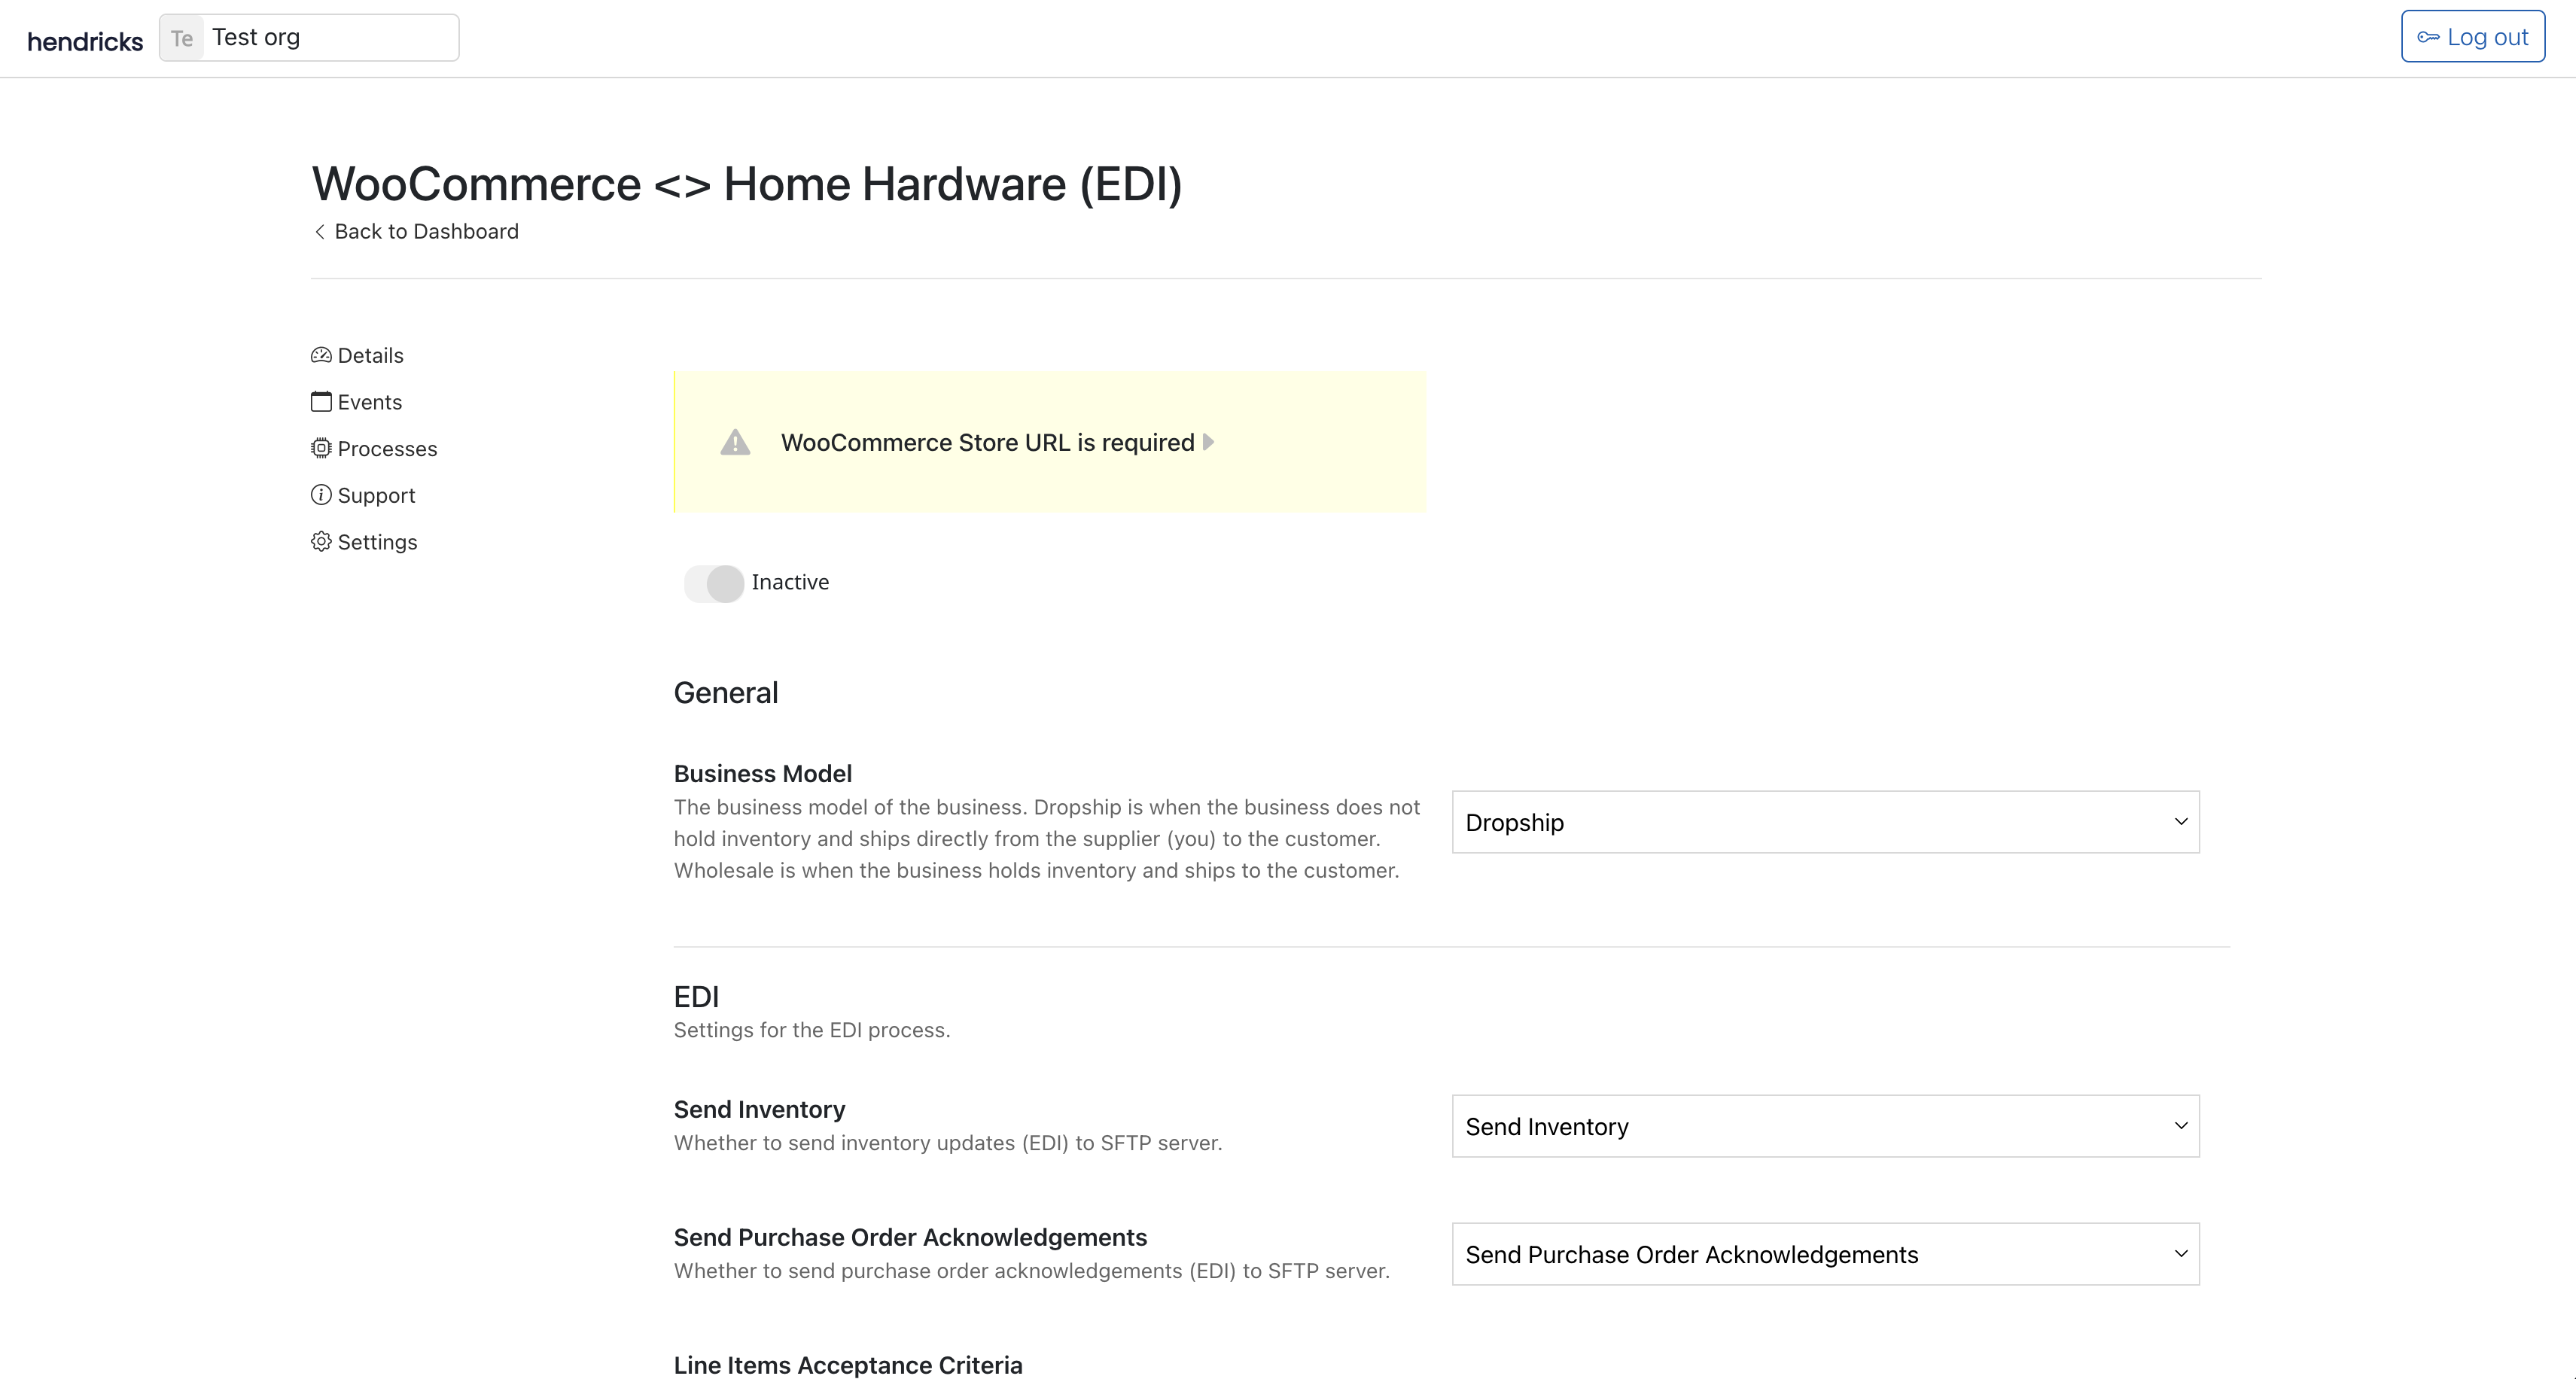
After clicking on the install, you should be able to see the welcome links, files, and settings for your install. It worth familiarizing yourself with the files and links. In terms of settings, you will need to review / adjust the EDI settings while onboarding with Home Hardware. For the WooCommerce settings, you can connect your store to Hendricks.
Step 3: Connect WooCommerce to Hendricks
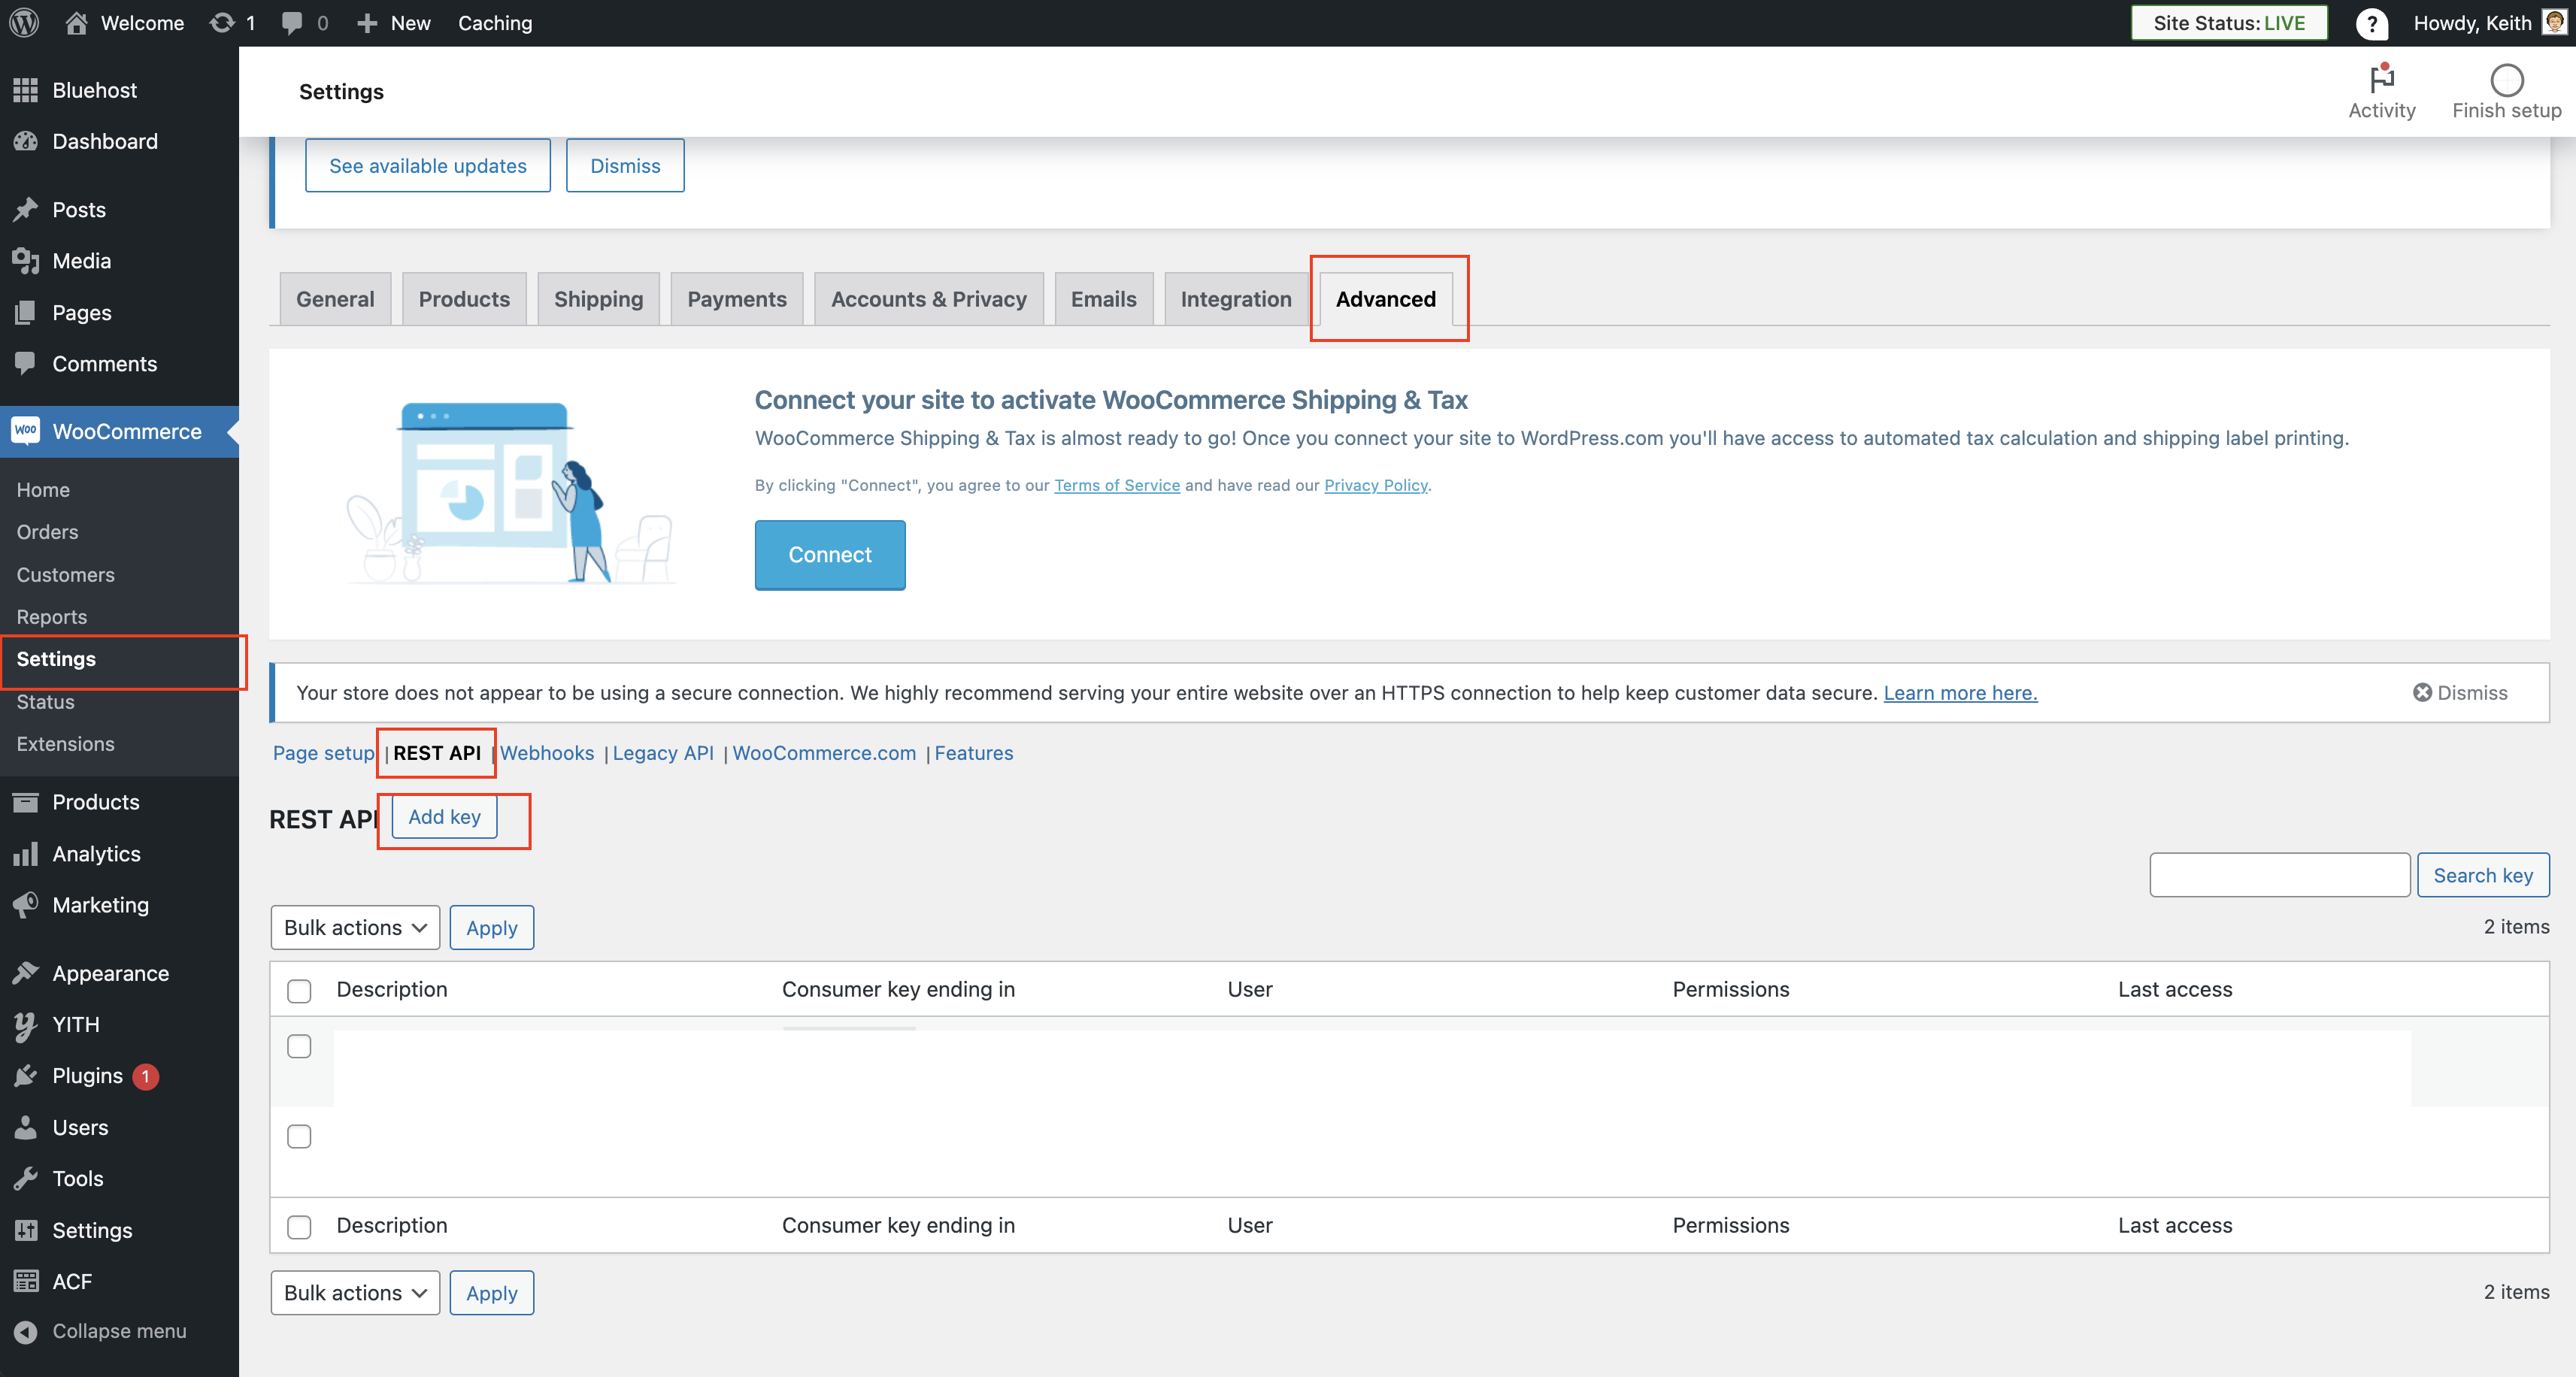
You will need to create an API key / access token for allowing us to create orders, and view products from your store. Within your WooCommerce store, go to "WooCommerce" > "Settings" > "Advanced" > "REST API". Click on "Add Key" and create a new key with "Read/Write" permissions.
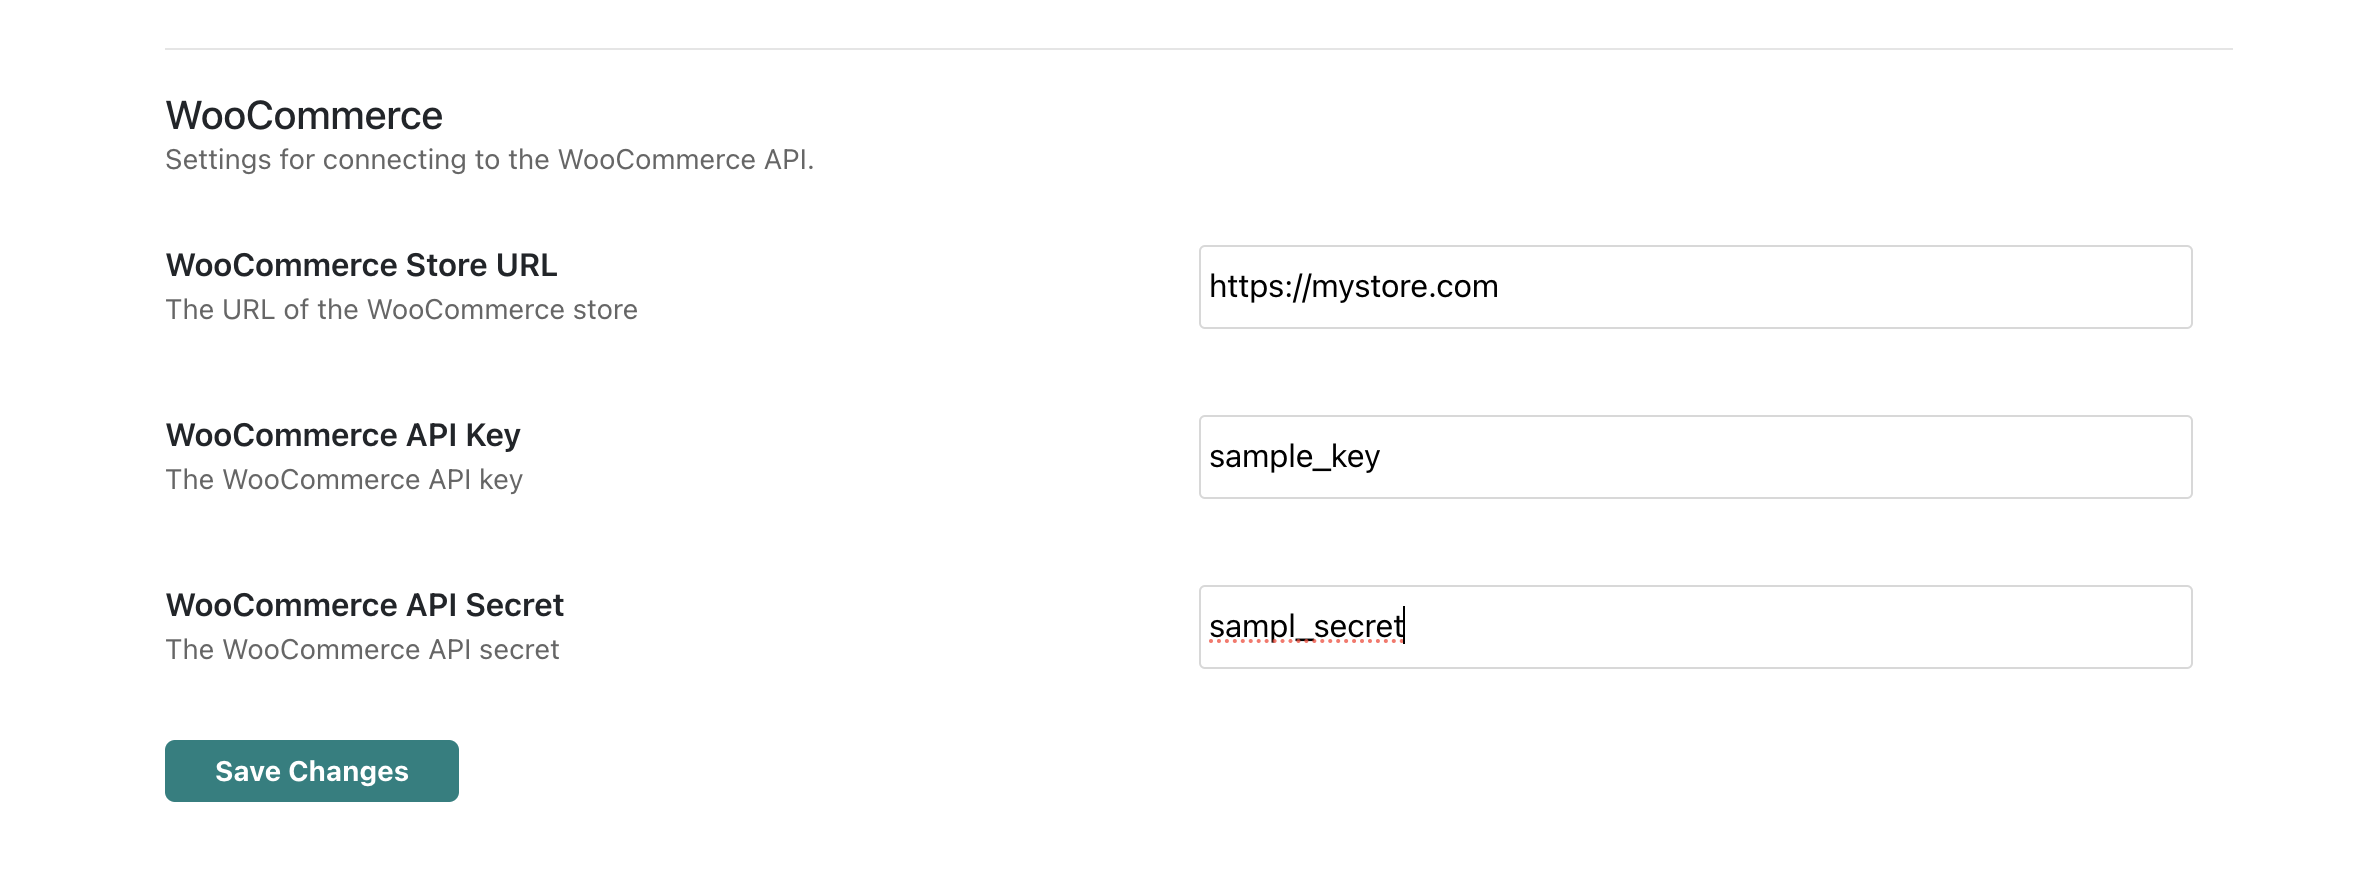
Paste the API key into the settings on the install page. You will need to provide the key, secret, and the URL for your store.
Step 4: Passing Files with SFTP
For transmitting EDI files, you need to use a file server such as SFTP to do so. During the Home Hardware onboarding process, you will be given SFTP credentials to use. You will need to set these credentials in the settings page.
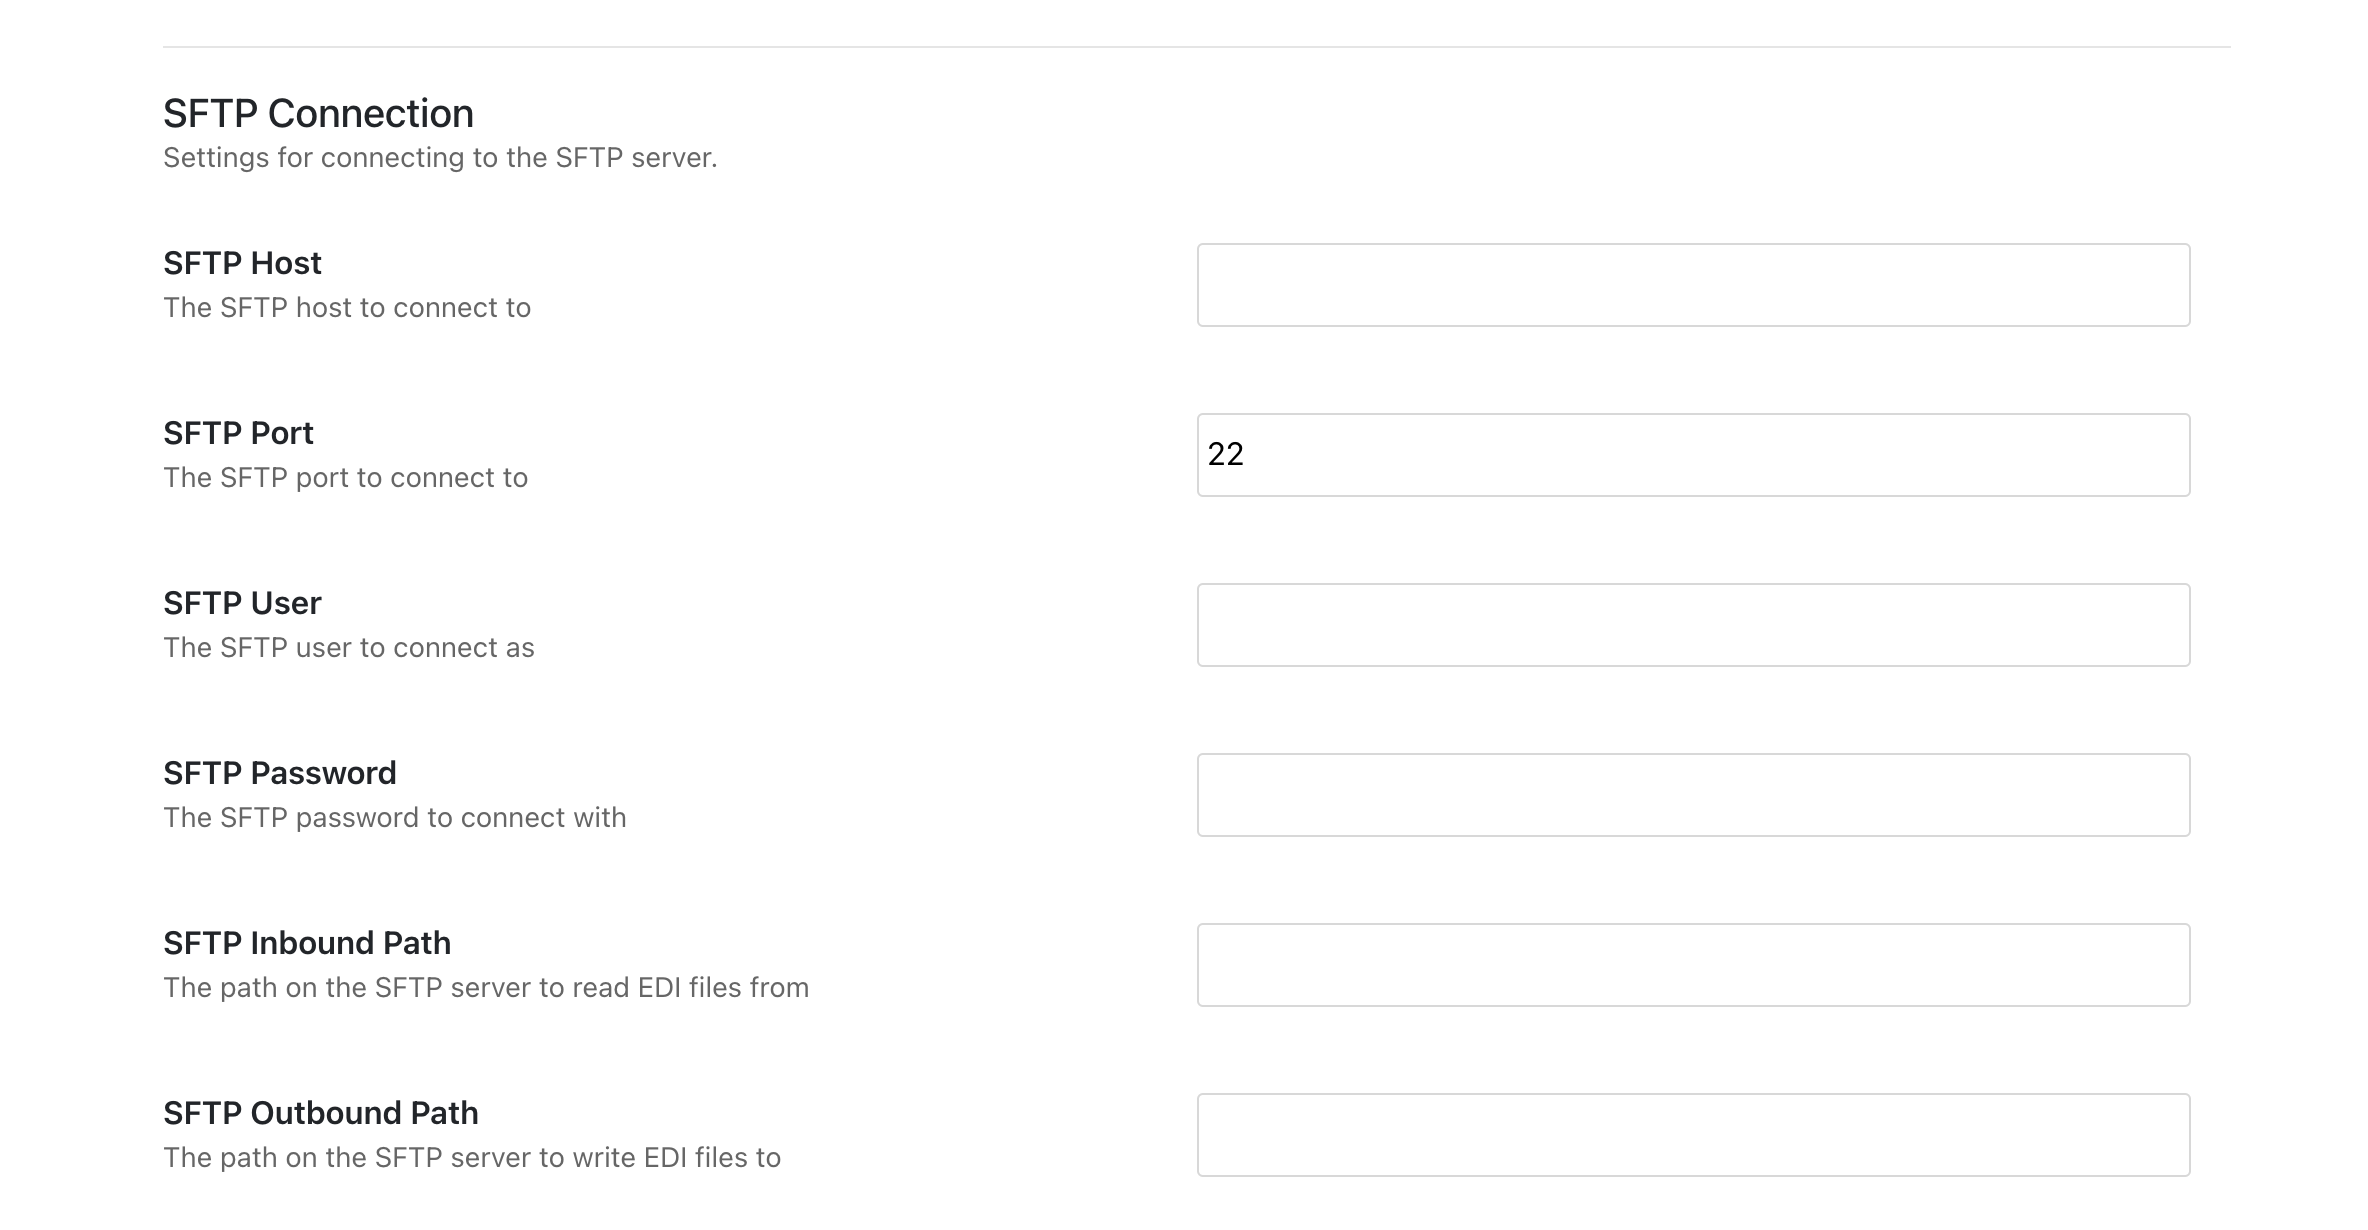
As you save the credentials, the system will attempt to connect to the SFTP server. If it is successful, you will see a success message. If it fails, you will see an error message.
Step 5: Understanding the Processes for Home Hardware
The files that are being transmitted are:
- Purchase Order (850) :: This maps to the WooCommerce Order, and represents Home Hardware submitting an order.
- Purchase Order Acknowledgement (855) :: This is the acknowledgement that the order, and the quantities accepted are.
- Advance Ship Notice (856) :: Information about the shipment, including tracking numbers, and quantities shipped.
- Inventory Update (846) :: Information about the inventory levels and available products / variations.
The Purchase Order (850) is a received file, and can be received at any point. The Purchase Order Acknowledgement (855) is sent immediately after successfully creating the order on WooCommerce. The Advance Ship Notice (856) is sent when new shipping information is added to the order. We use this plugin to add tracking numbers to the order, and you must install this plugin. The Inventory Update (846) is sent every 15 minutes, and is used to update the inventory levels on WooCommerce.
Step 6: Adding Additional Product Information
Home Hardware uses UPC, buyer number, and vendor number to track specific variations. Each variation requires to have this information before transmitting the information in the Inventory Update (846) file. Adding additional attributes (especially specific to Home Hardware only) is easily supported in WooCommerce.
We have solved this by allowing to upload (and edit) product catalogs through CSV files. On your dashboard, you should be able to edit or create a new product catalog.
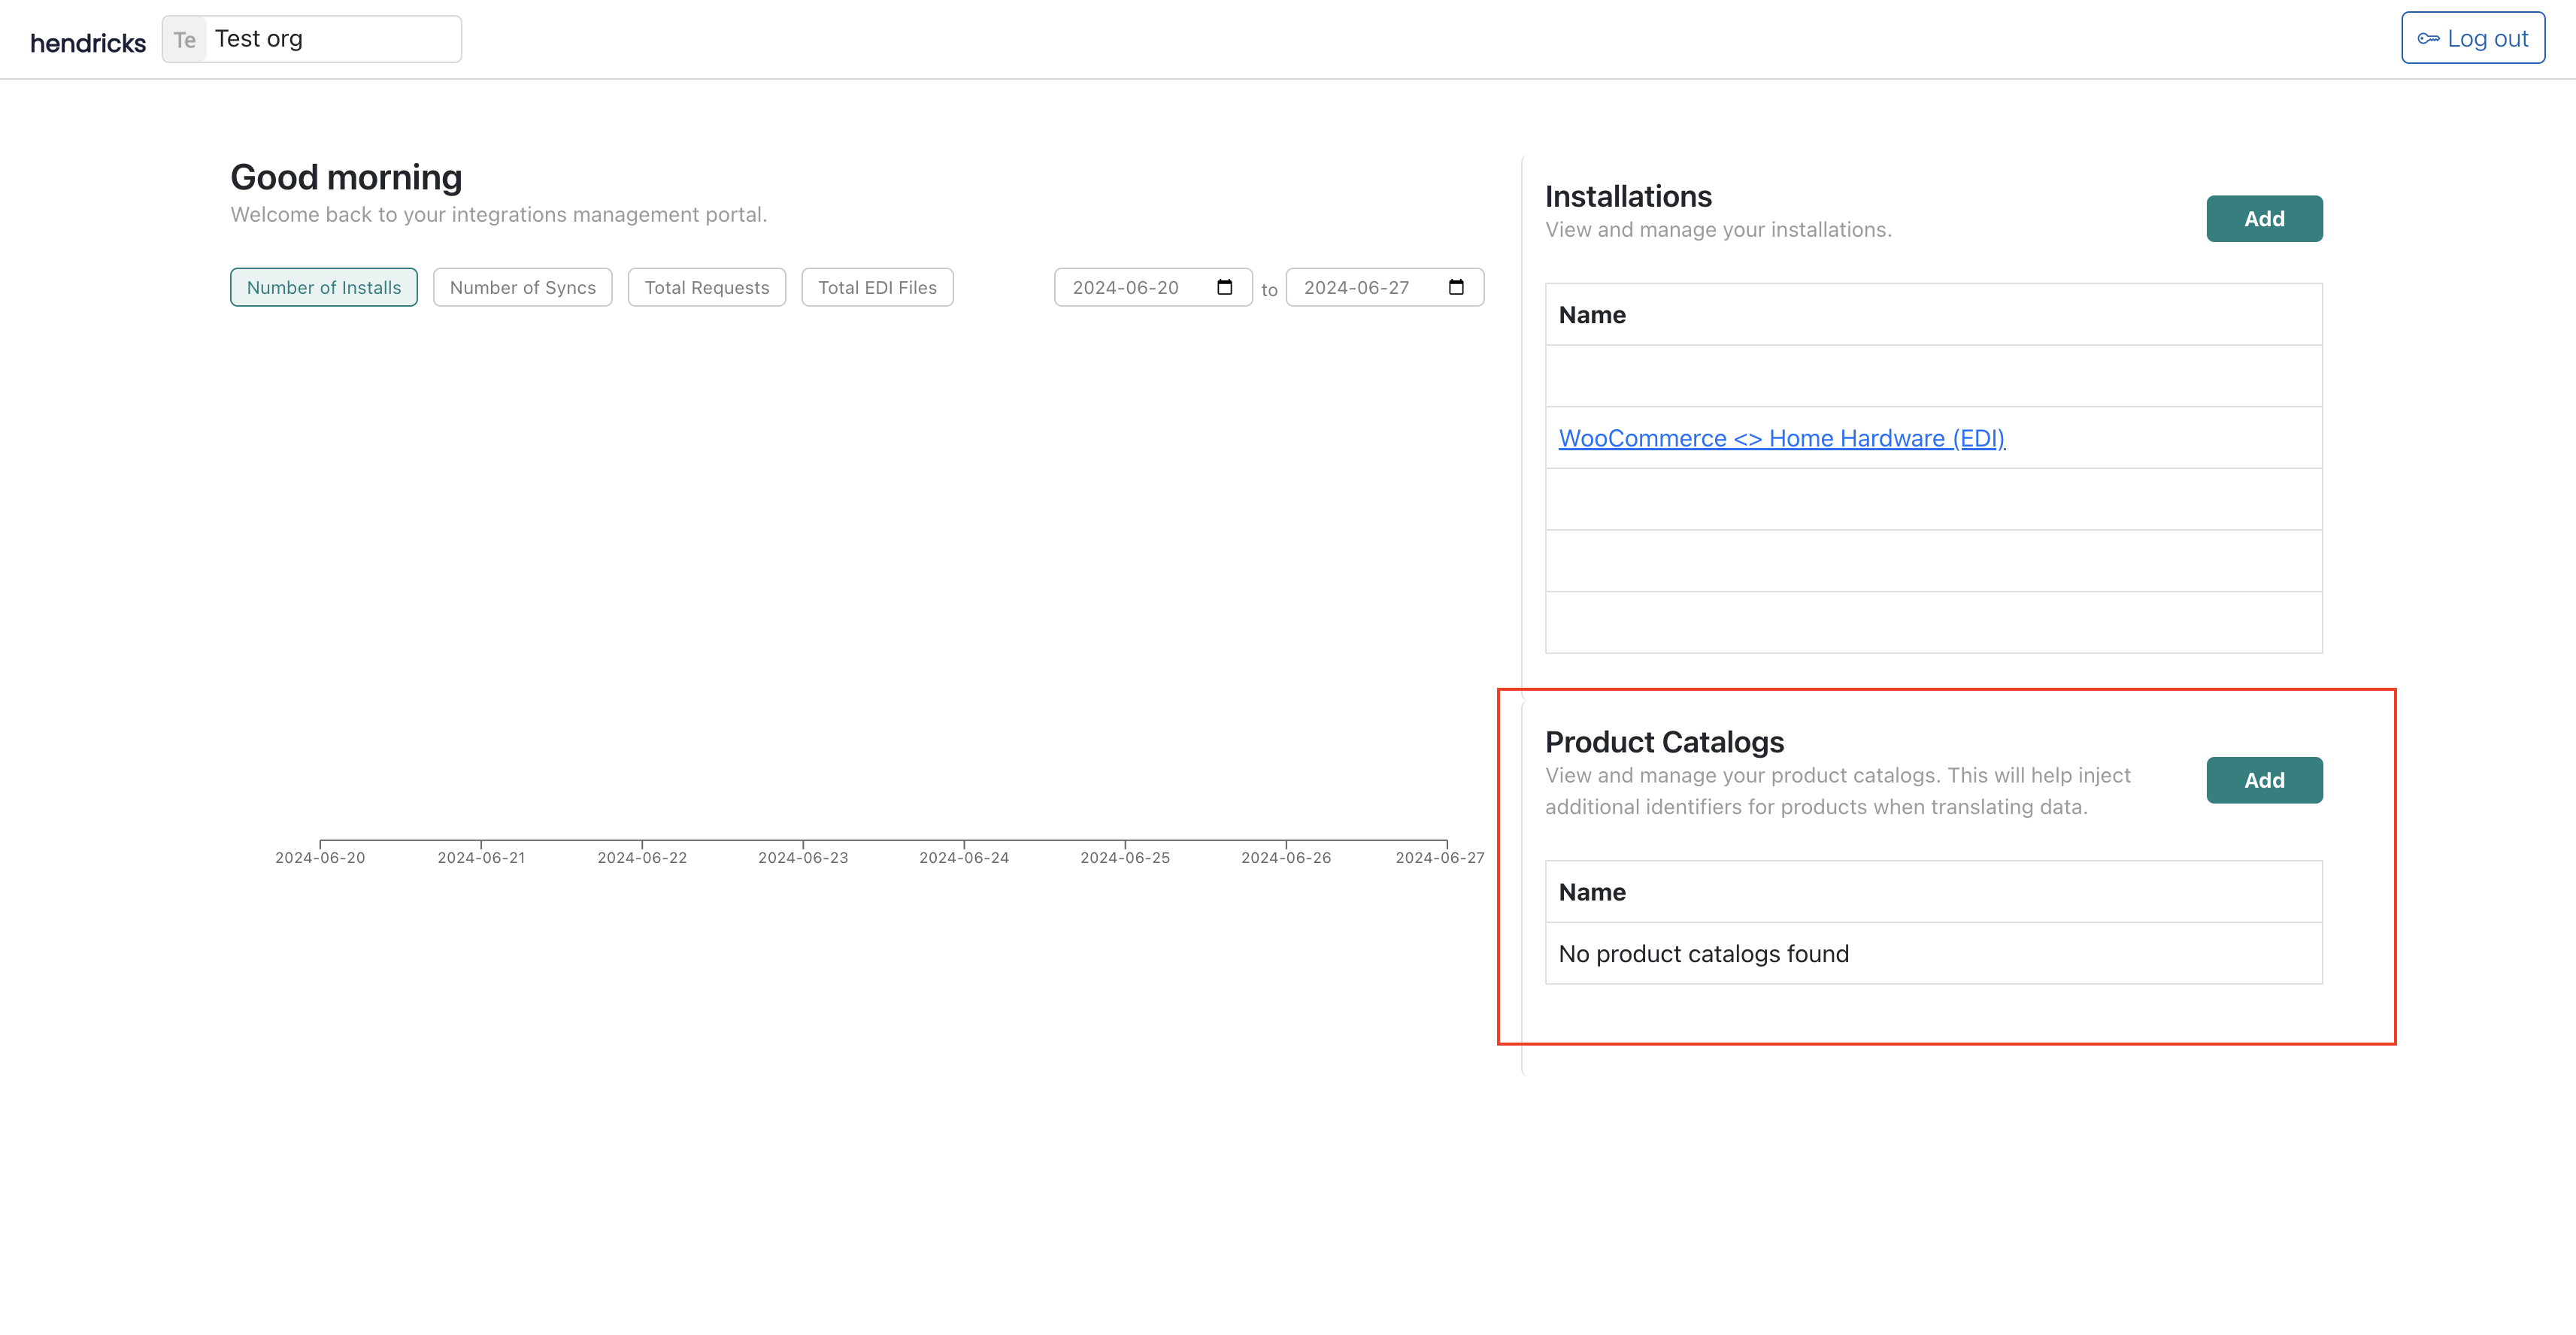
Give it a name like "Home Hardware". Hit "Create" and it will create a new catalog. You can see the download CSV button which will allow you to download the current catalog and the the structure.
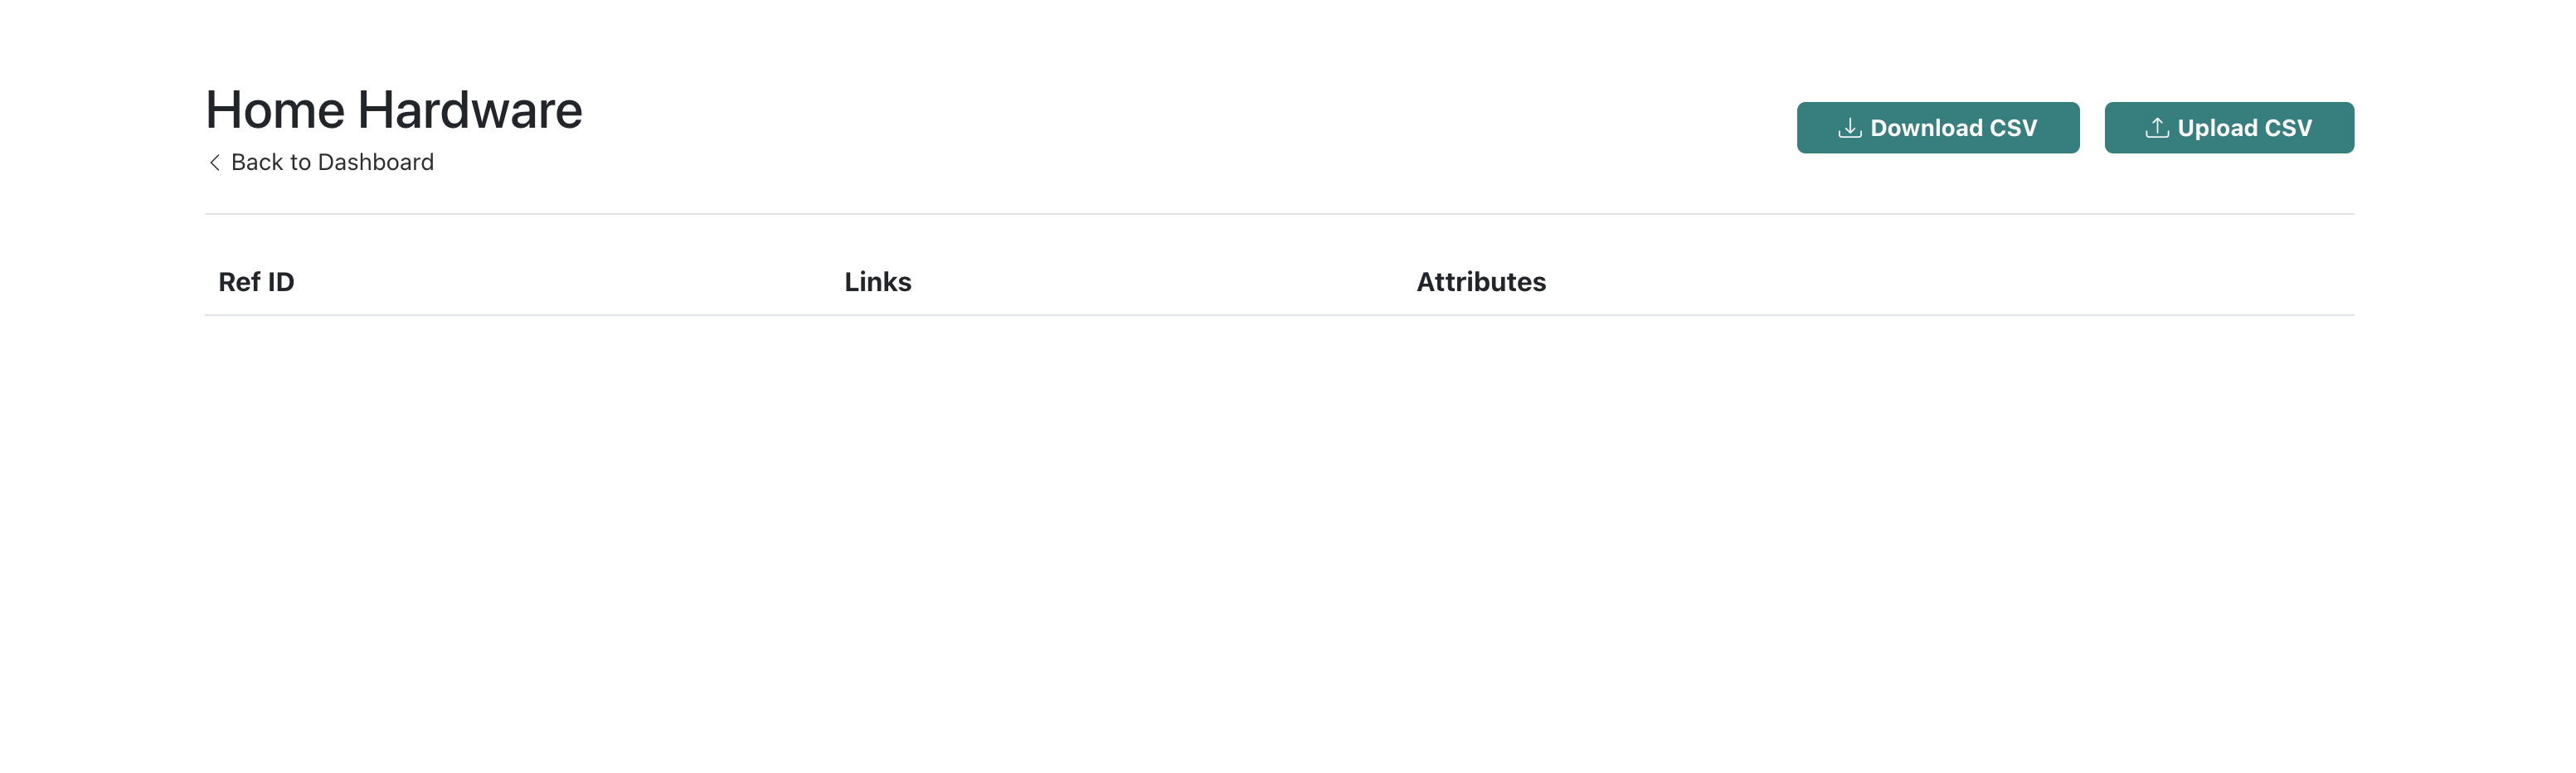
The structure is:
1refId,action,links,identifiers
refIdis how you want to reference WooCommerce variations. It must be unique per variation (and product). Most use SKUs, but you could also use "id" which is provided by WooCommerce. However, if the product or variation is ever deleted and re-created the id will change.actionis either "upsert" or "delete". This way if a variation is in the uploaded CSV, it is not modified. The CSV contains changes to your product catalog.linksis a semi-colon delimited list of URLs. This can be helpful for linking out to your WooCommerce product page. You can also leave it empty.identifiersevery follow on column which puts the key first followed by the value. See the example below. This will allow you to inject additional columns at time of processing. It will overwrite WooCommerce attributes if they are the same.
An example of a CSV file is:
1 2 3refId,action,links,identifiers sku1,upsert,,upc,123456789012,buyerNumber,1234567890,vendorNumber,1234567890 sku2,upsert,,upc,123456789013,buyerNumber,1234567891,vendorNumber,1234567891
You would fill out this entire CSV file with your product catalog. Once you are done, you can upload the file to the product catalog page.

Step 7: Testing with Home Hardware
Next, you enter into the testing phase. This will take some time as we will need to coordinate with Home Hardware to go through all the files. We can help you with this process, be included in the calls, and help answer any questions throughout the process.
Step 8: Go Live
That's it! You're ready to go live. You can now start receiving orders from Home Hardware and fulfilling them through your WooCommerce store.
Conclusion
That's it! Most EDI providers will promise you the world before onboarding you to a piece of software written in 1995. We believe that EDI can be simple and transparent. We hope this guide has shown you how easy it can be to connect your WooCommerce store to Home Hardware. If you have any questions, please reach out to us under the Support tab on your dashboard.