Guides
Connect Two Shopify Stores as Trading Partners
In this guide, we will step through the process of connecting two Shopify stores as trading partners. This will allow you to share inventory, orders, pricing, products, and other data between the two stores. Thisyou is used when you want to connect with trading partners, and sell their products on your store, or vice versa.
Both you and your trading partners will connect your Shopify stores (or other platforms such as WooCommerce, Big Commerce, or EDI). We will sync the data depending on your role. If you are providing products, you are the supplier. Other terms are brands, vendors, or manufacturers. If you are selling products, you are the retailer. Other terms are merchants, buyer, or resellers.
Steps 2 - 10 is for the supplier. Steps 2 - 5, 11 - 12 is for the retailer.
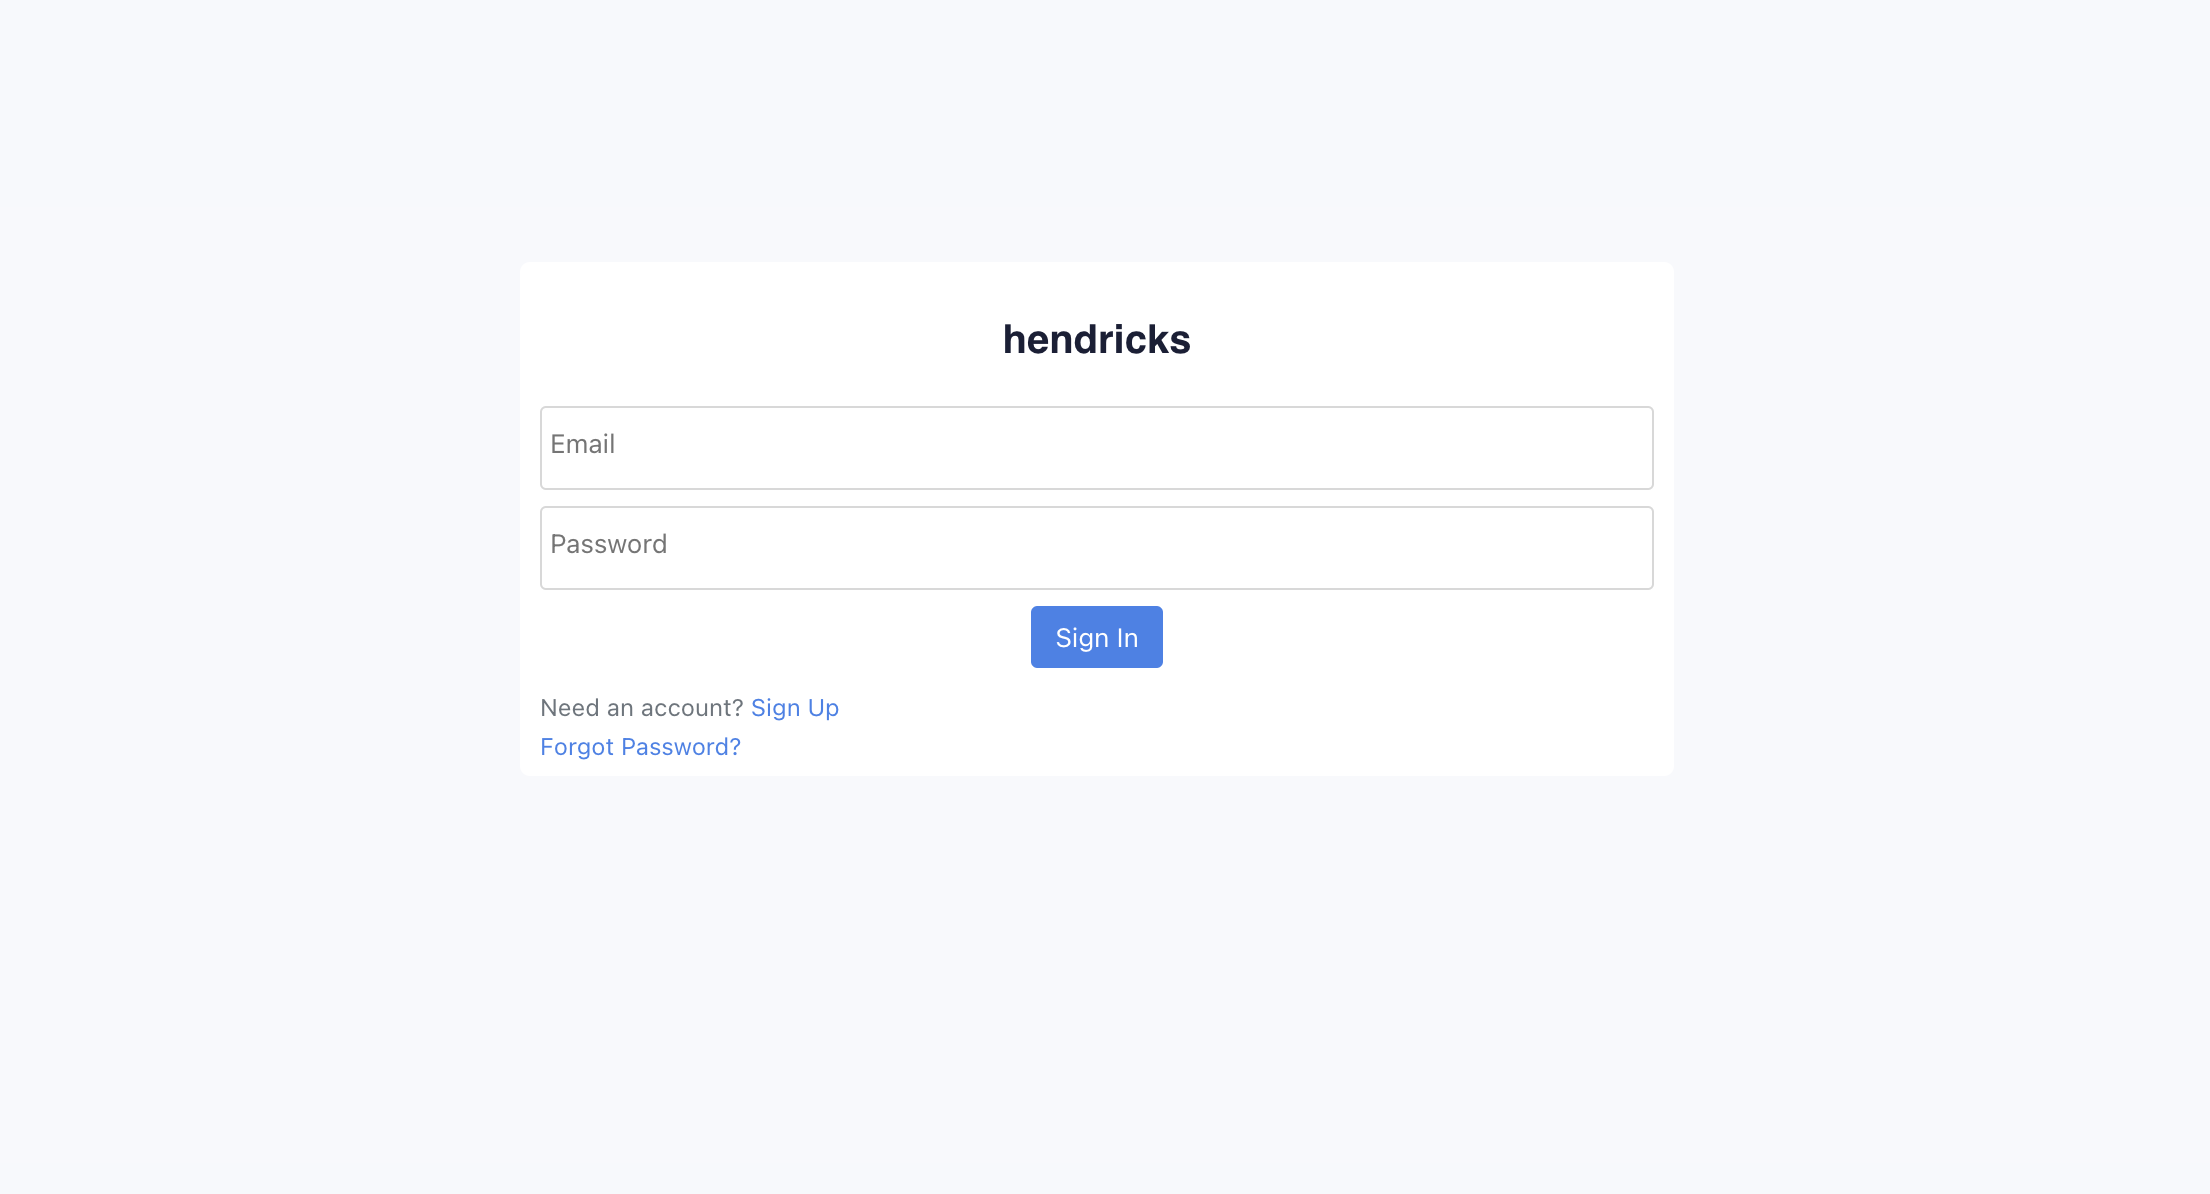
Step 1: Sign Up for Hendricks
Navigate over to Hendricks, and sign up for a new account. Hendricks is a platform that allows you to connect with trading partners, and share data between your stores.
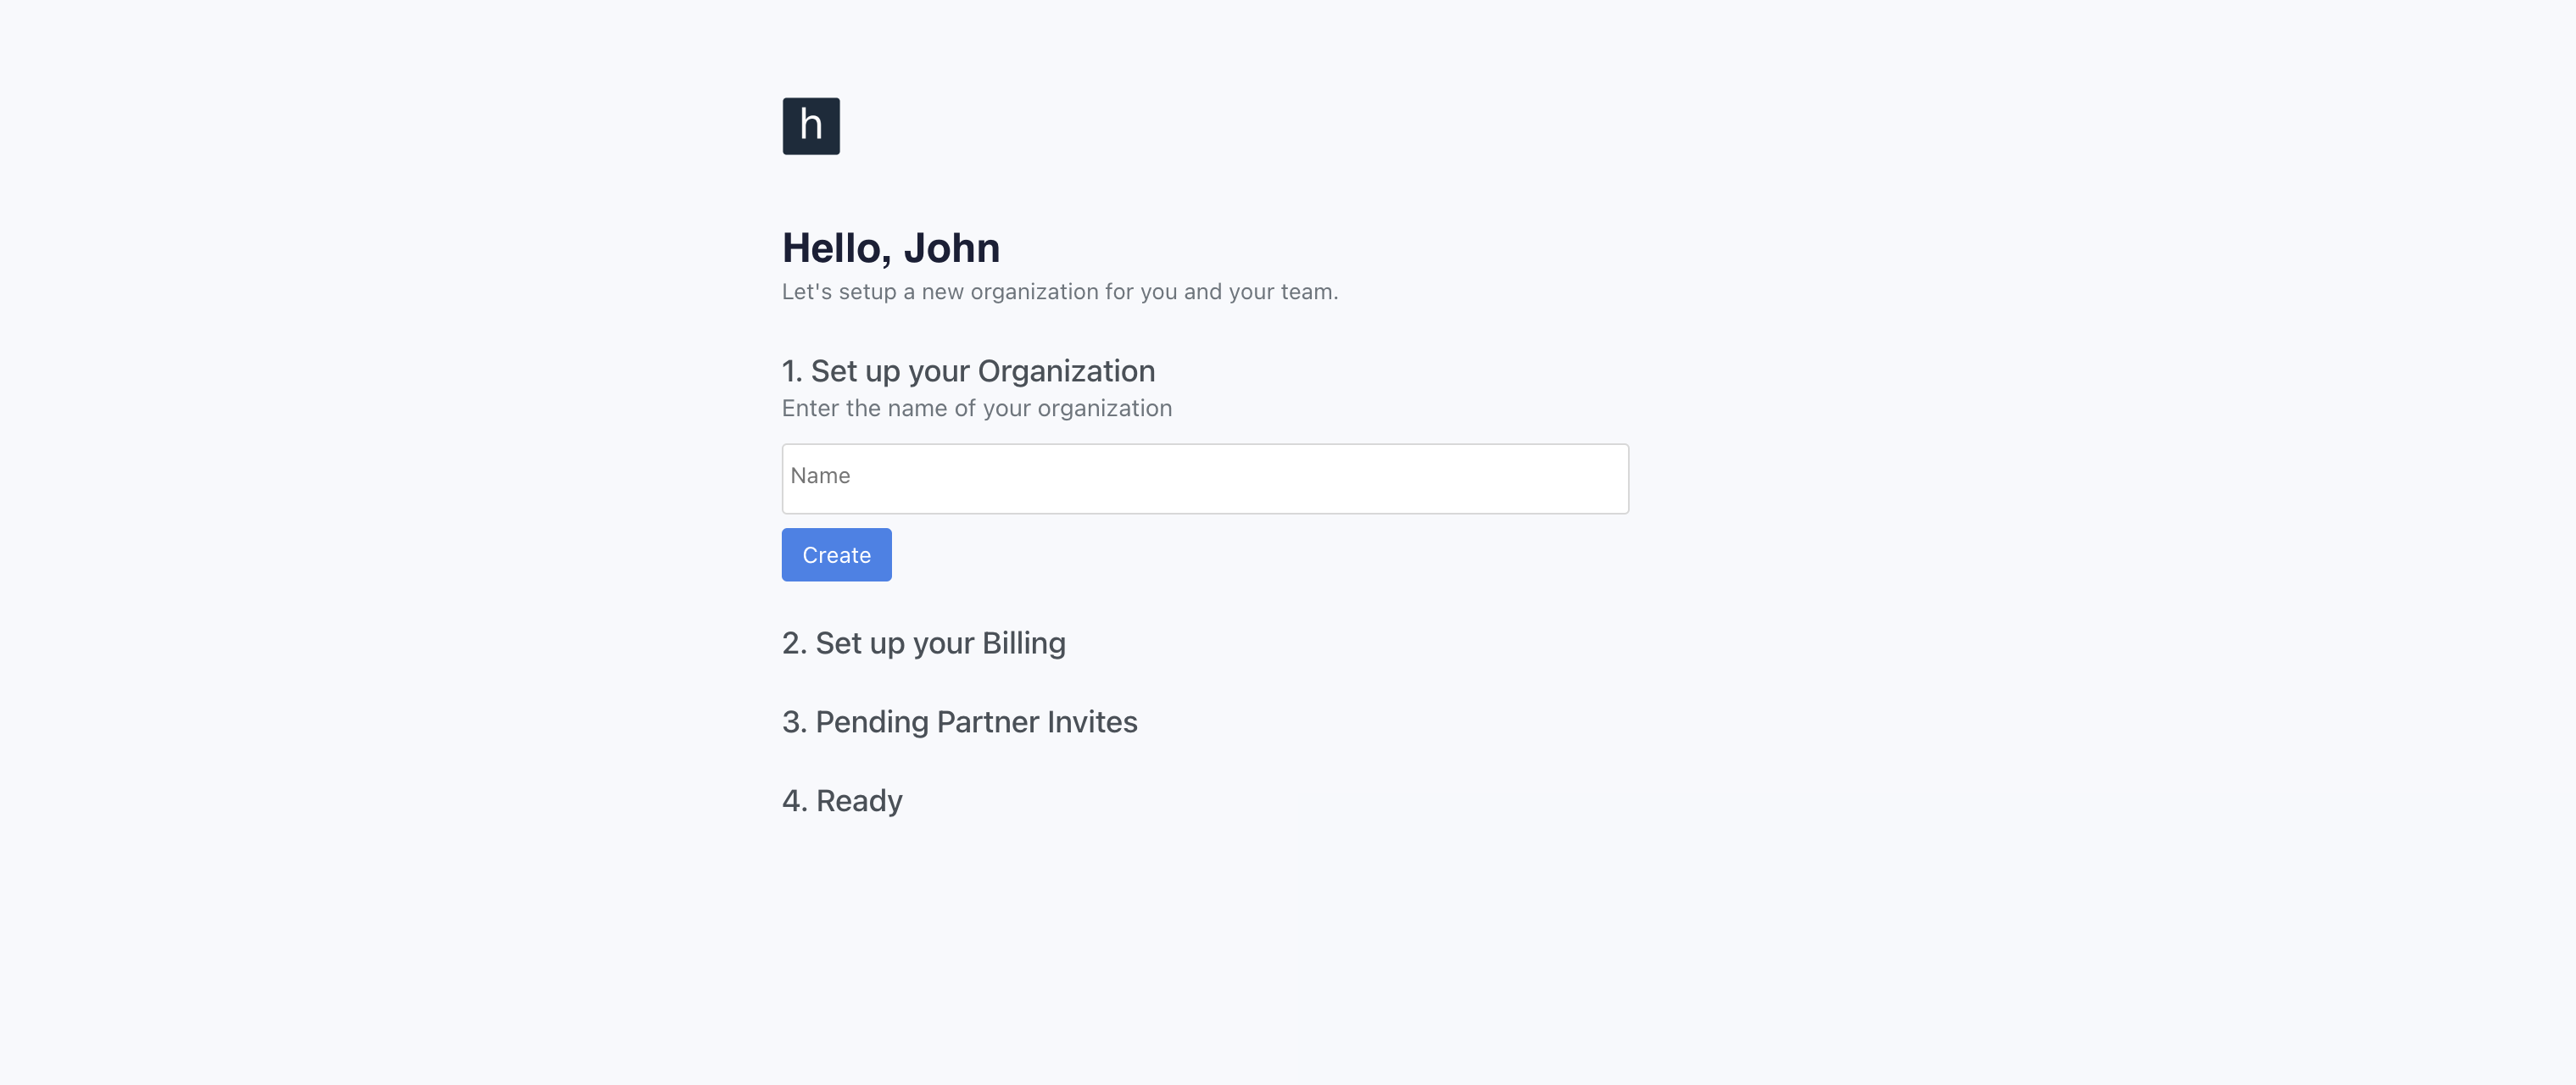
Step 2: Setup your Organization
You will be prompted to create a new organization. This is the entity that will represent your store. You can create multiple organizations if you have multiple stores. You can invite multiple team members to your organization, and assign them roles.
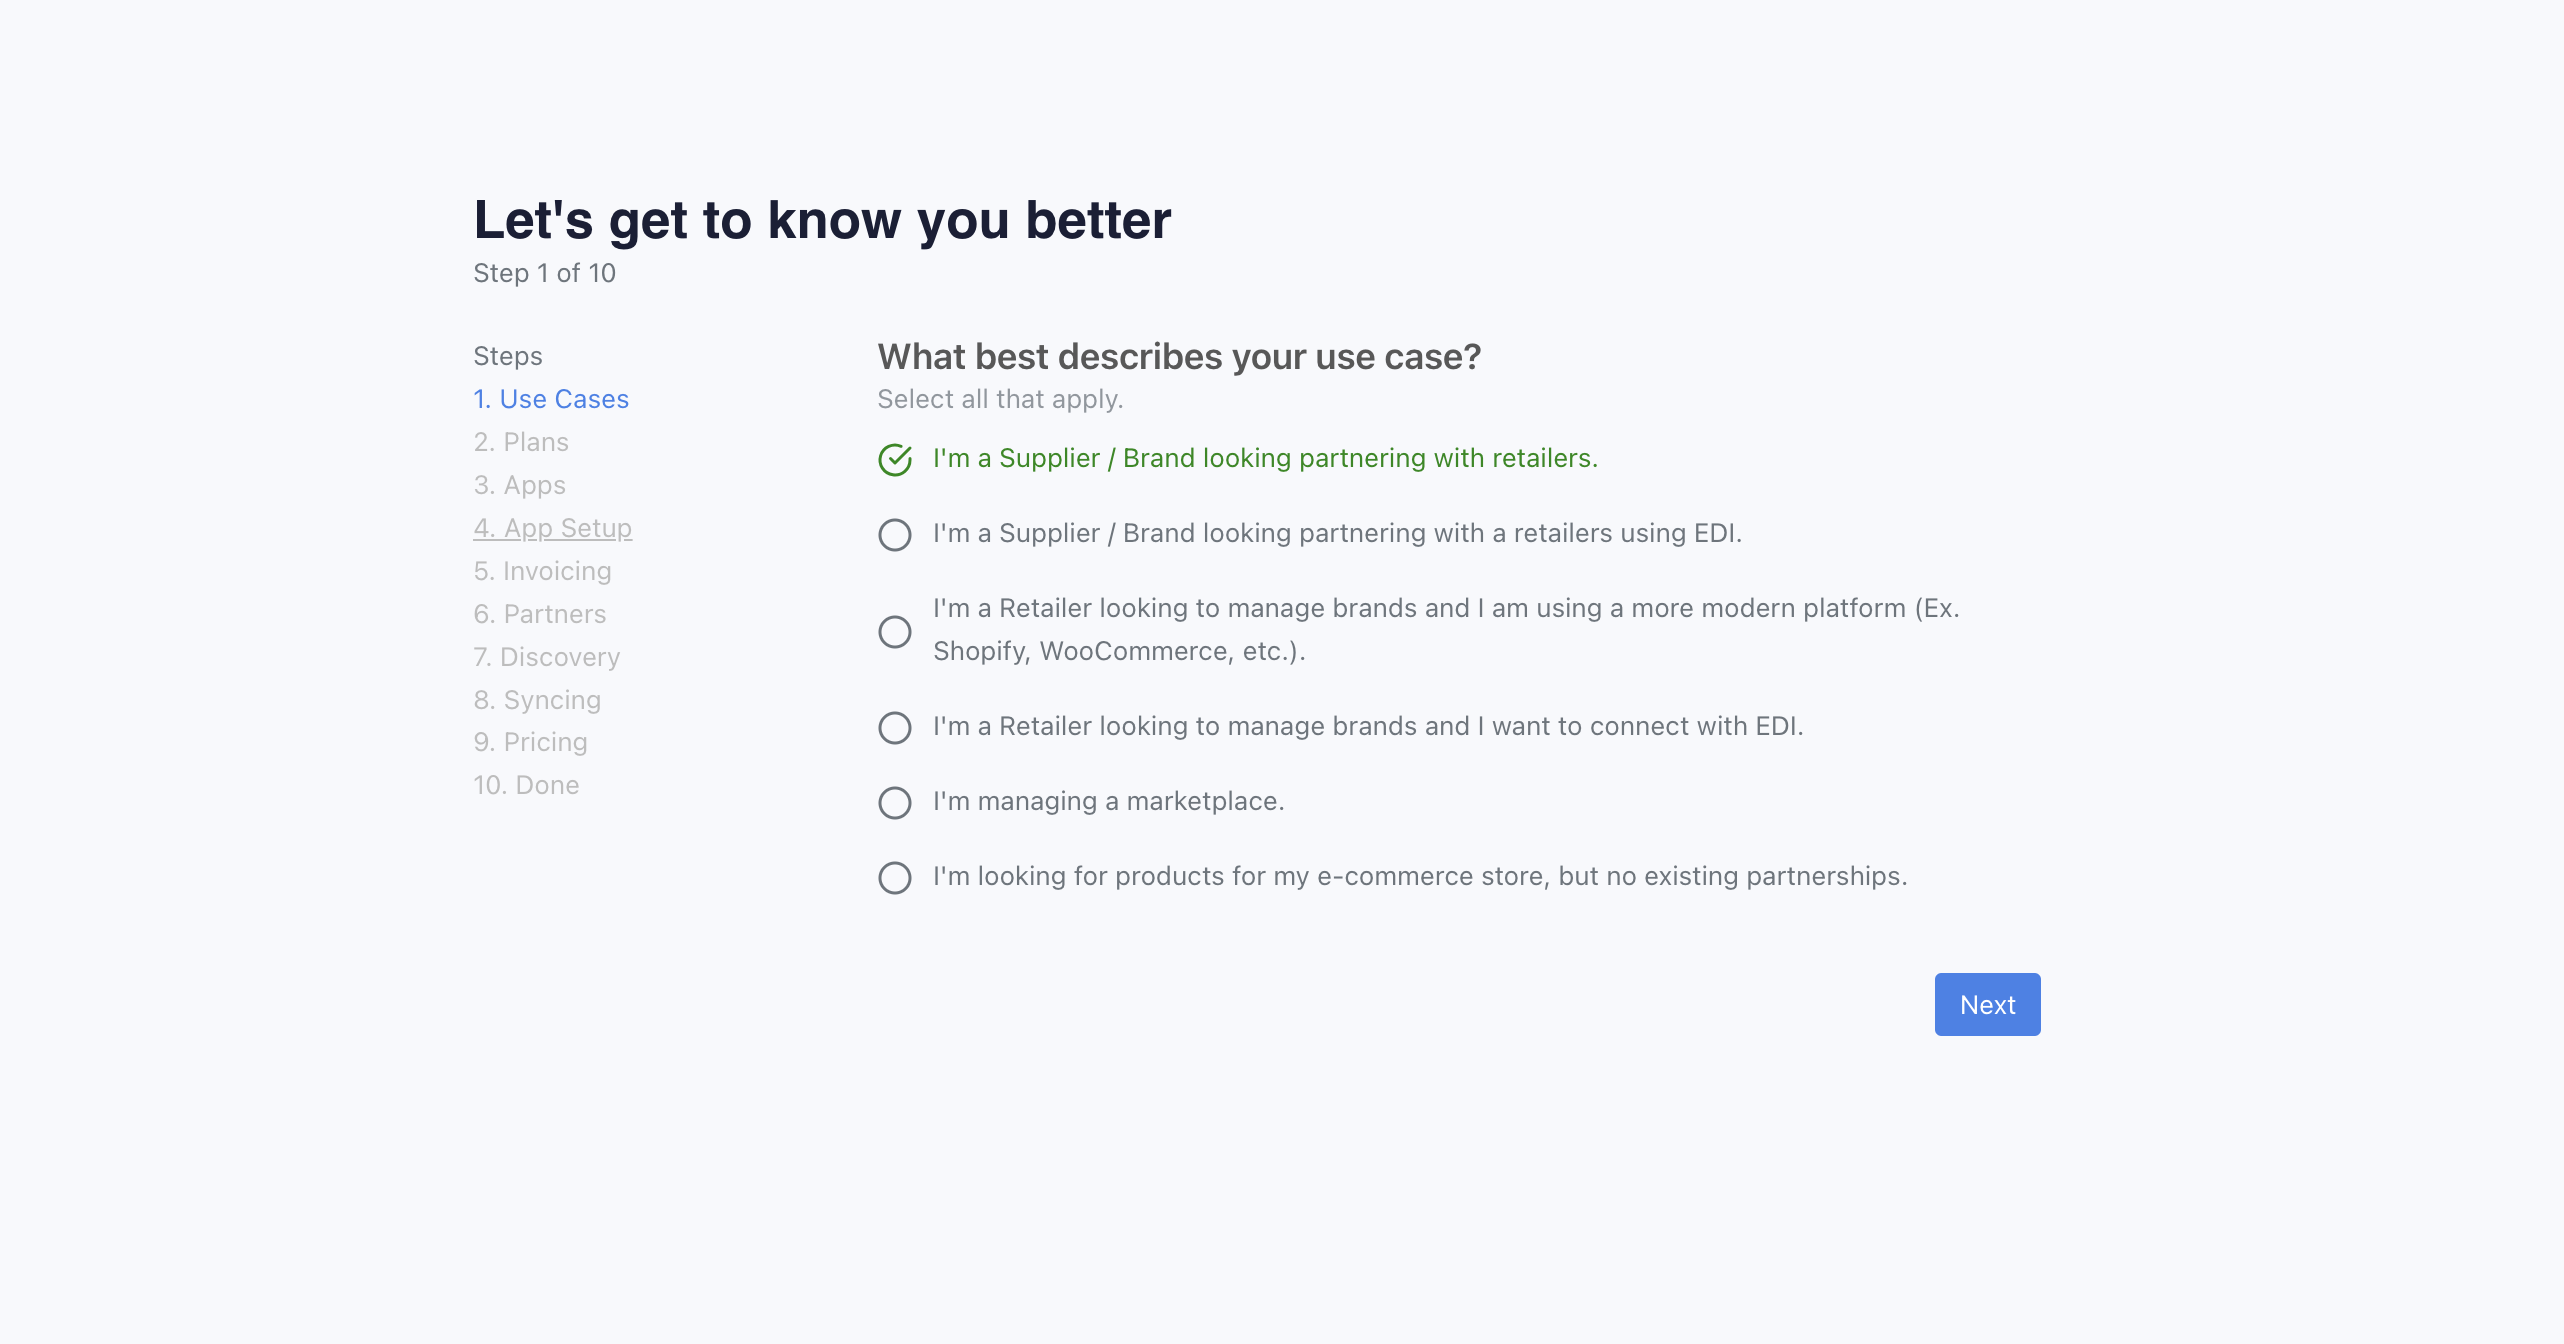
Step 3: Select Use Case (Supplier or Retailer)
Select all use cases that apply to you. Then hit Next.
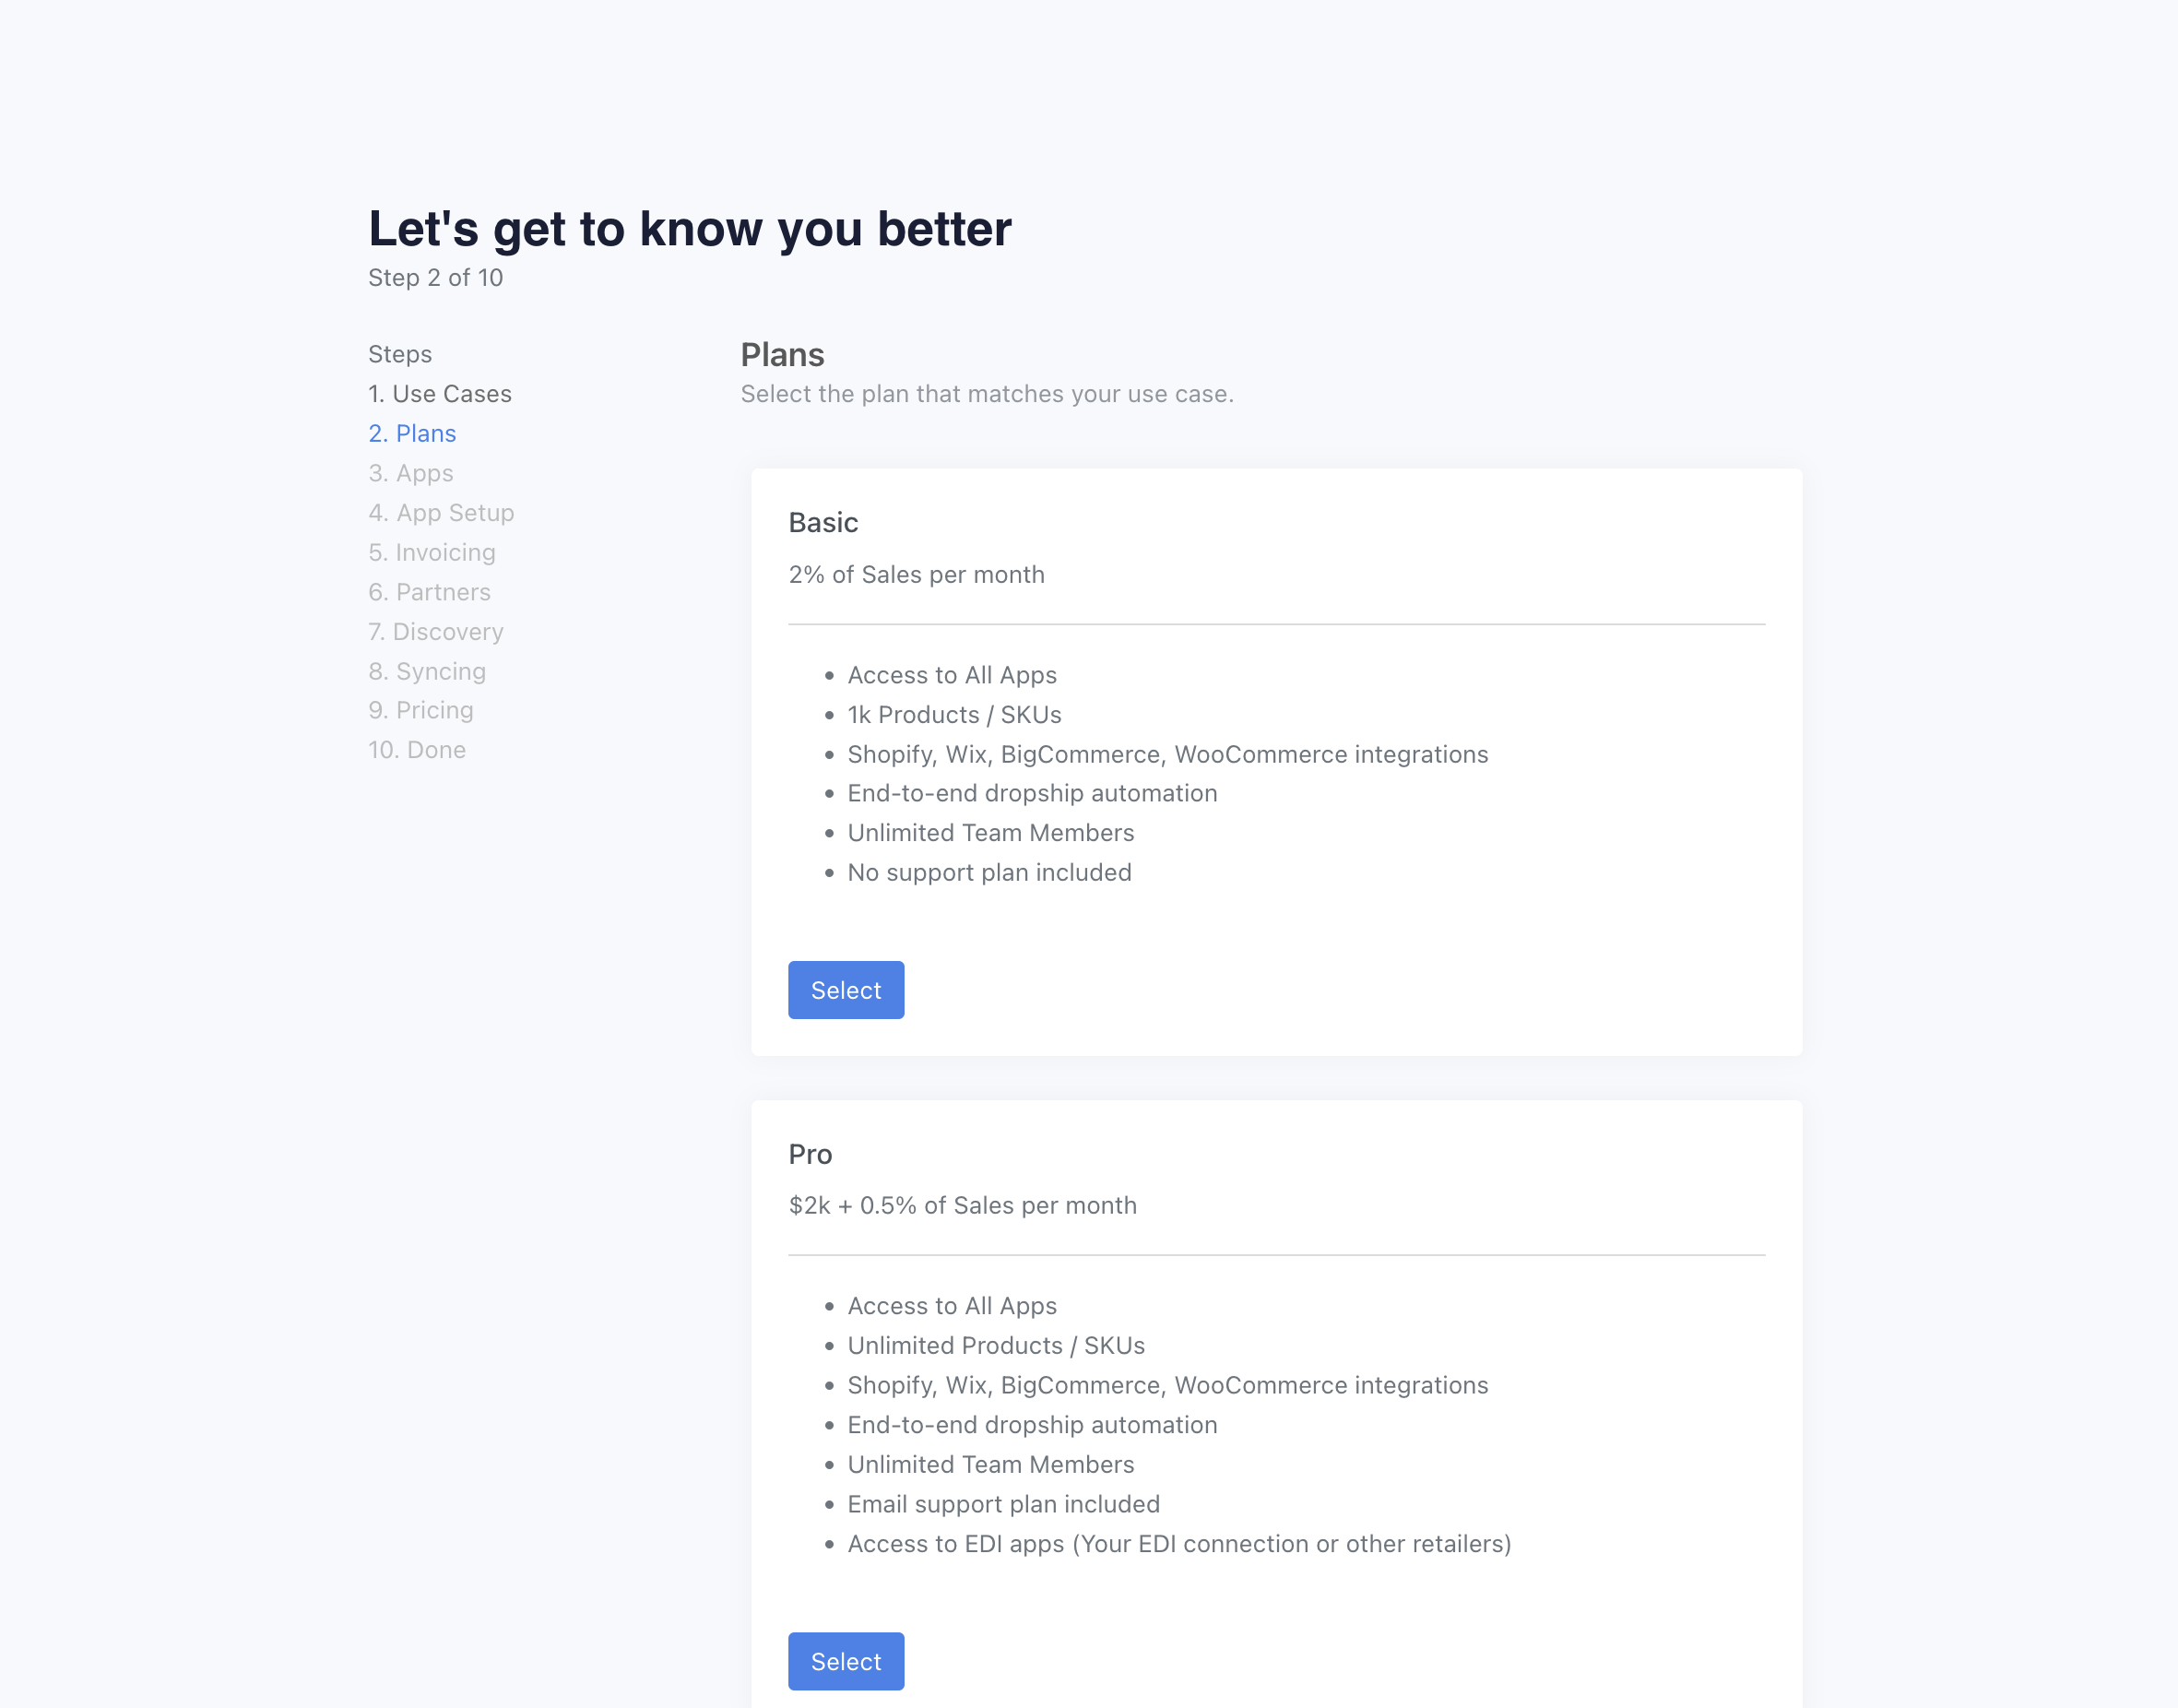
Step 3: Select your Plan (Supplier or Retailer)
Select the plan that best fits your needs. You can always upgrade or downgrade later. If you are looking to partner with EDI retailers, you will need to select at least the Pro plan. For Enterprise plan, please contact our team.
Step 4: Install the Shopify App (Supplier or Retailer)
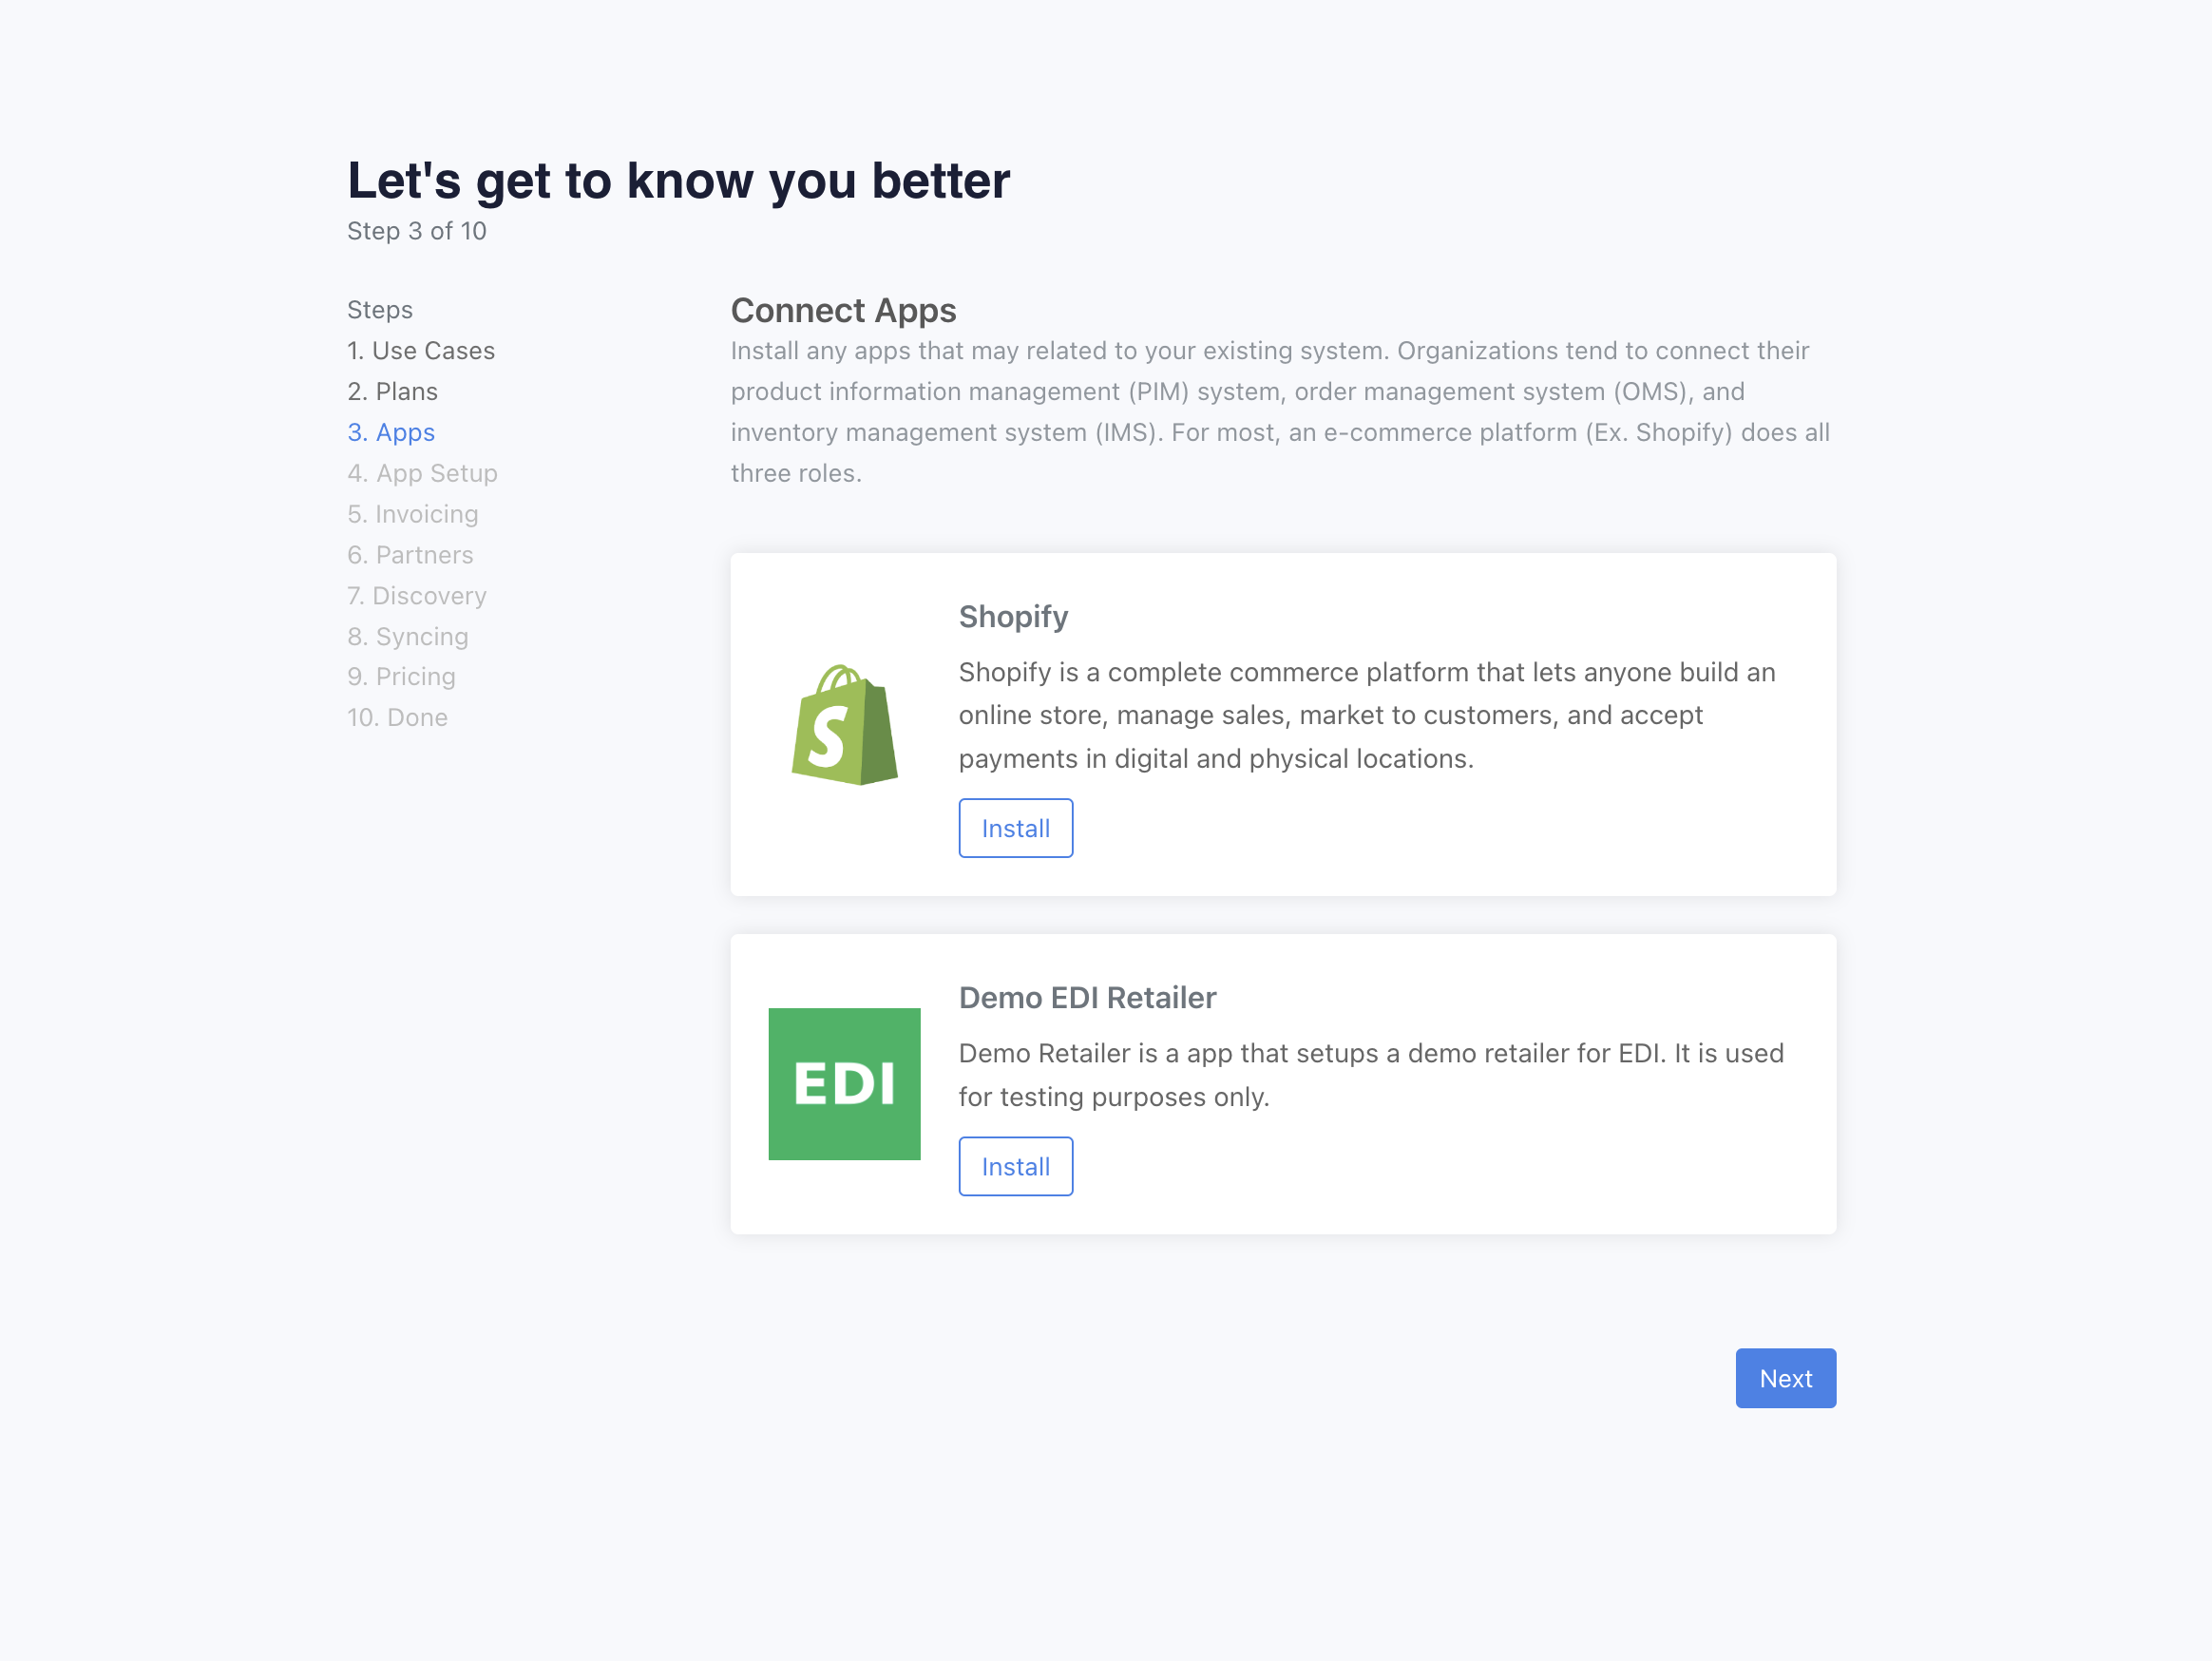
You will be presented with a list of recommended applications. One of them may be Shopify (otherwise, search for it). Click on the "Install" under Shopify. Once completed, hit "Next".
Step 5: Configure the Shopify App (Supplier or Retailer)
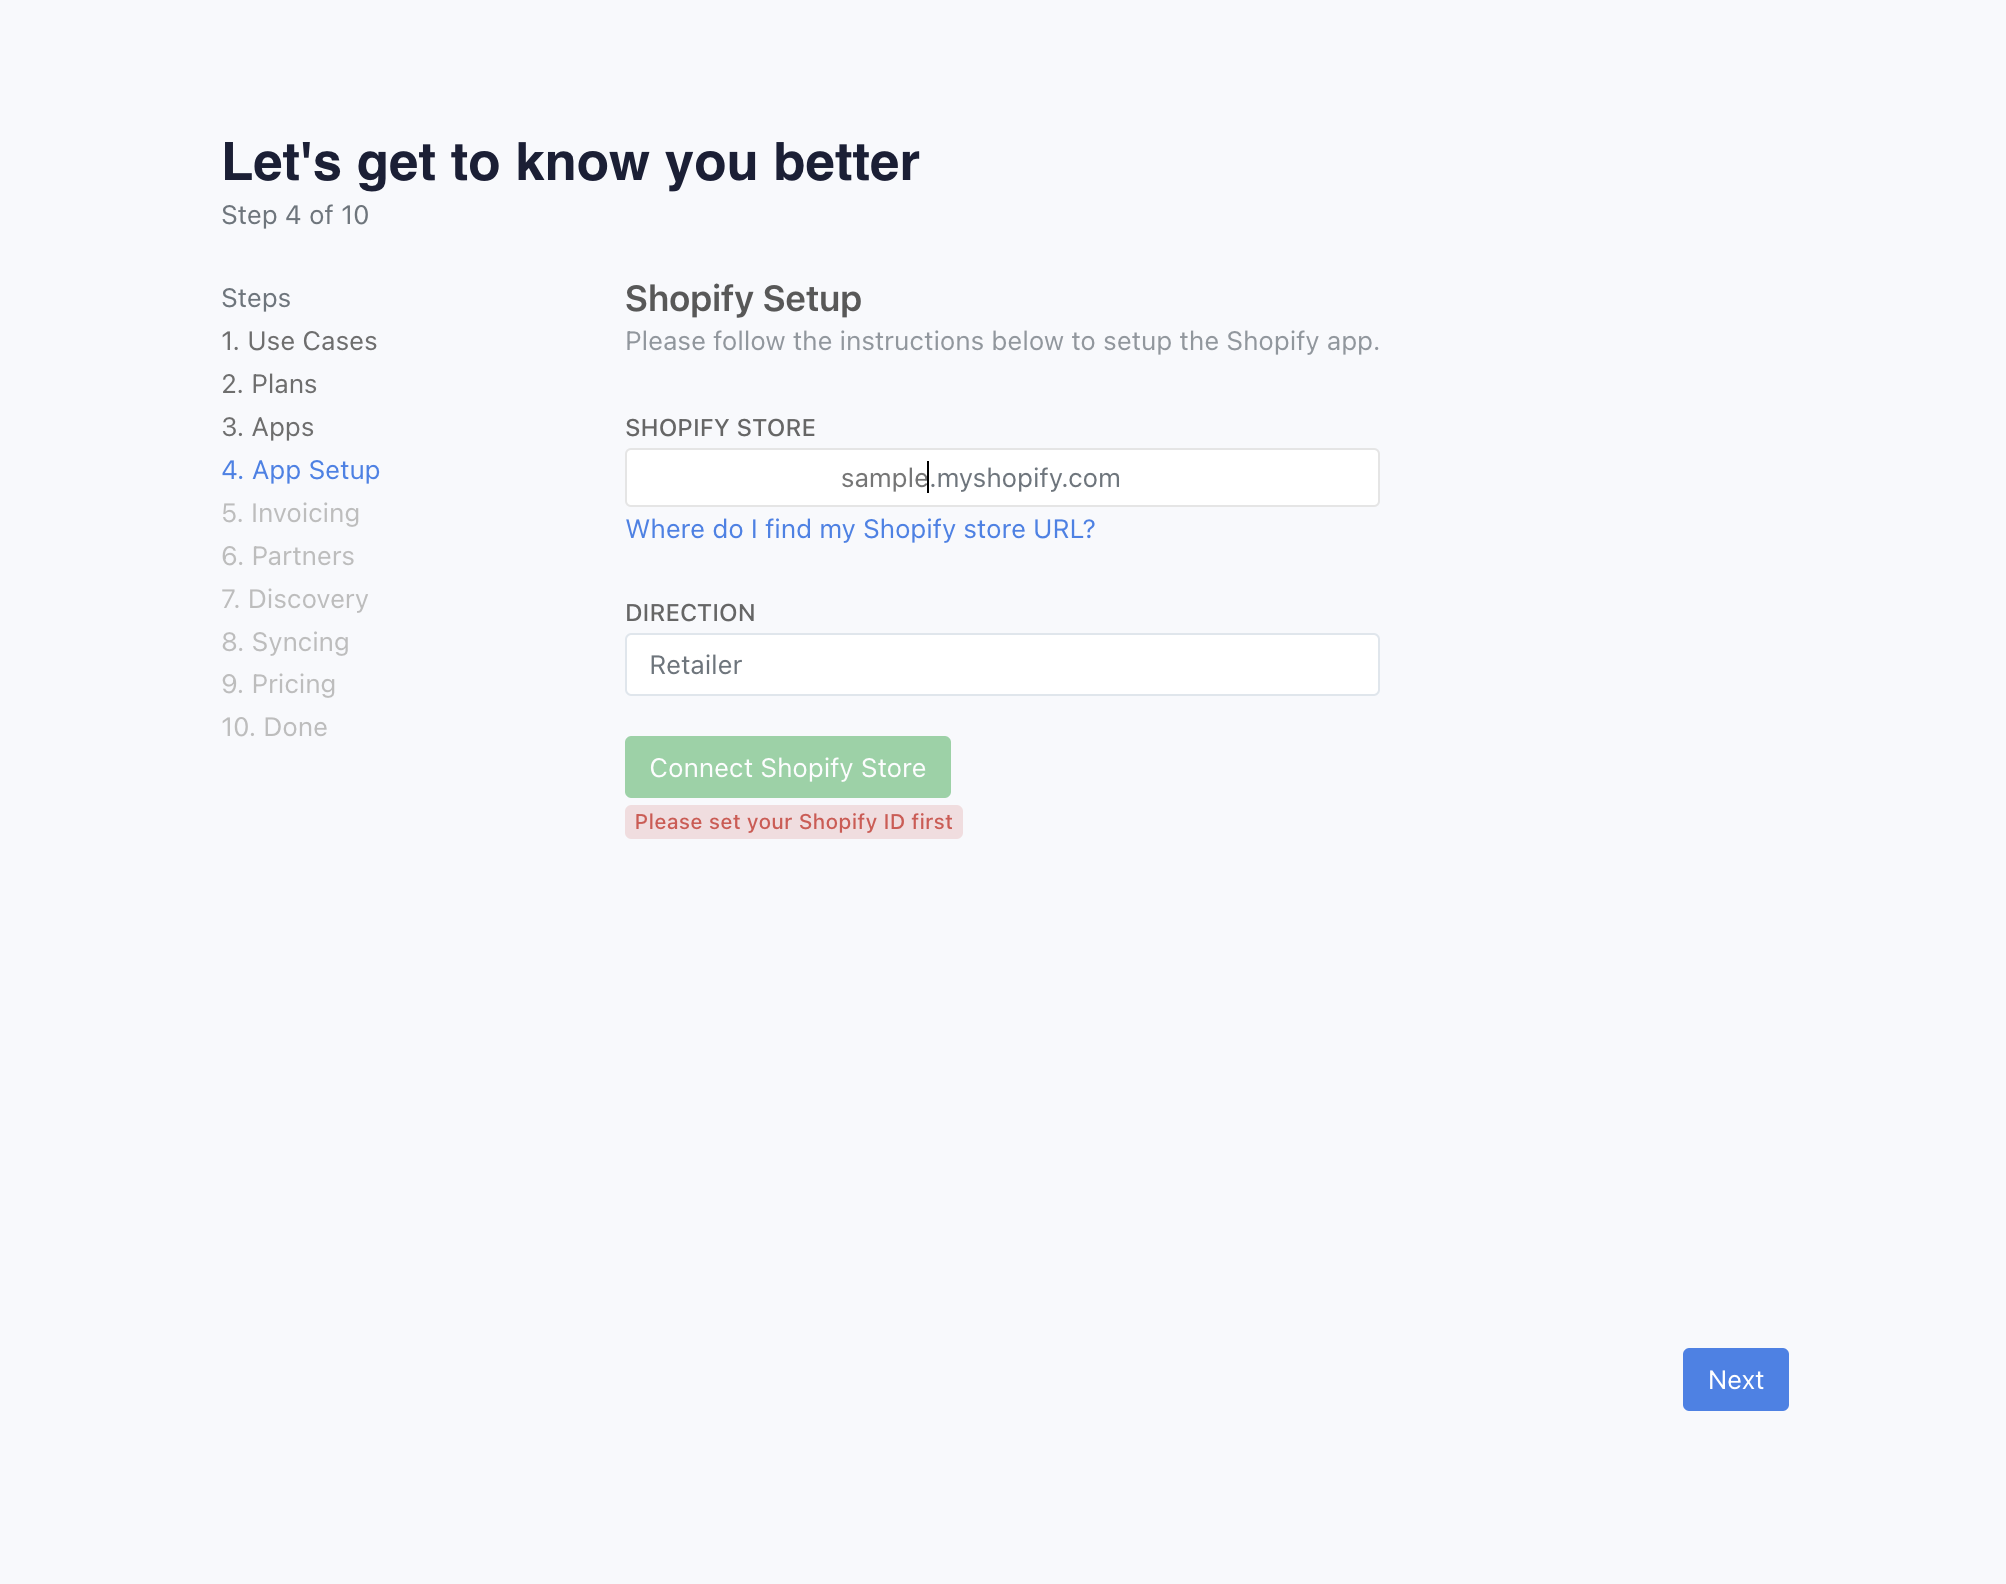
You will be able to set your Shopify ID. This is the unique identifier for your Shopify store. You can find this in your Shopify admin panel.
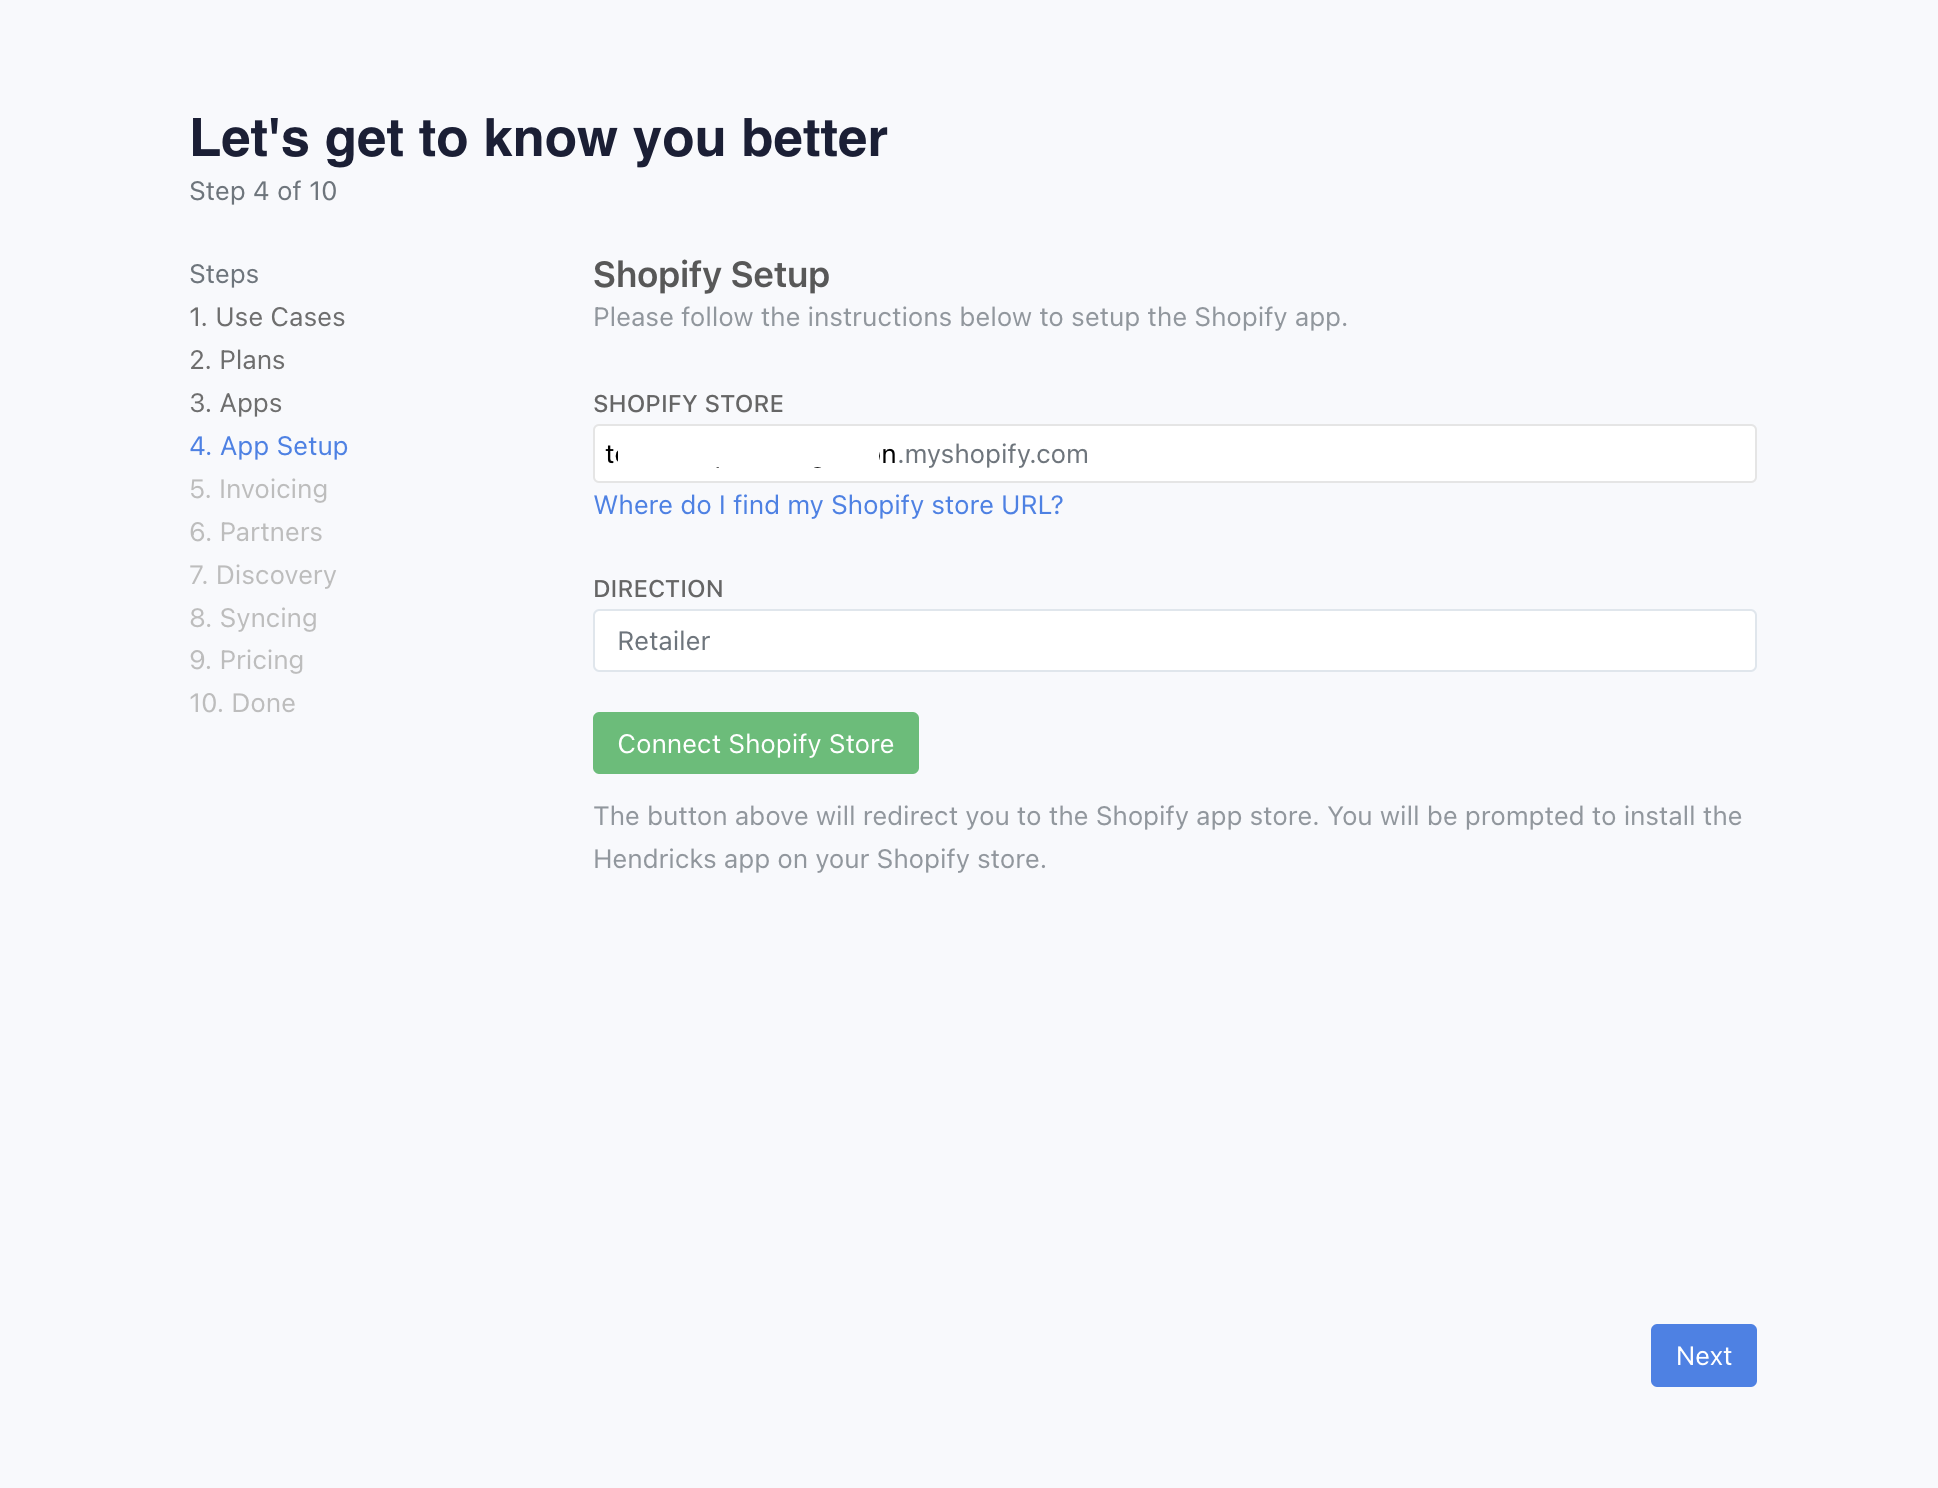
Set the role (direction of syncing). Retailers will send orders from Shopify to Hendricks, and product information from Hendricks to Shopify. Suppliers will send product information from Shopify to Hendricks, and orders from Hendricks to Shopify.
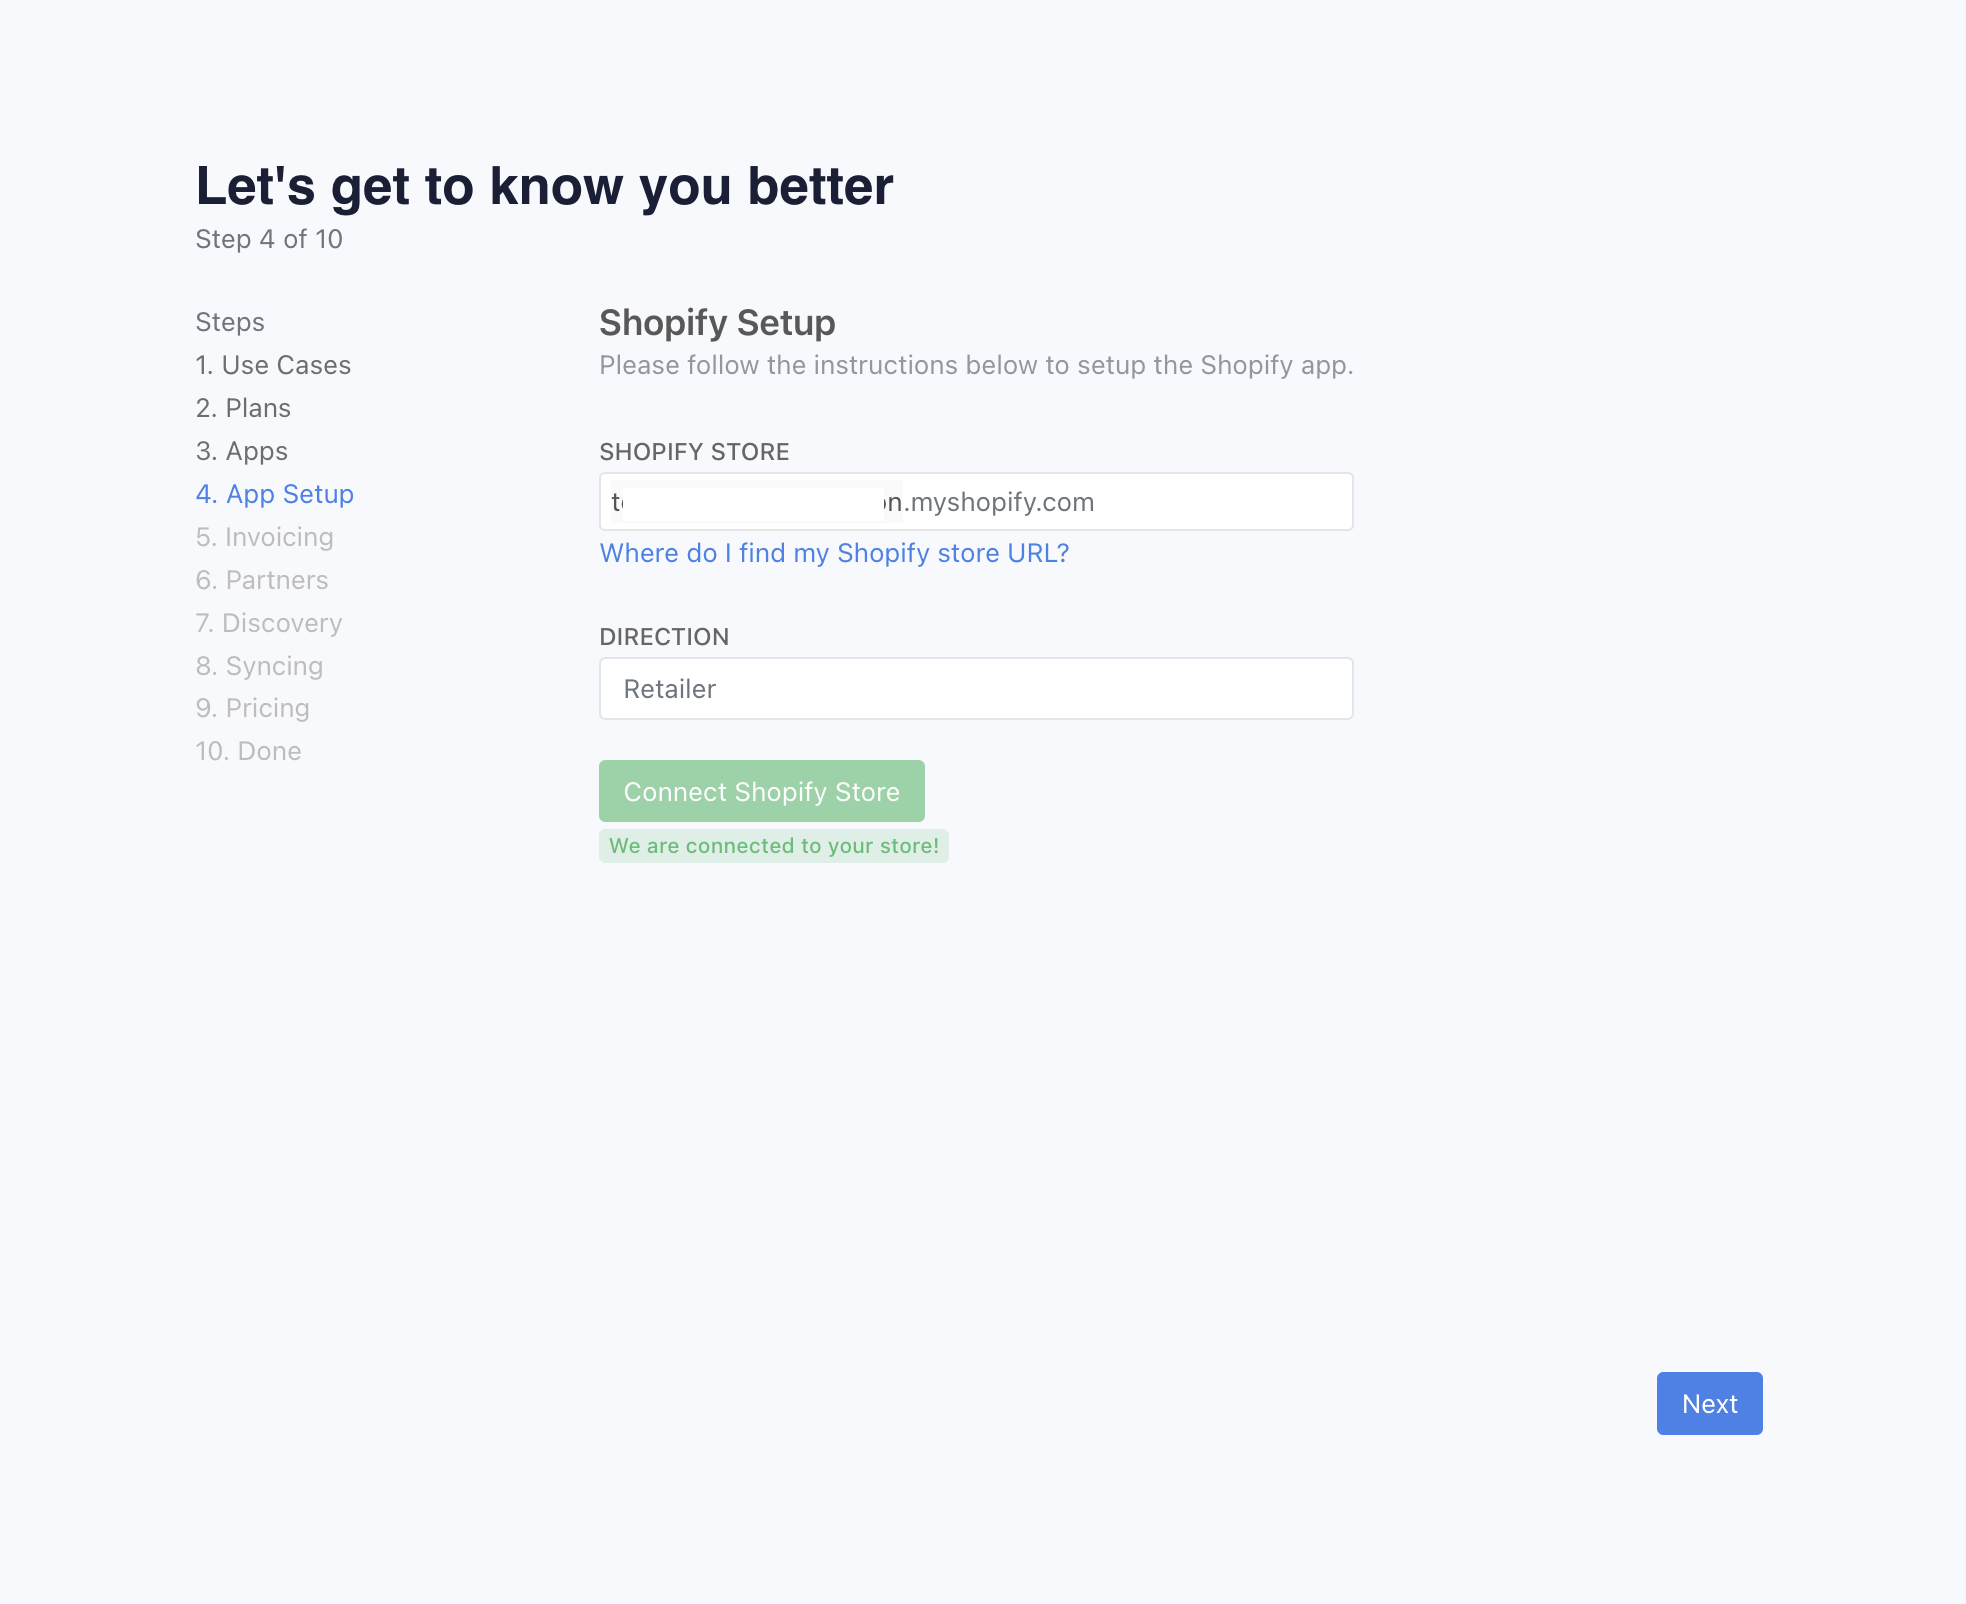
Hit Connect Shopify Store. You will be redirected to the Shopify app store to install the Hendricks app. Once installed, you will be redirected back to Hendricks.
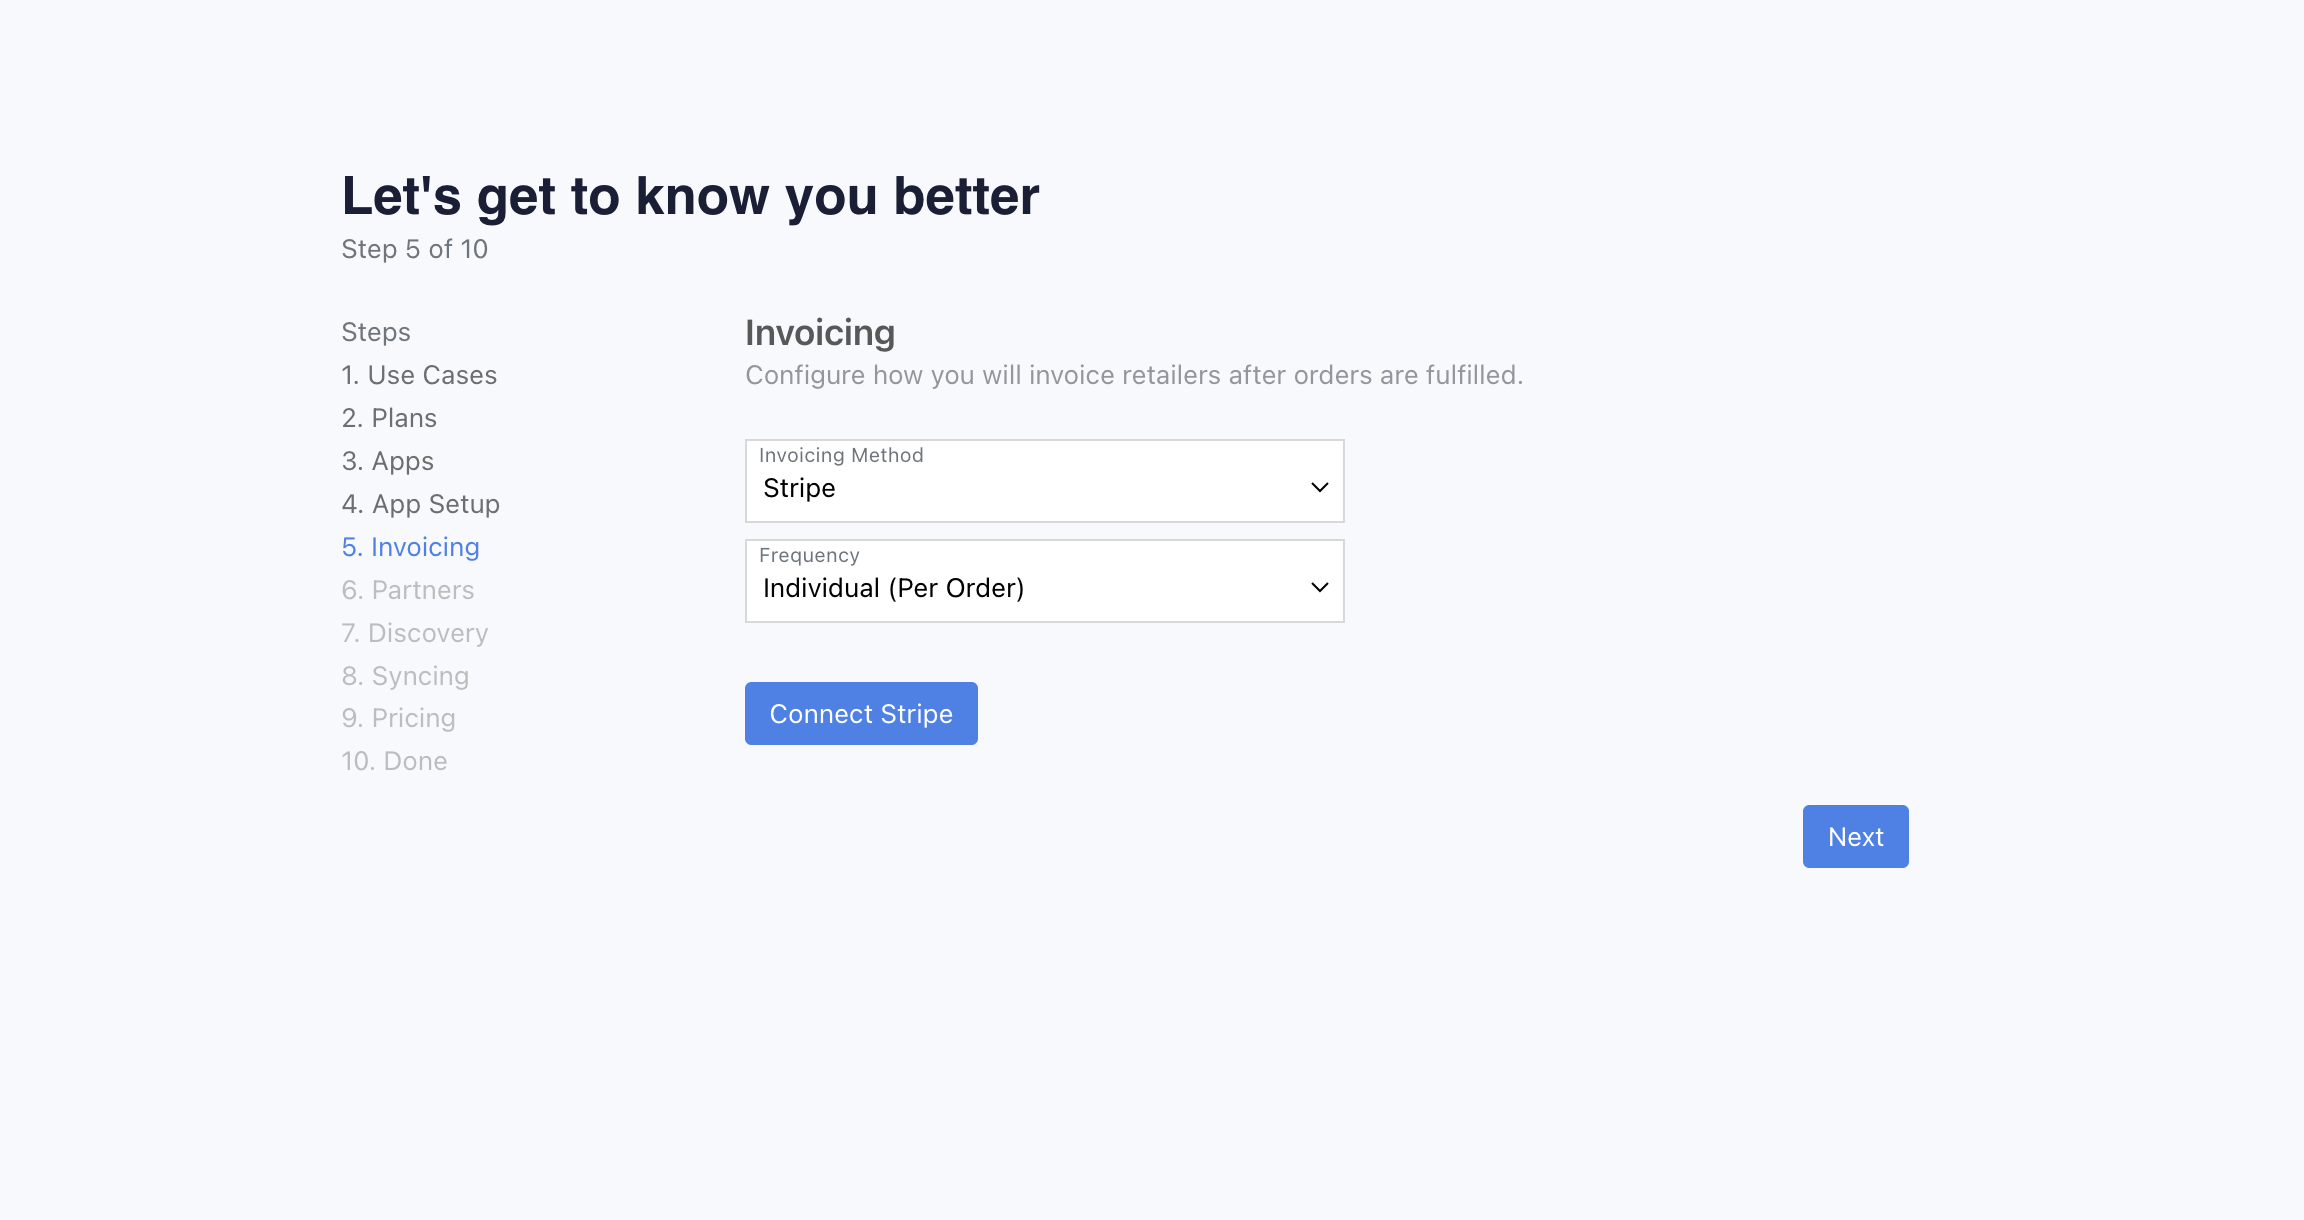
Step 6: Setup Invoicing (Supplier)
You can choose to setup invoicing. There's three options: Stripe, Manual, or Disabled. For manual, it will create a invoice for each order, but it's on you to send and collect it. For Stripe, we will create an invoice per order, and you will connect your Stripe account. We will automatically create an invoice for each order. For disabled, we will not create invoices.
For retailers, this step will not matter. Just set invoicing to disabled.
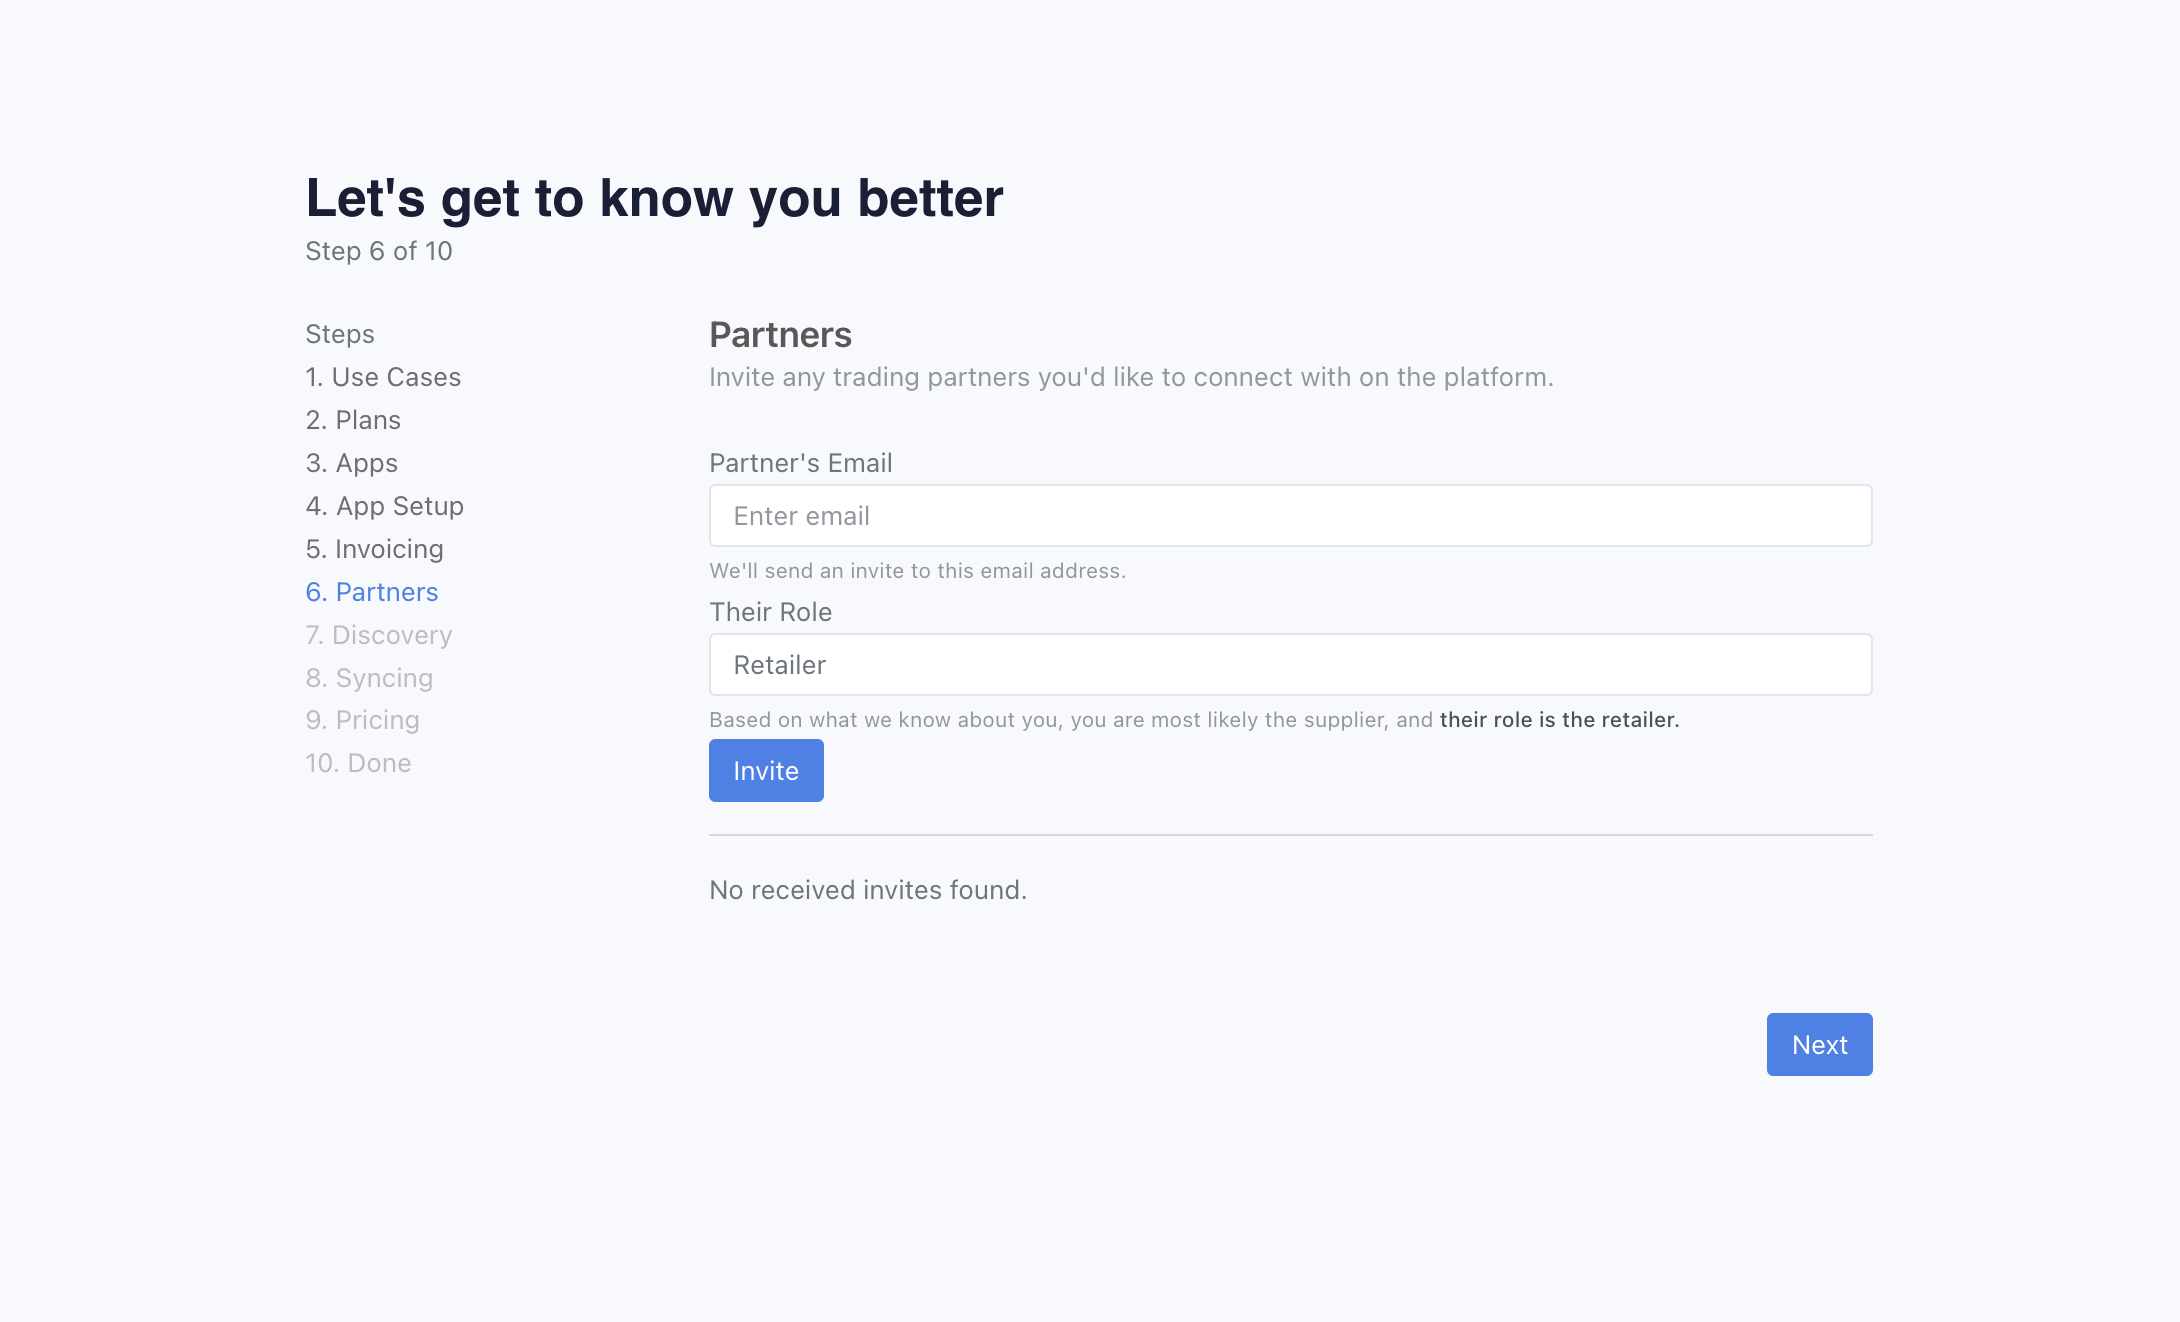
Step 7: Invite your Partners (Supplier or Retailer)
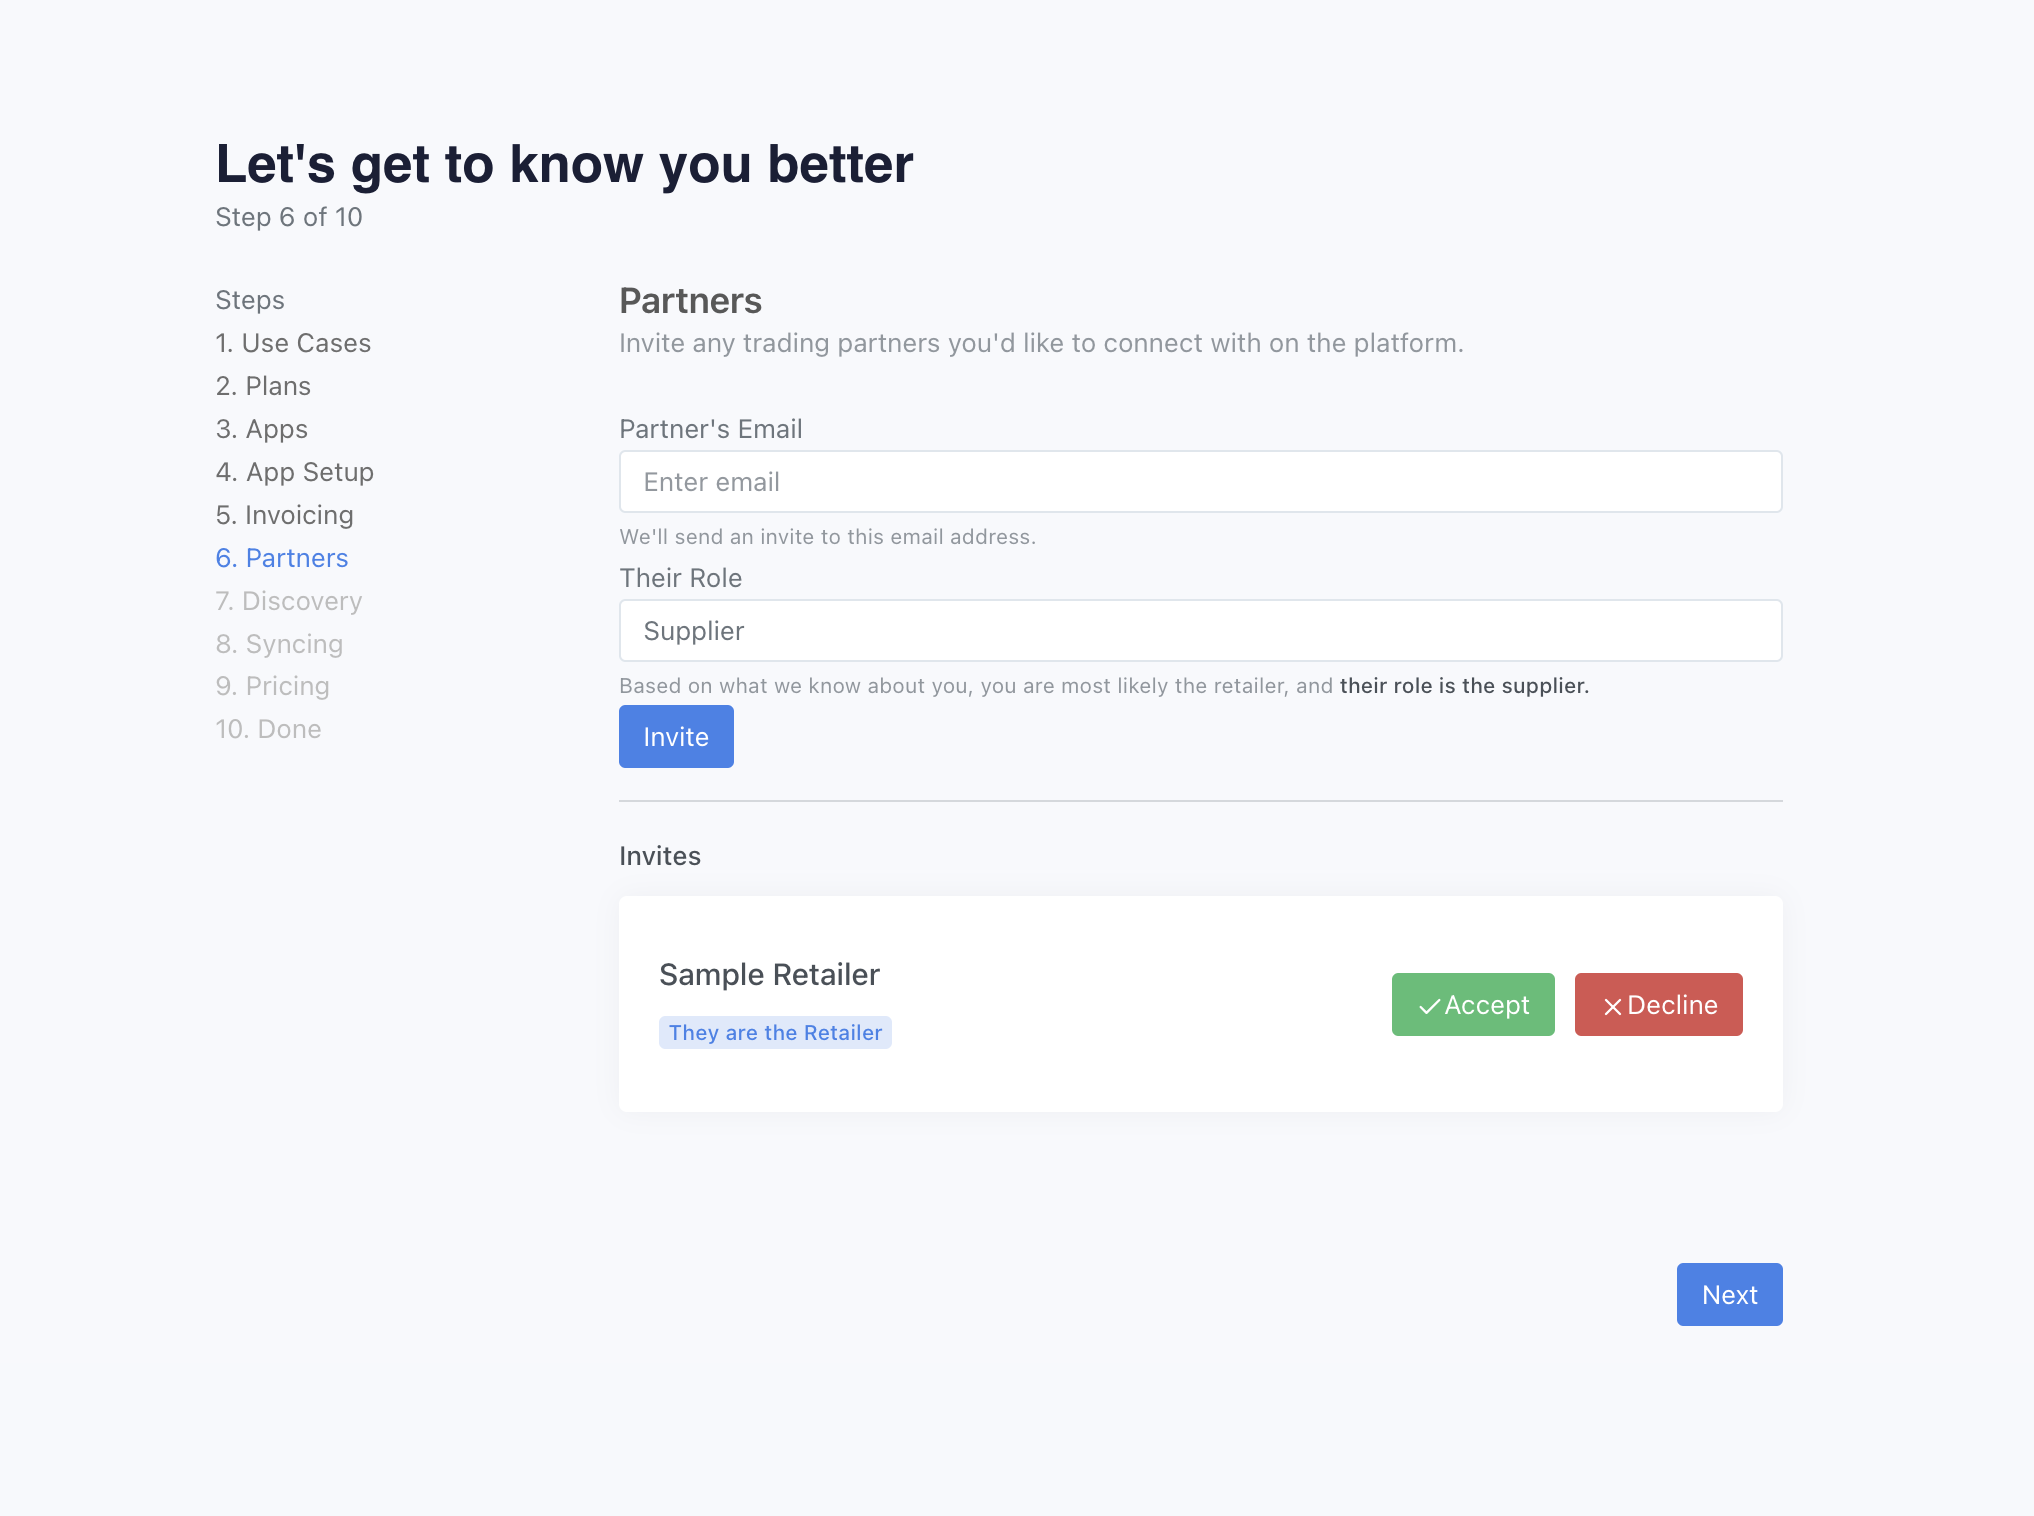
You can invite your partners to connect with you. You can invite them by email. They will go through similar steps (below).
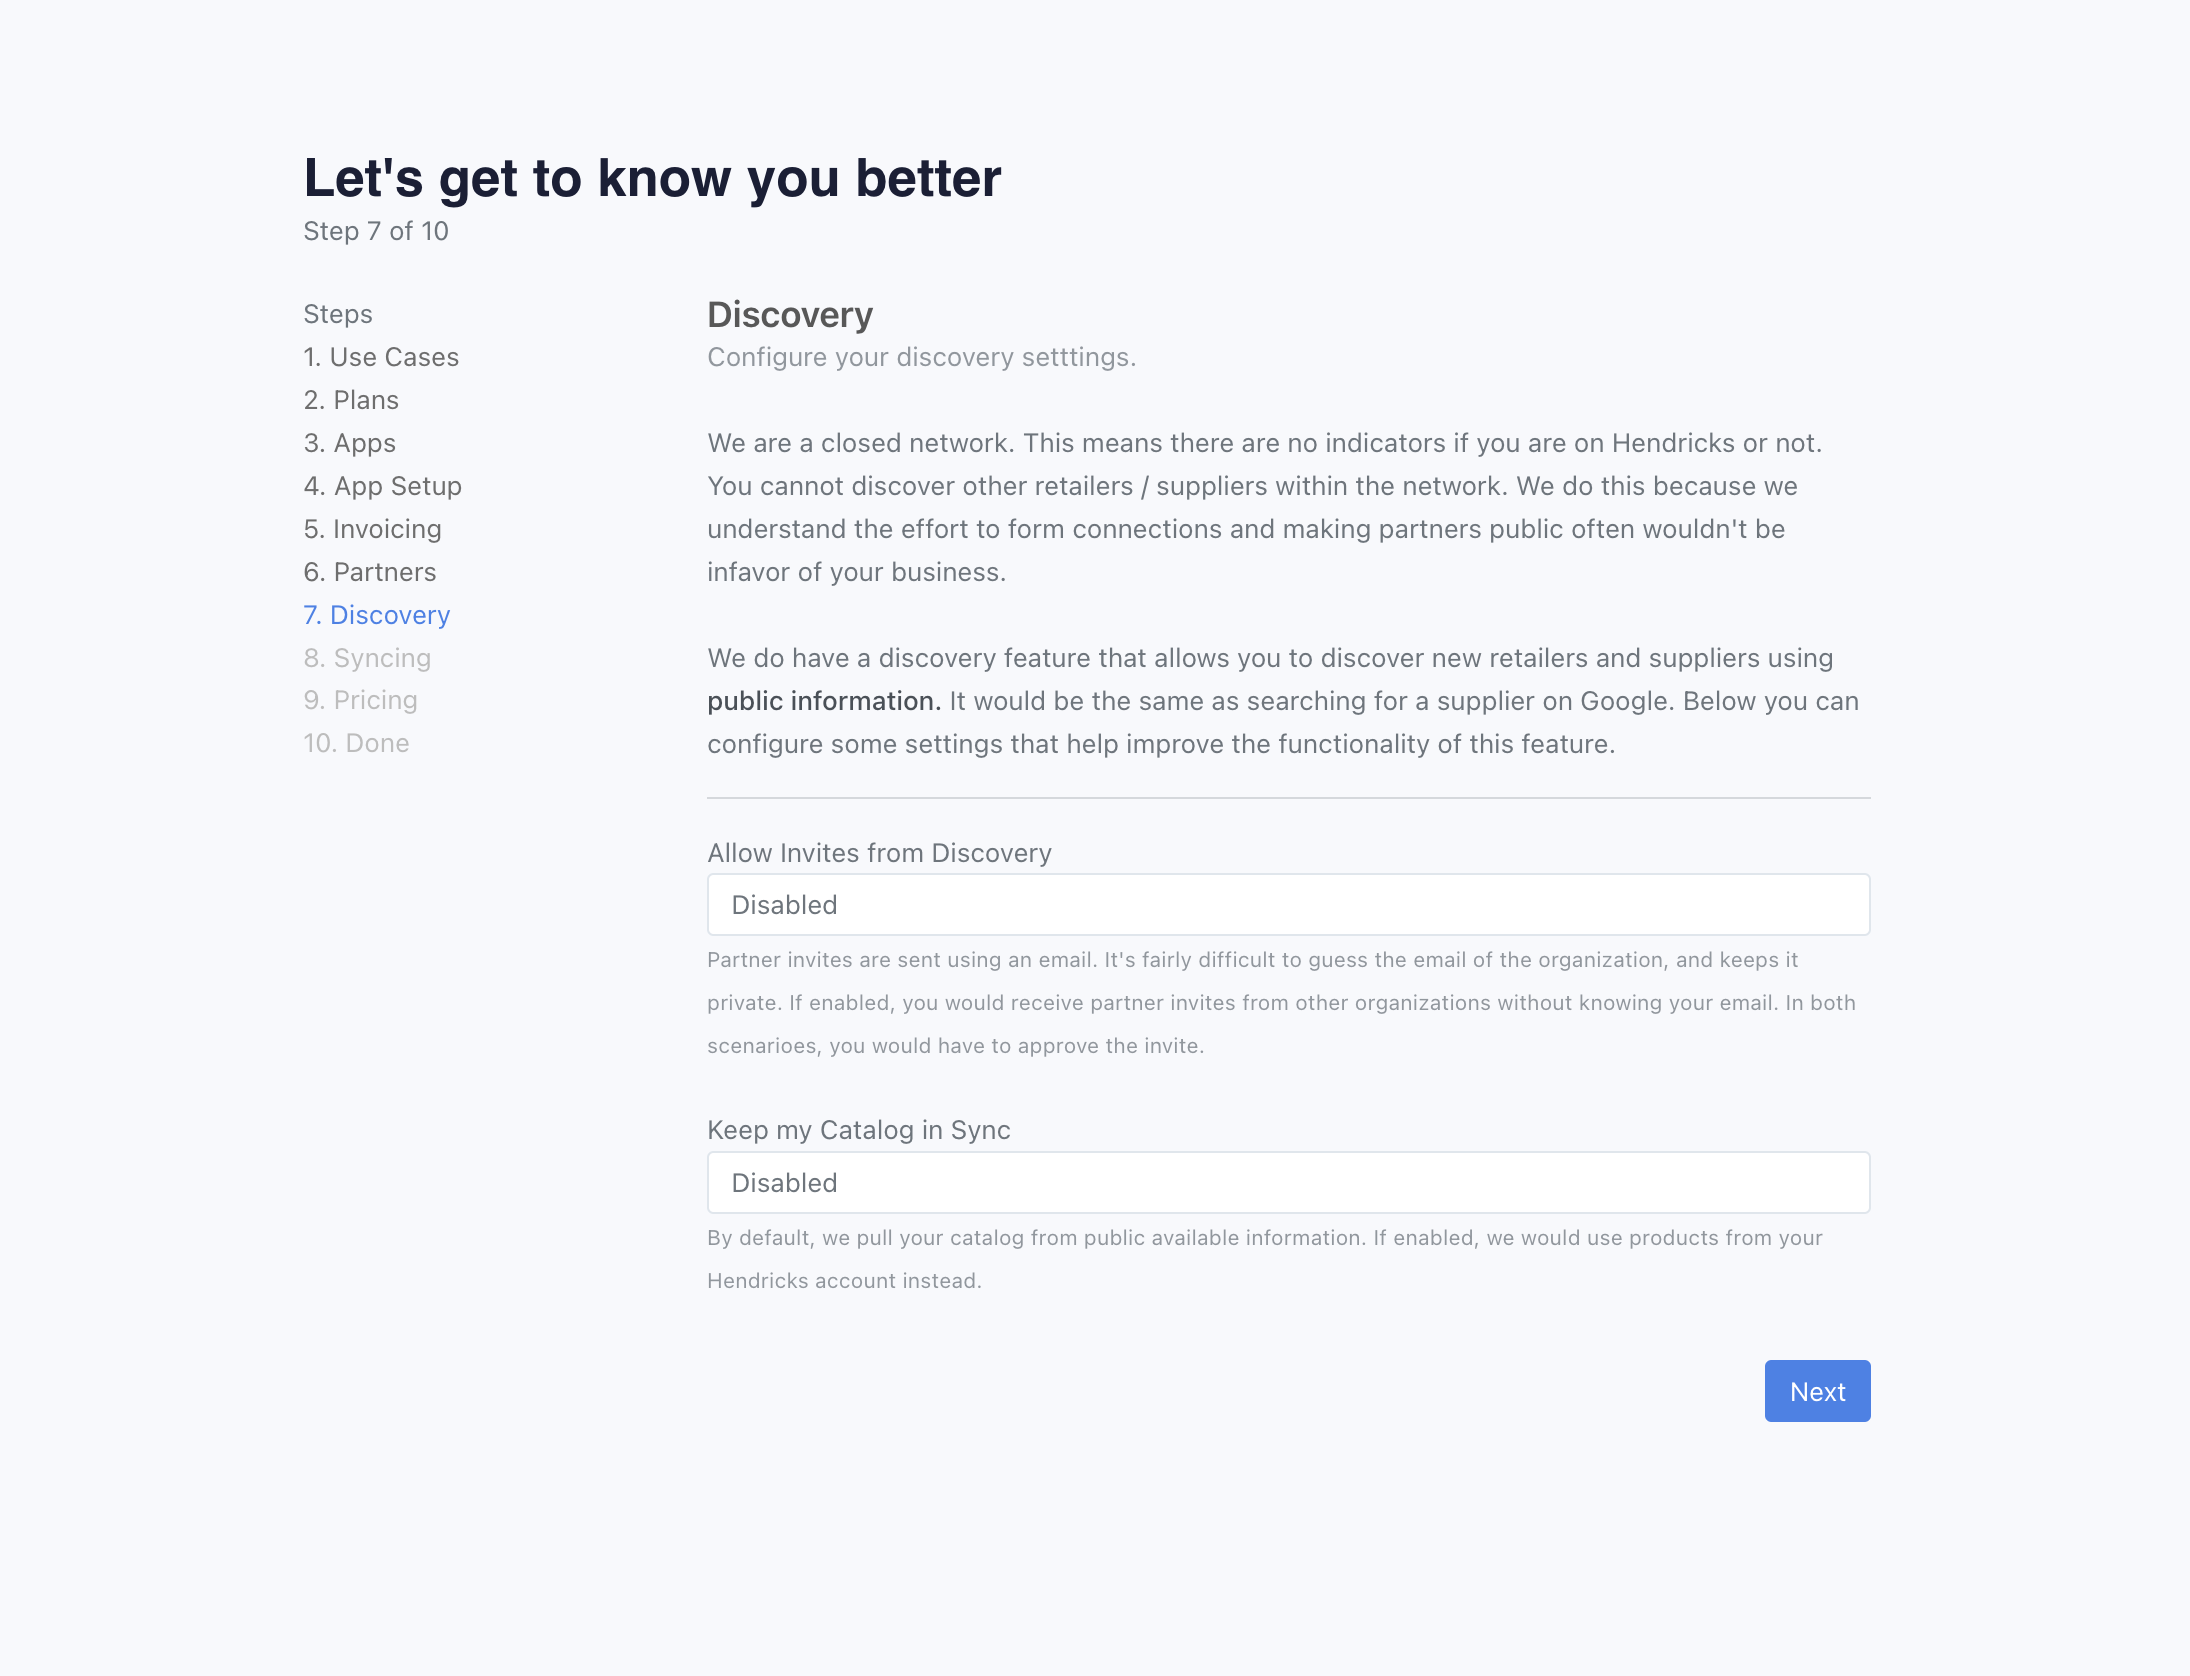
Step 8: Discovery (Supplier)
Our network is closed. Other retailers won't be abe to see that you belong to Hendricks. Hendricks uses products on the public internet to help with retailers do discovery.
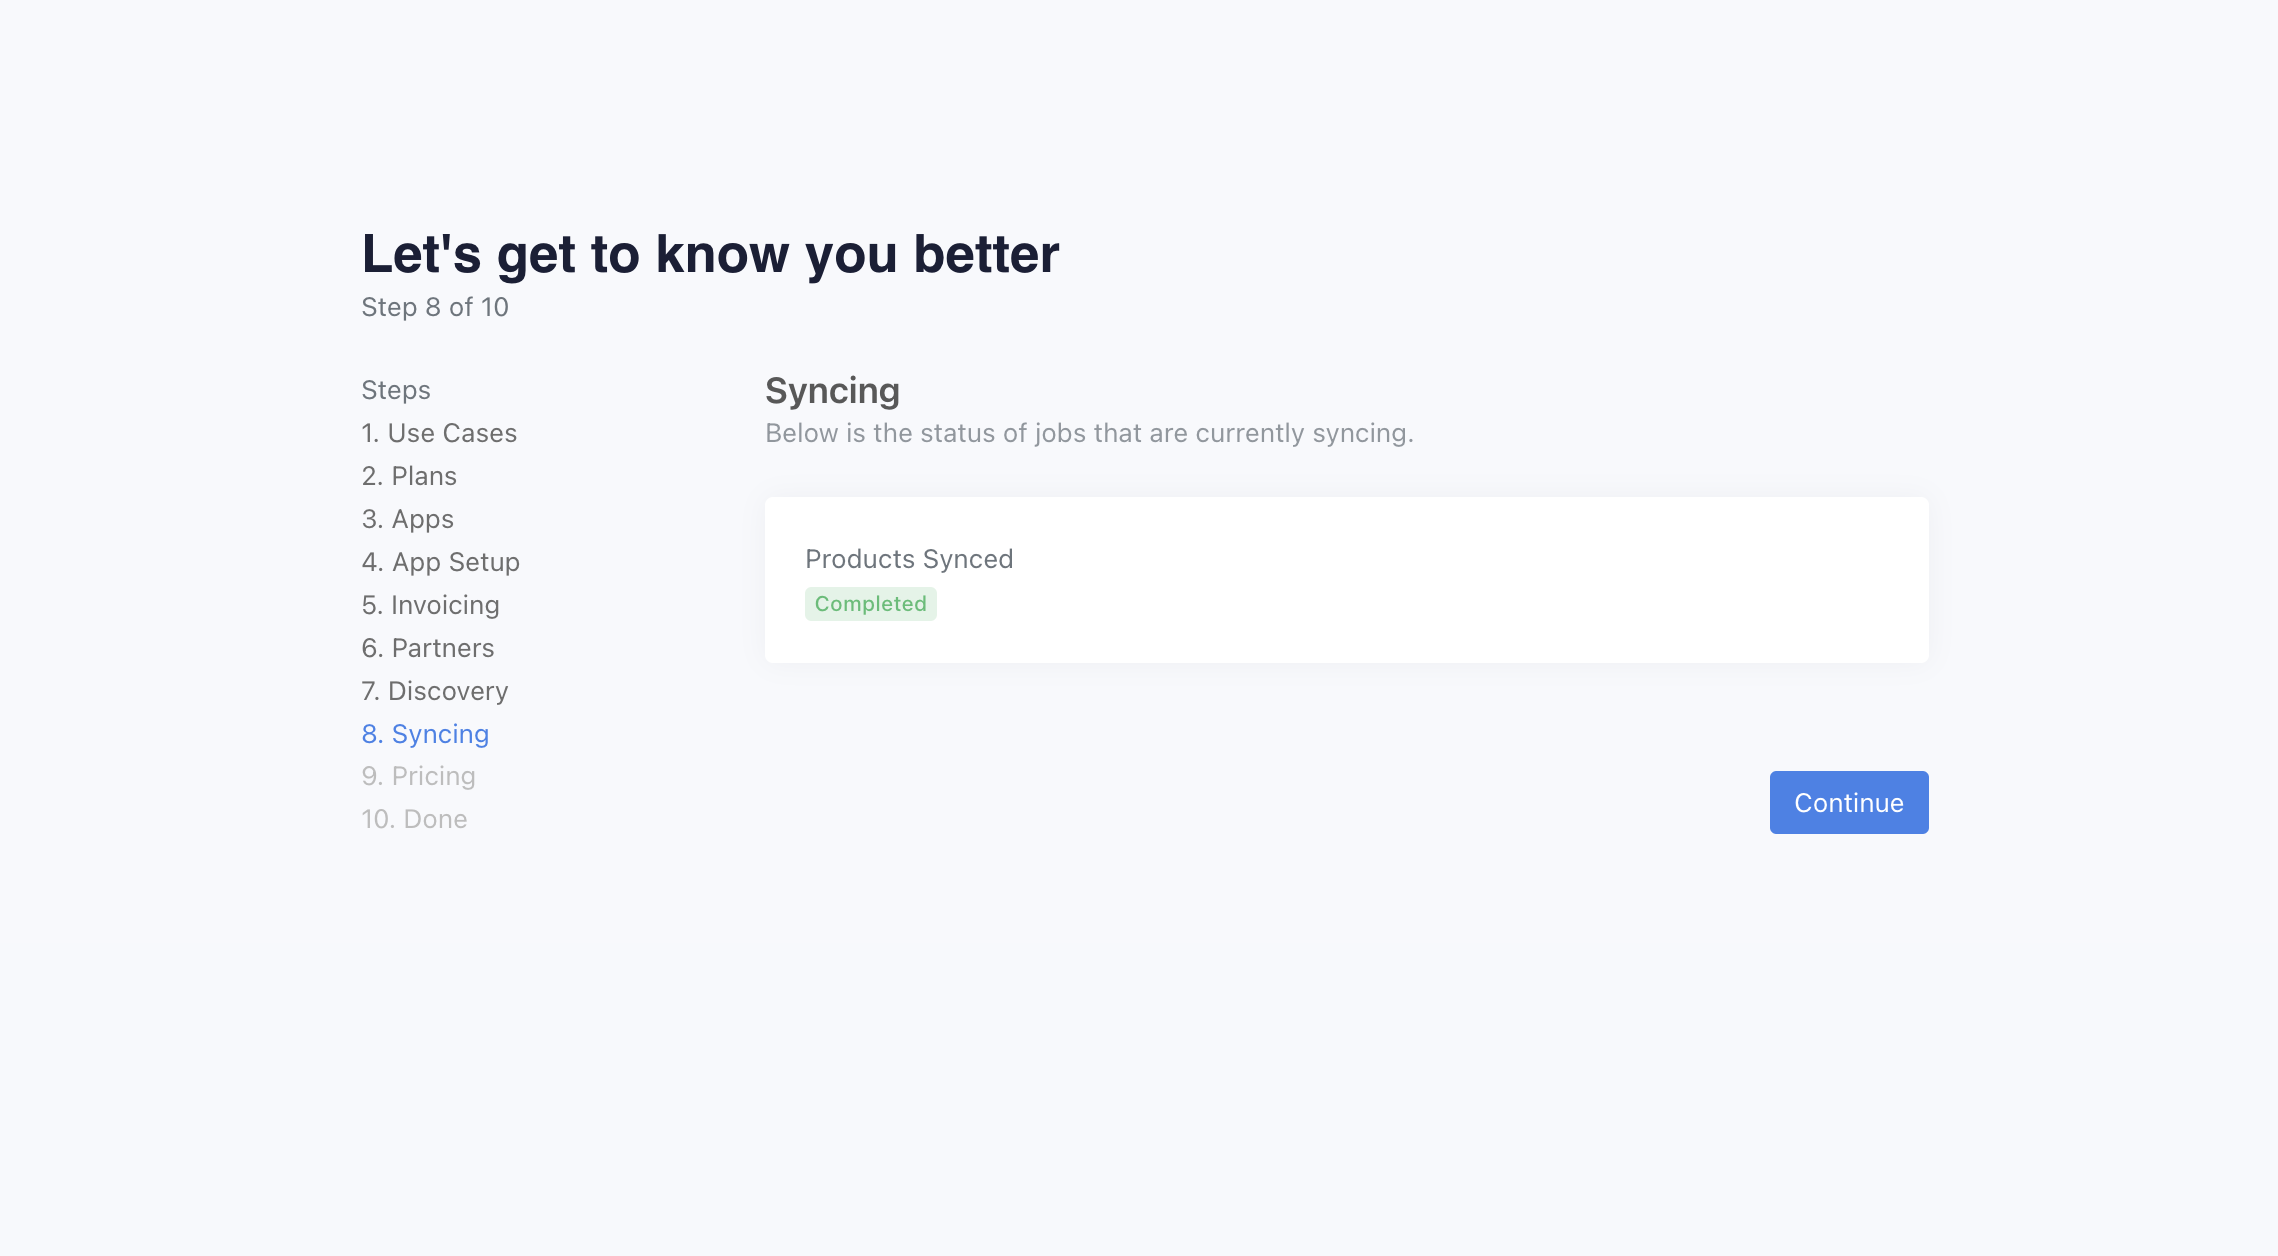
Step 8: Finished Syncing (Supplier)
Wait for product syncing to complete. Once completed, you will be able to price your products.
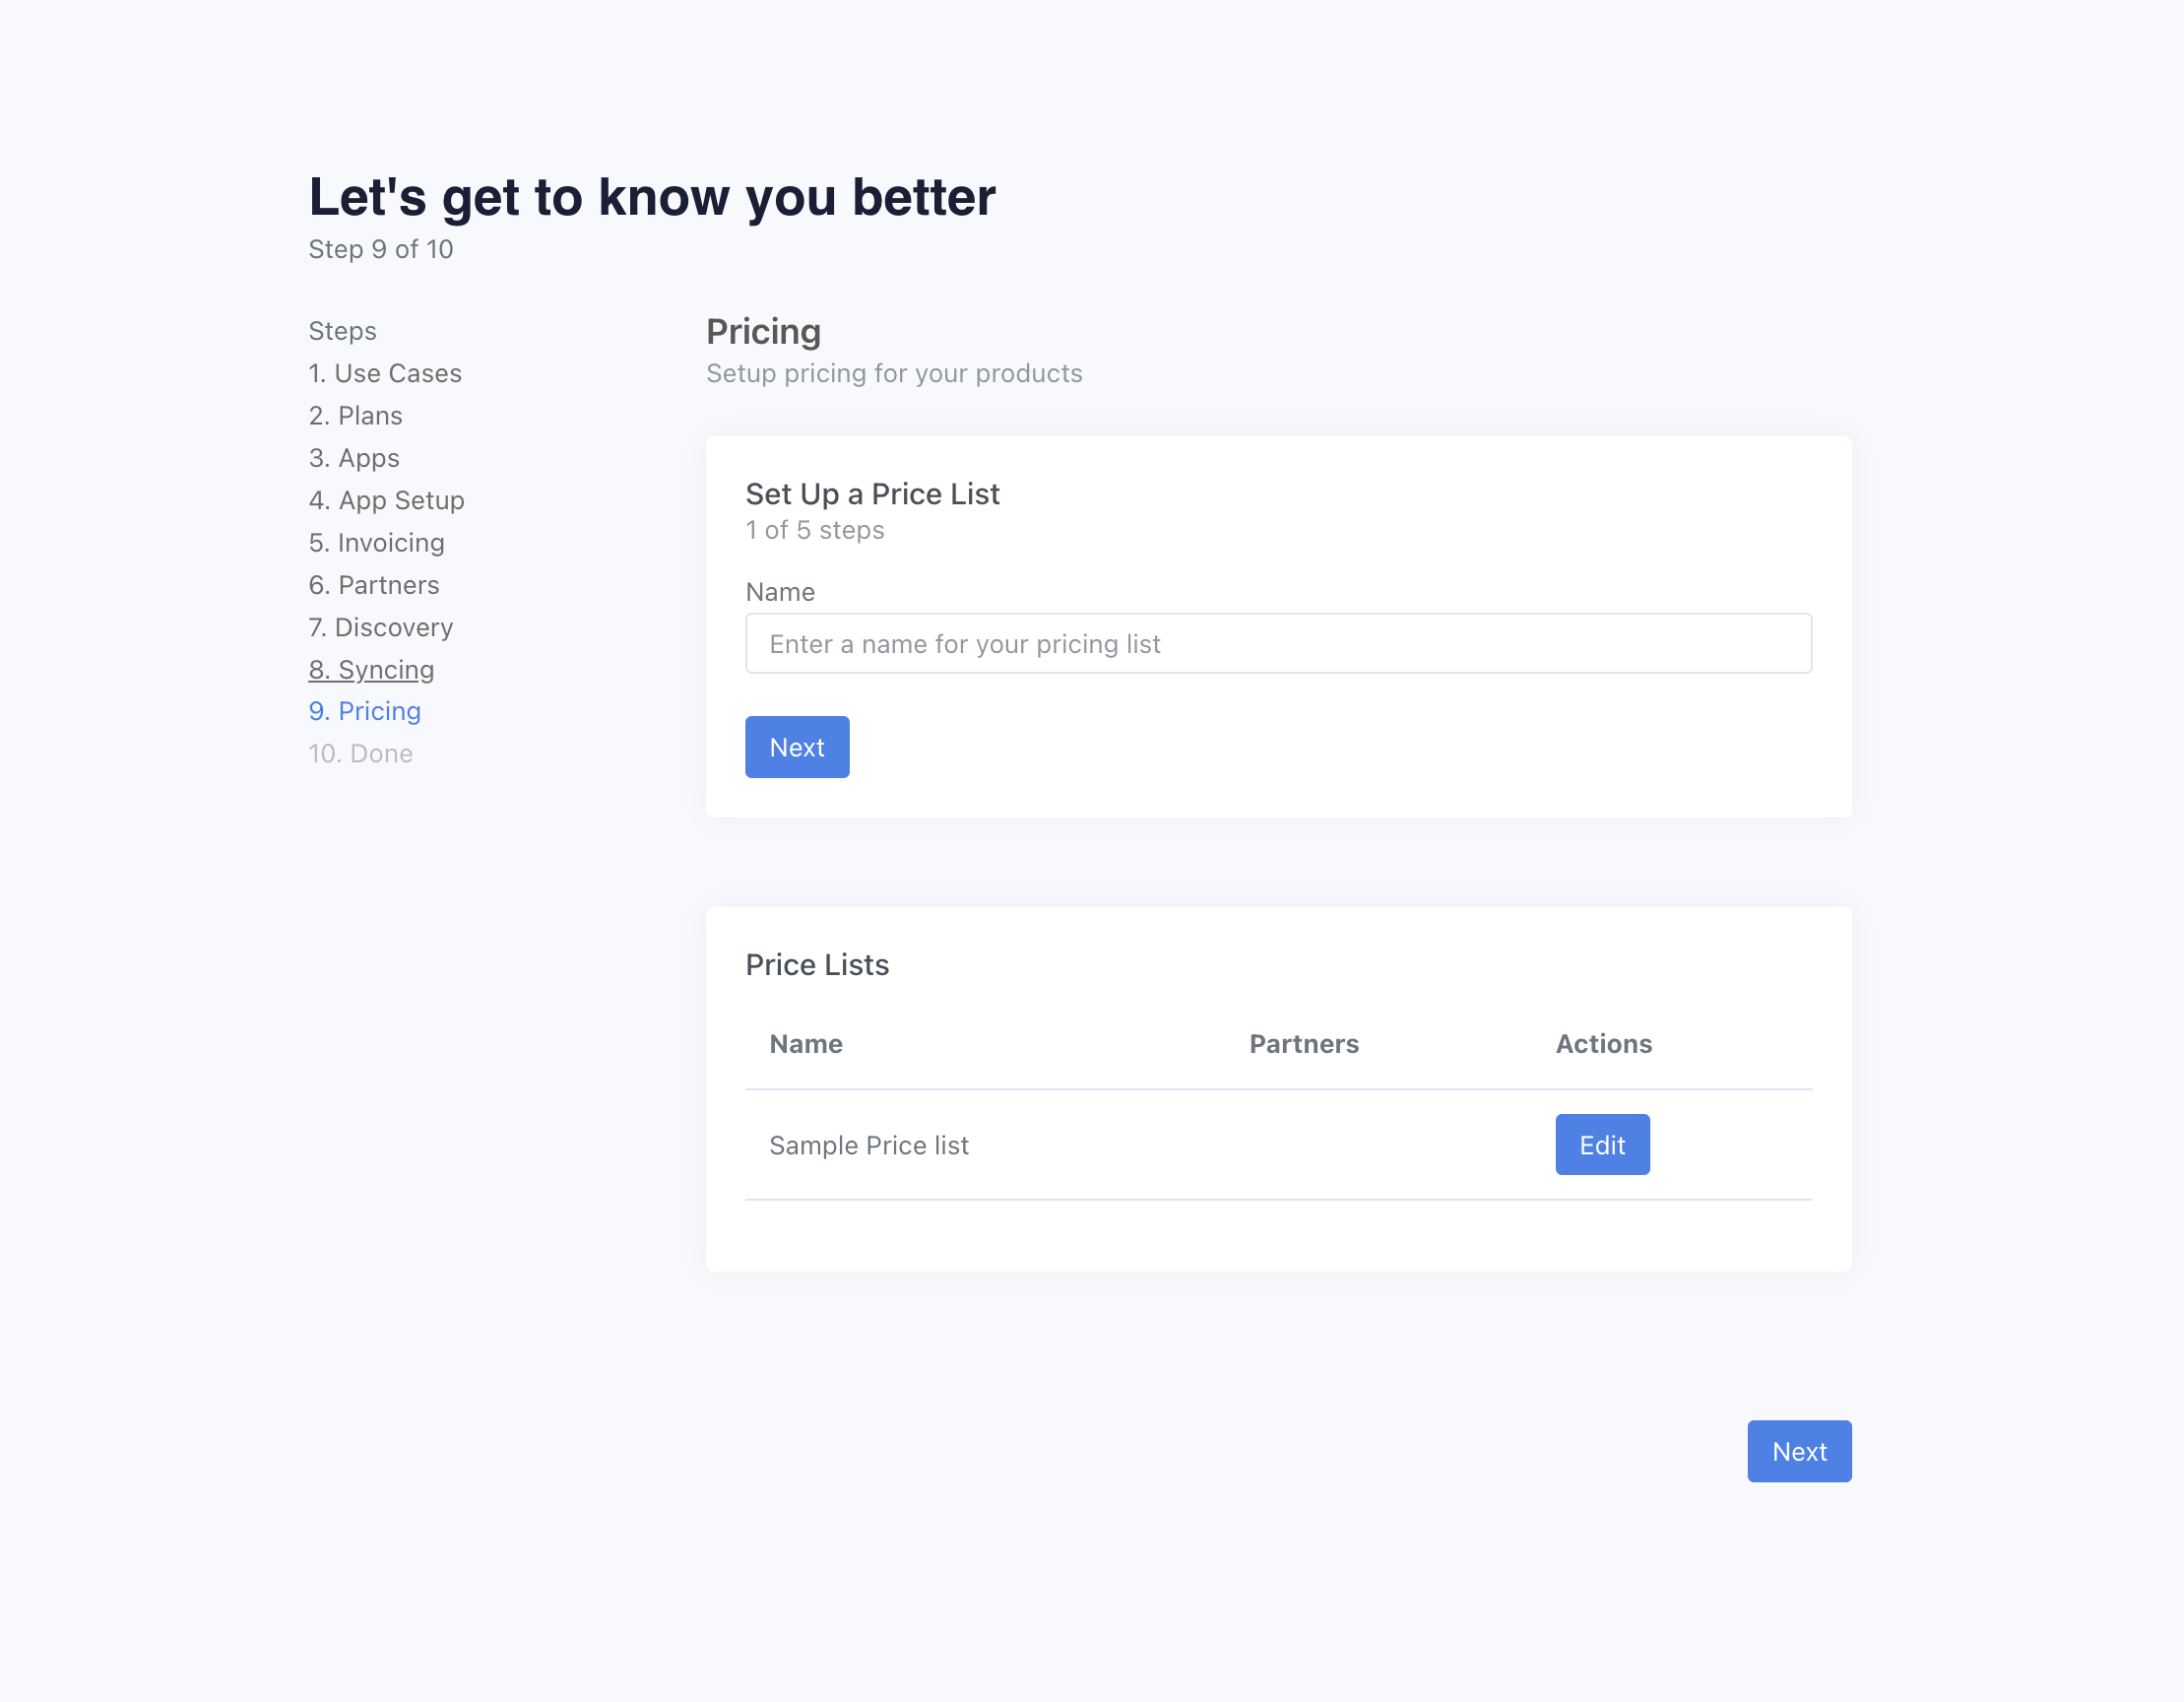
Step 9: Setup Pricing (Supplier)
We use price list for setting a price and retail price. The price is what you will invoice the retailer for the product. The retail price is a suggested retailer price for the retailer to sell it at.
Start with setting a name to the price list. We recommend you set a suffix of the retailer name, or a date. A price list can be used for multiple retailers.
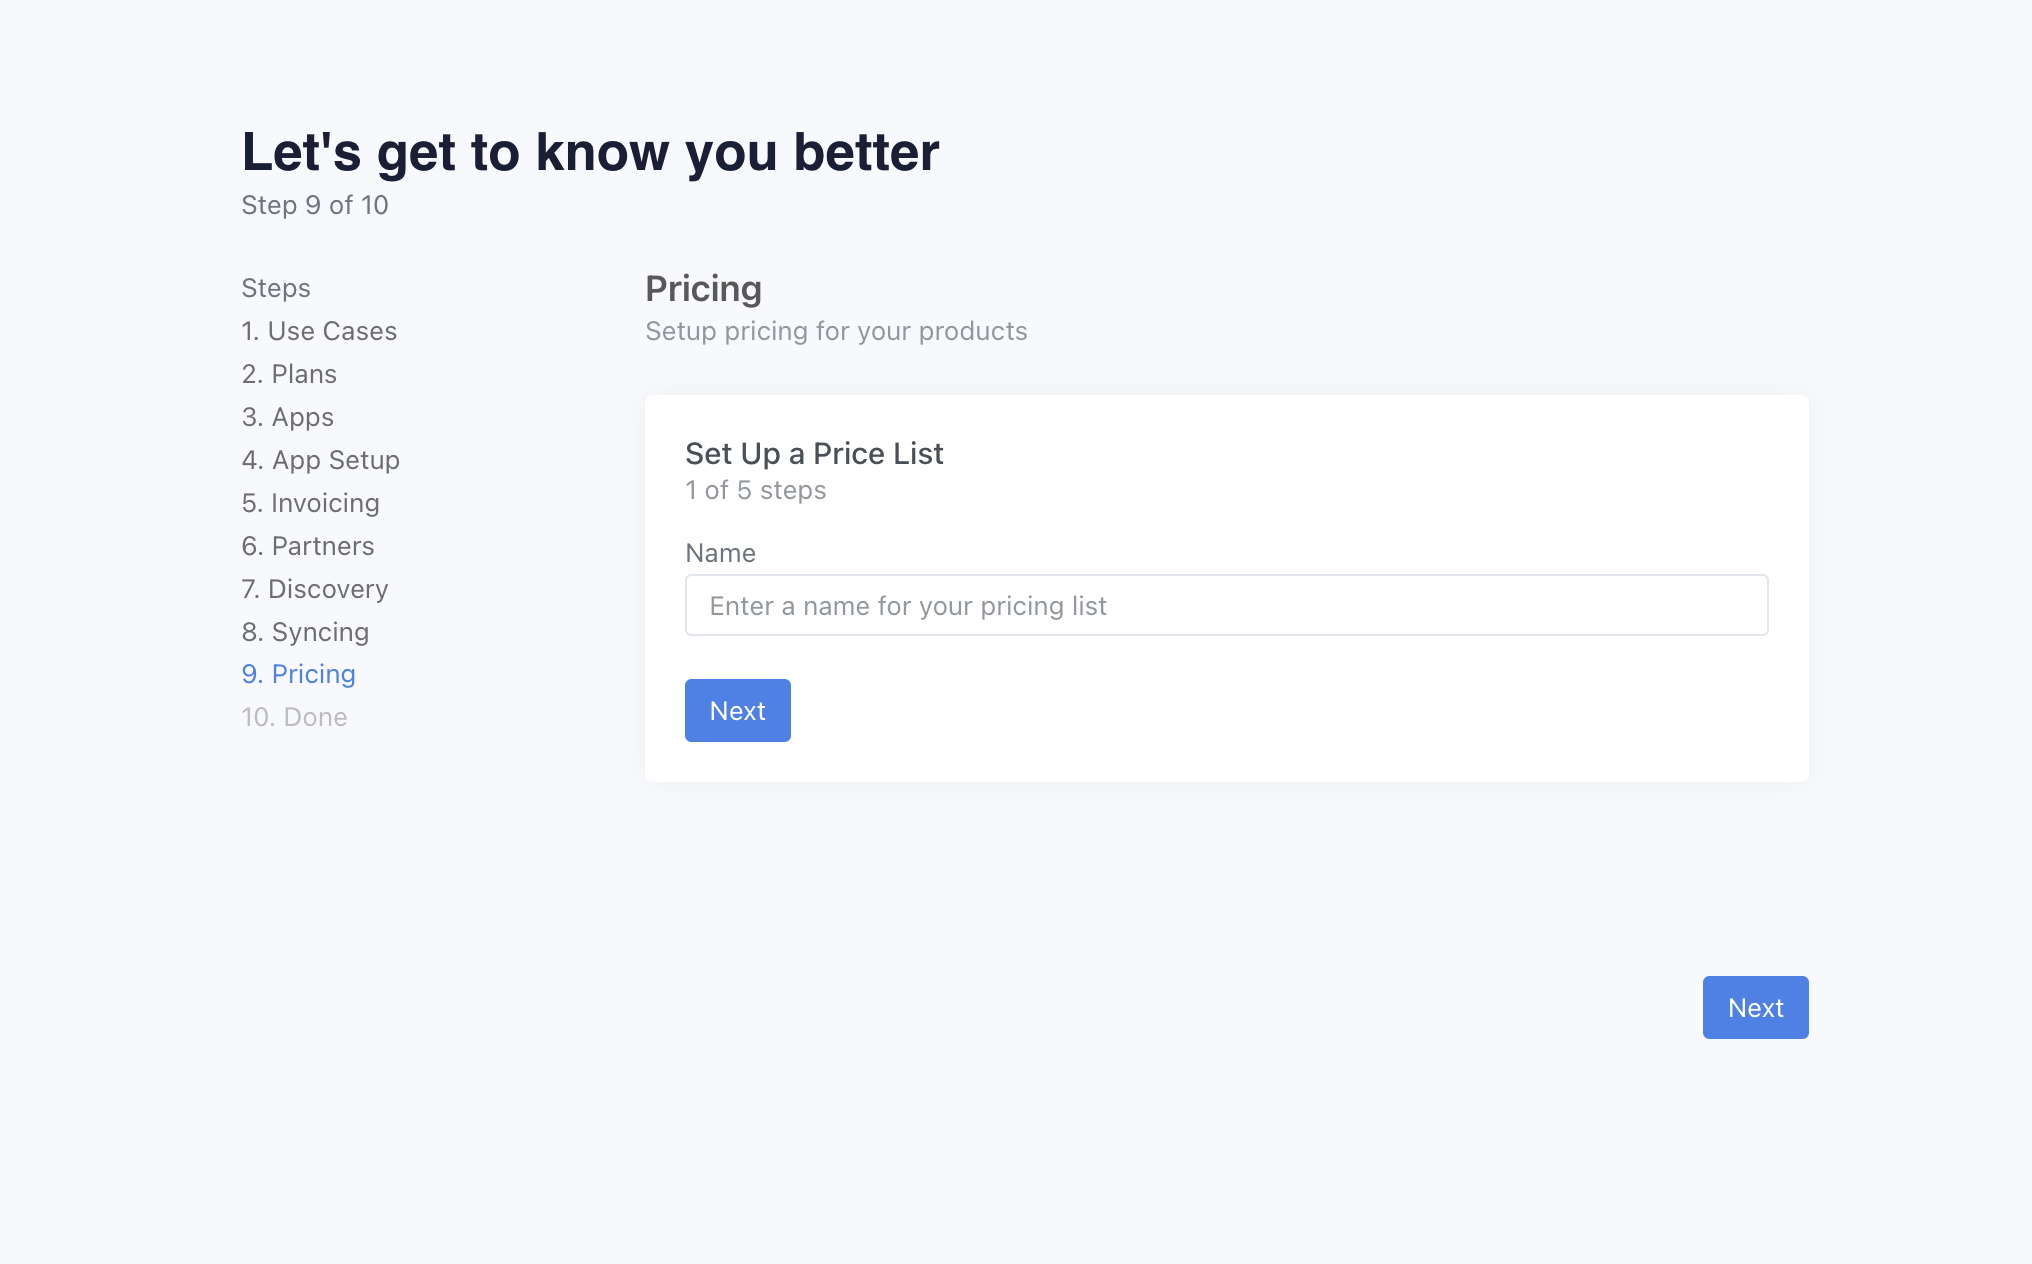
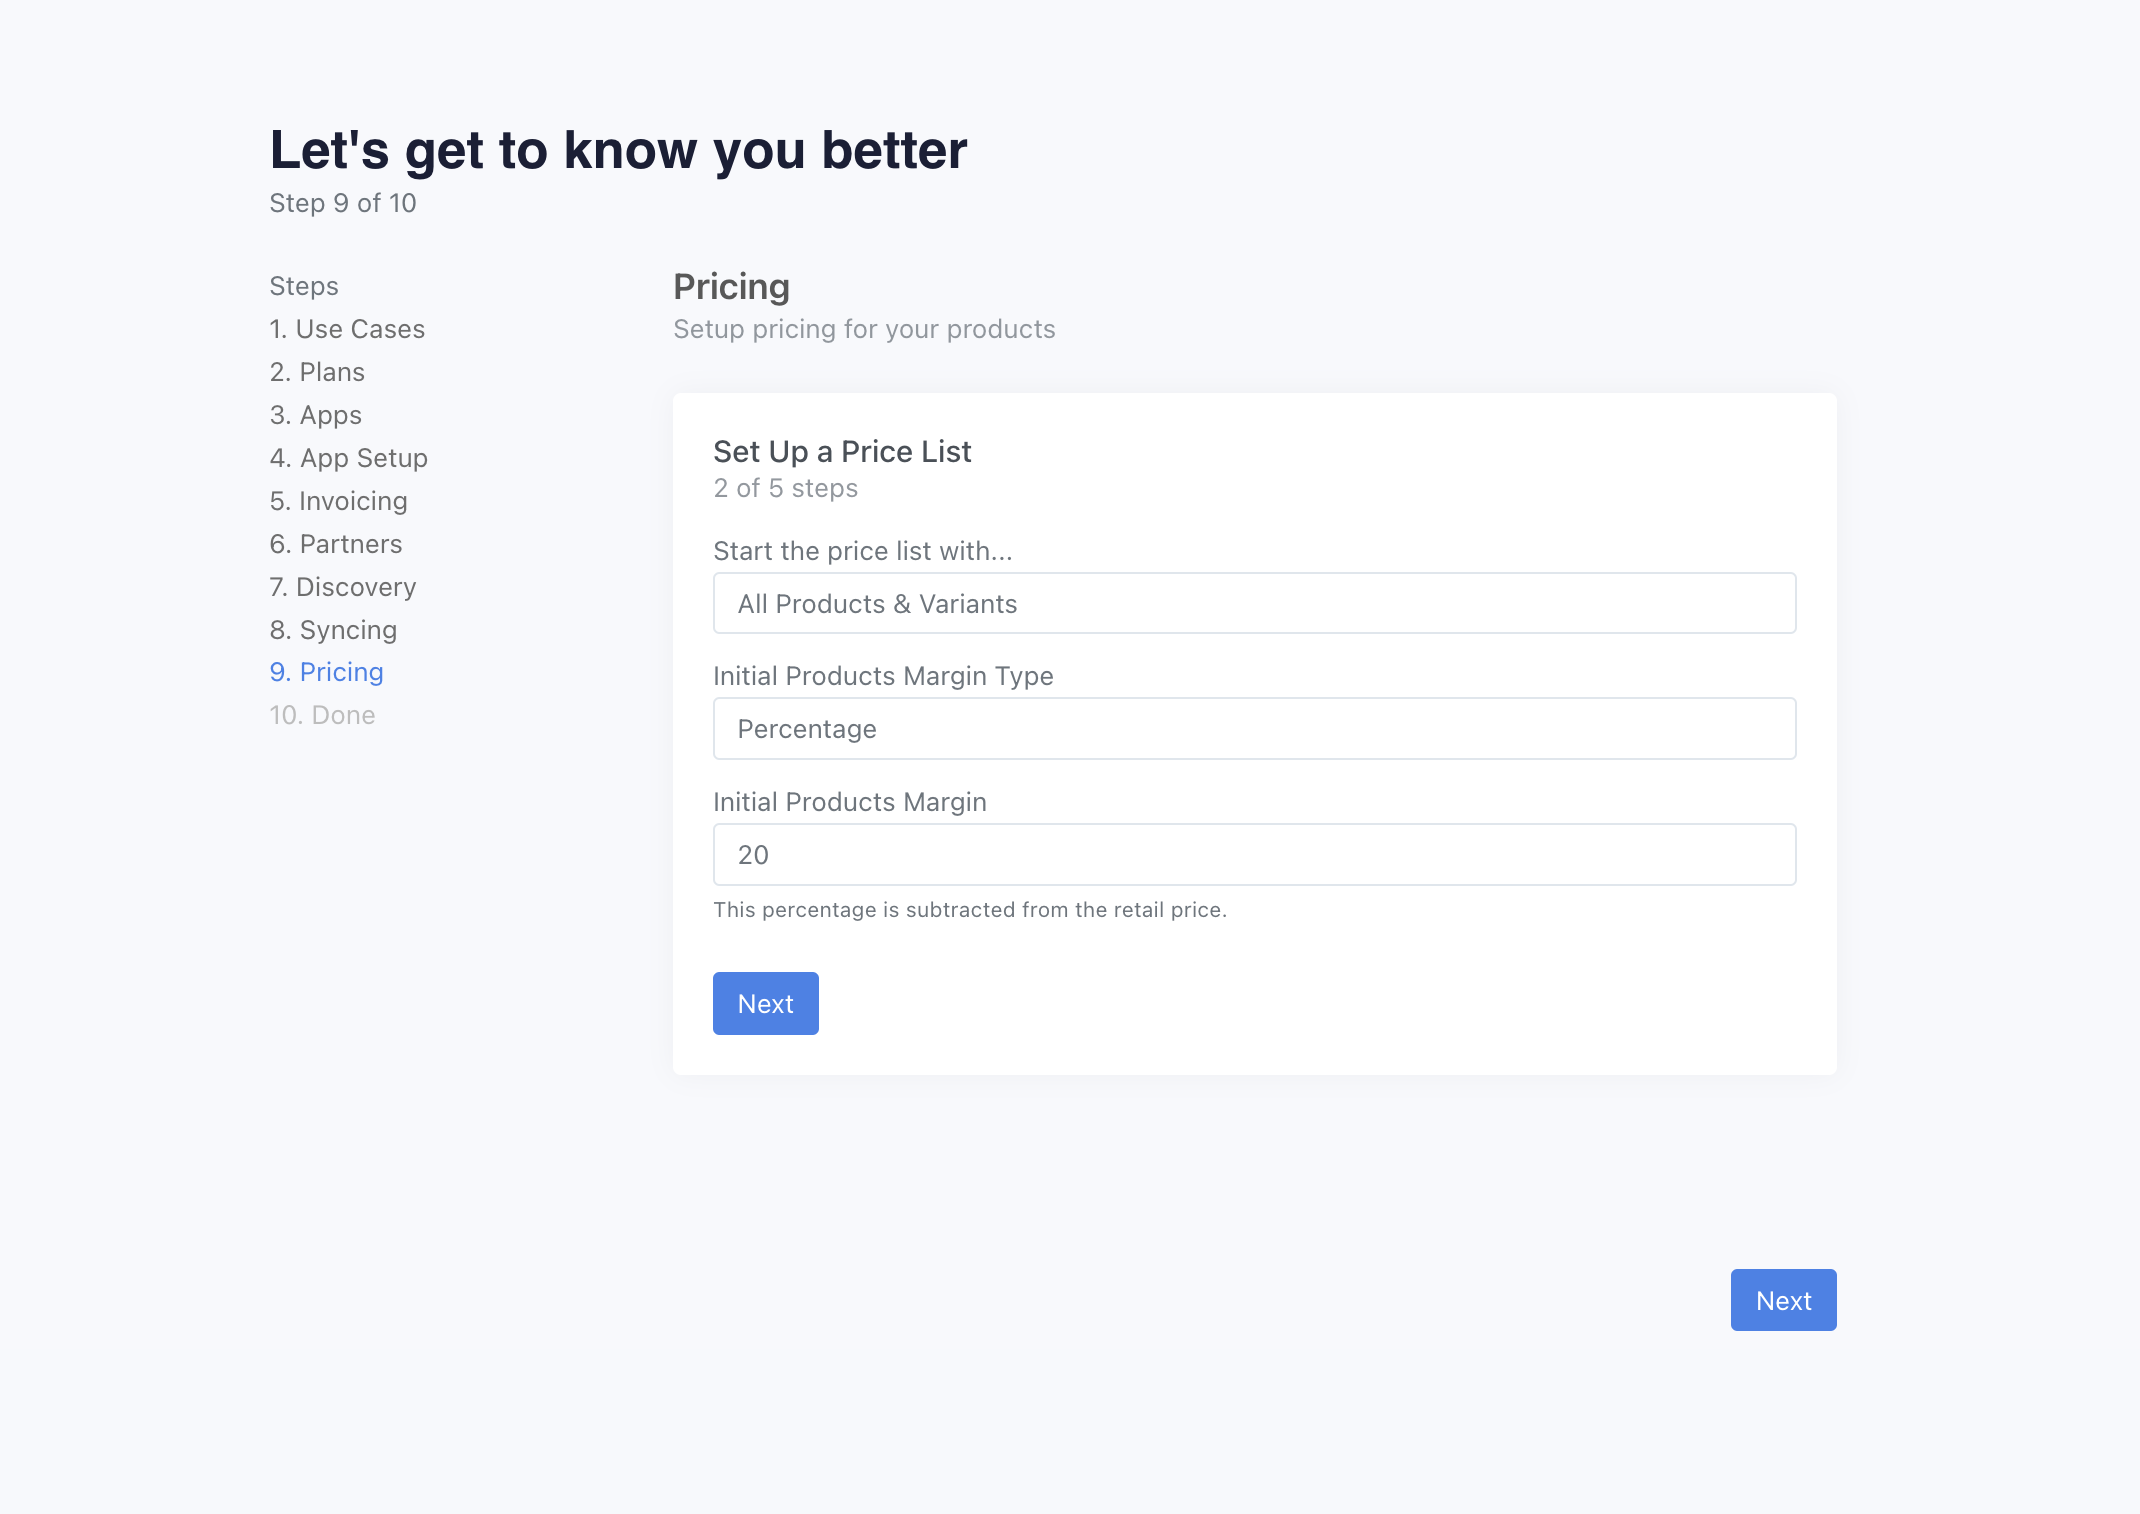
The next step is to set how to start the price list. It can be either empty, or all variants. If you select all variants, you will need to set an initial margin. It can be either fixed or percentage. Both are based on the retail price.
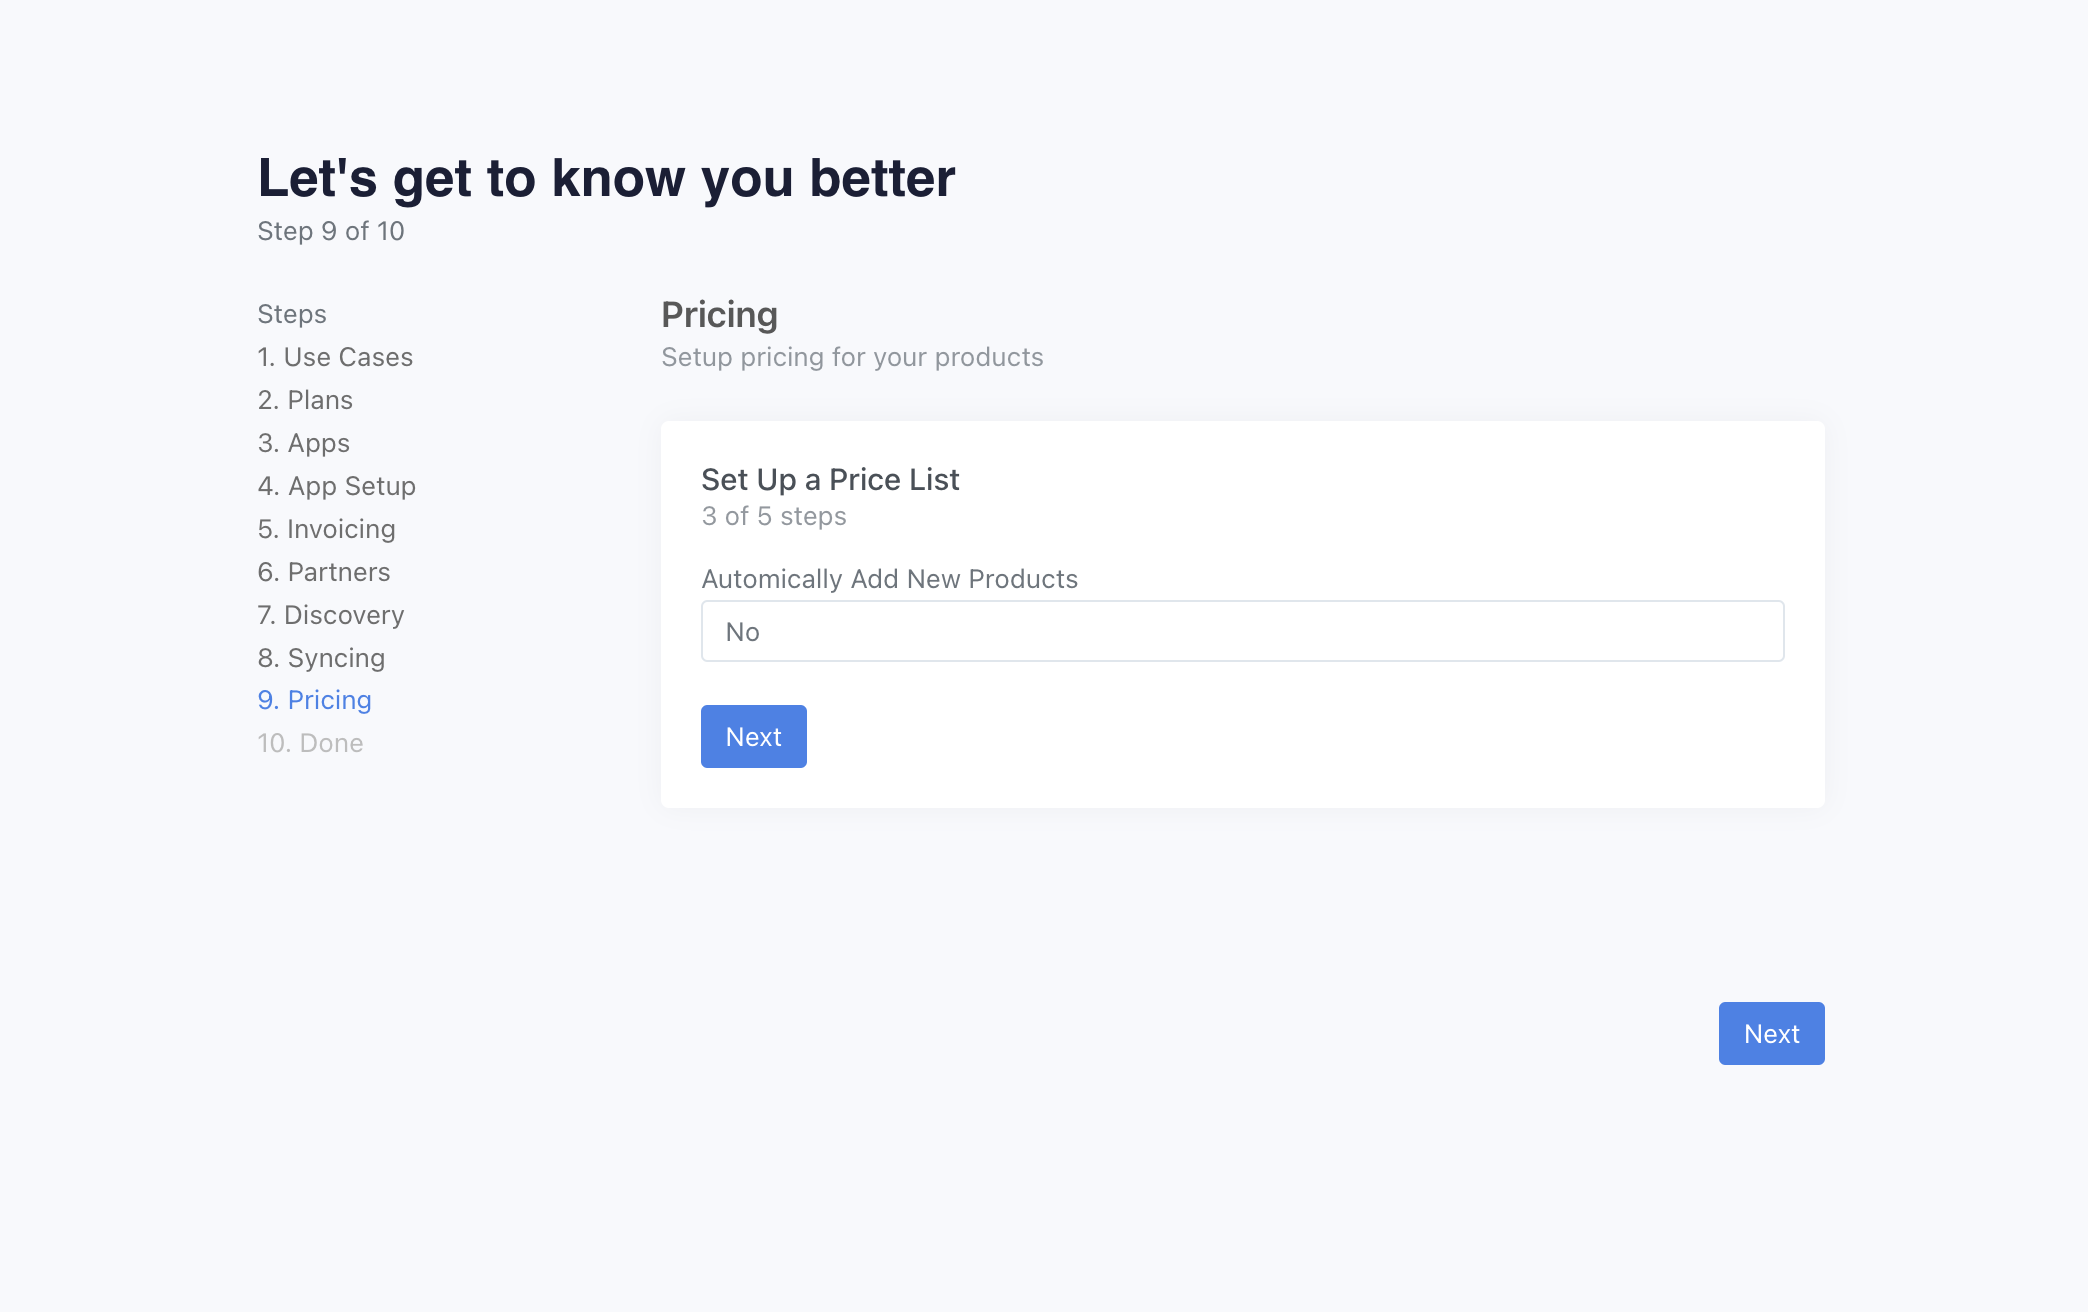
You can decide to automatically add new products to the price list. As you add new products into your Shopify store, they will automatically be added to the price list.
Finally review the details, and hit "Create".
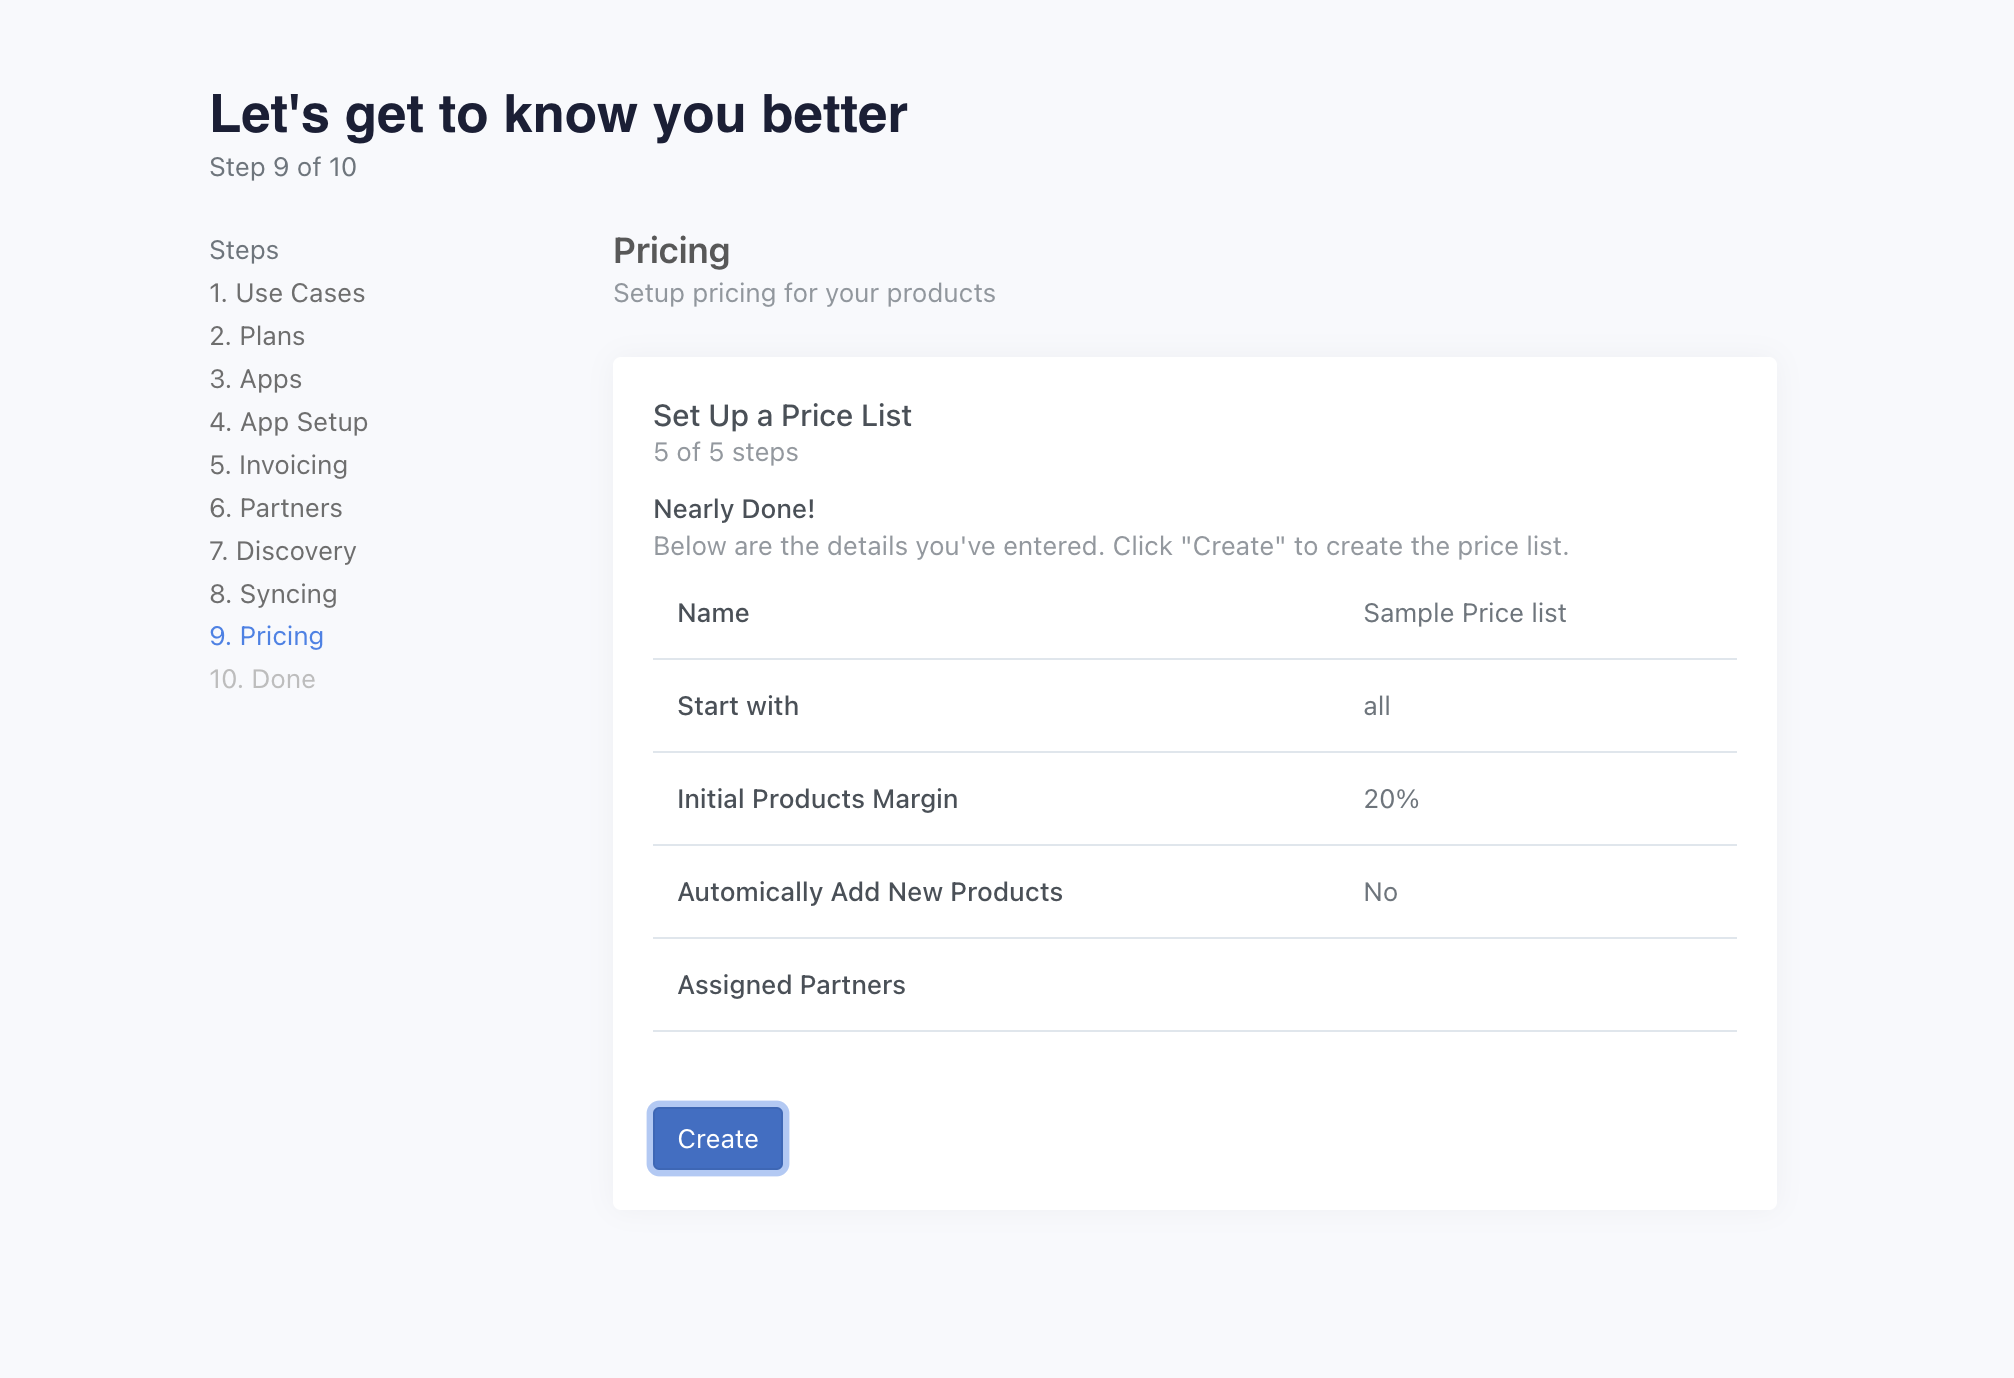
Your price list is ready. Hit "Next" to move onto the next step.
Step 10: Onboarding Complete (Supplier)
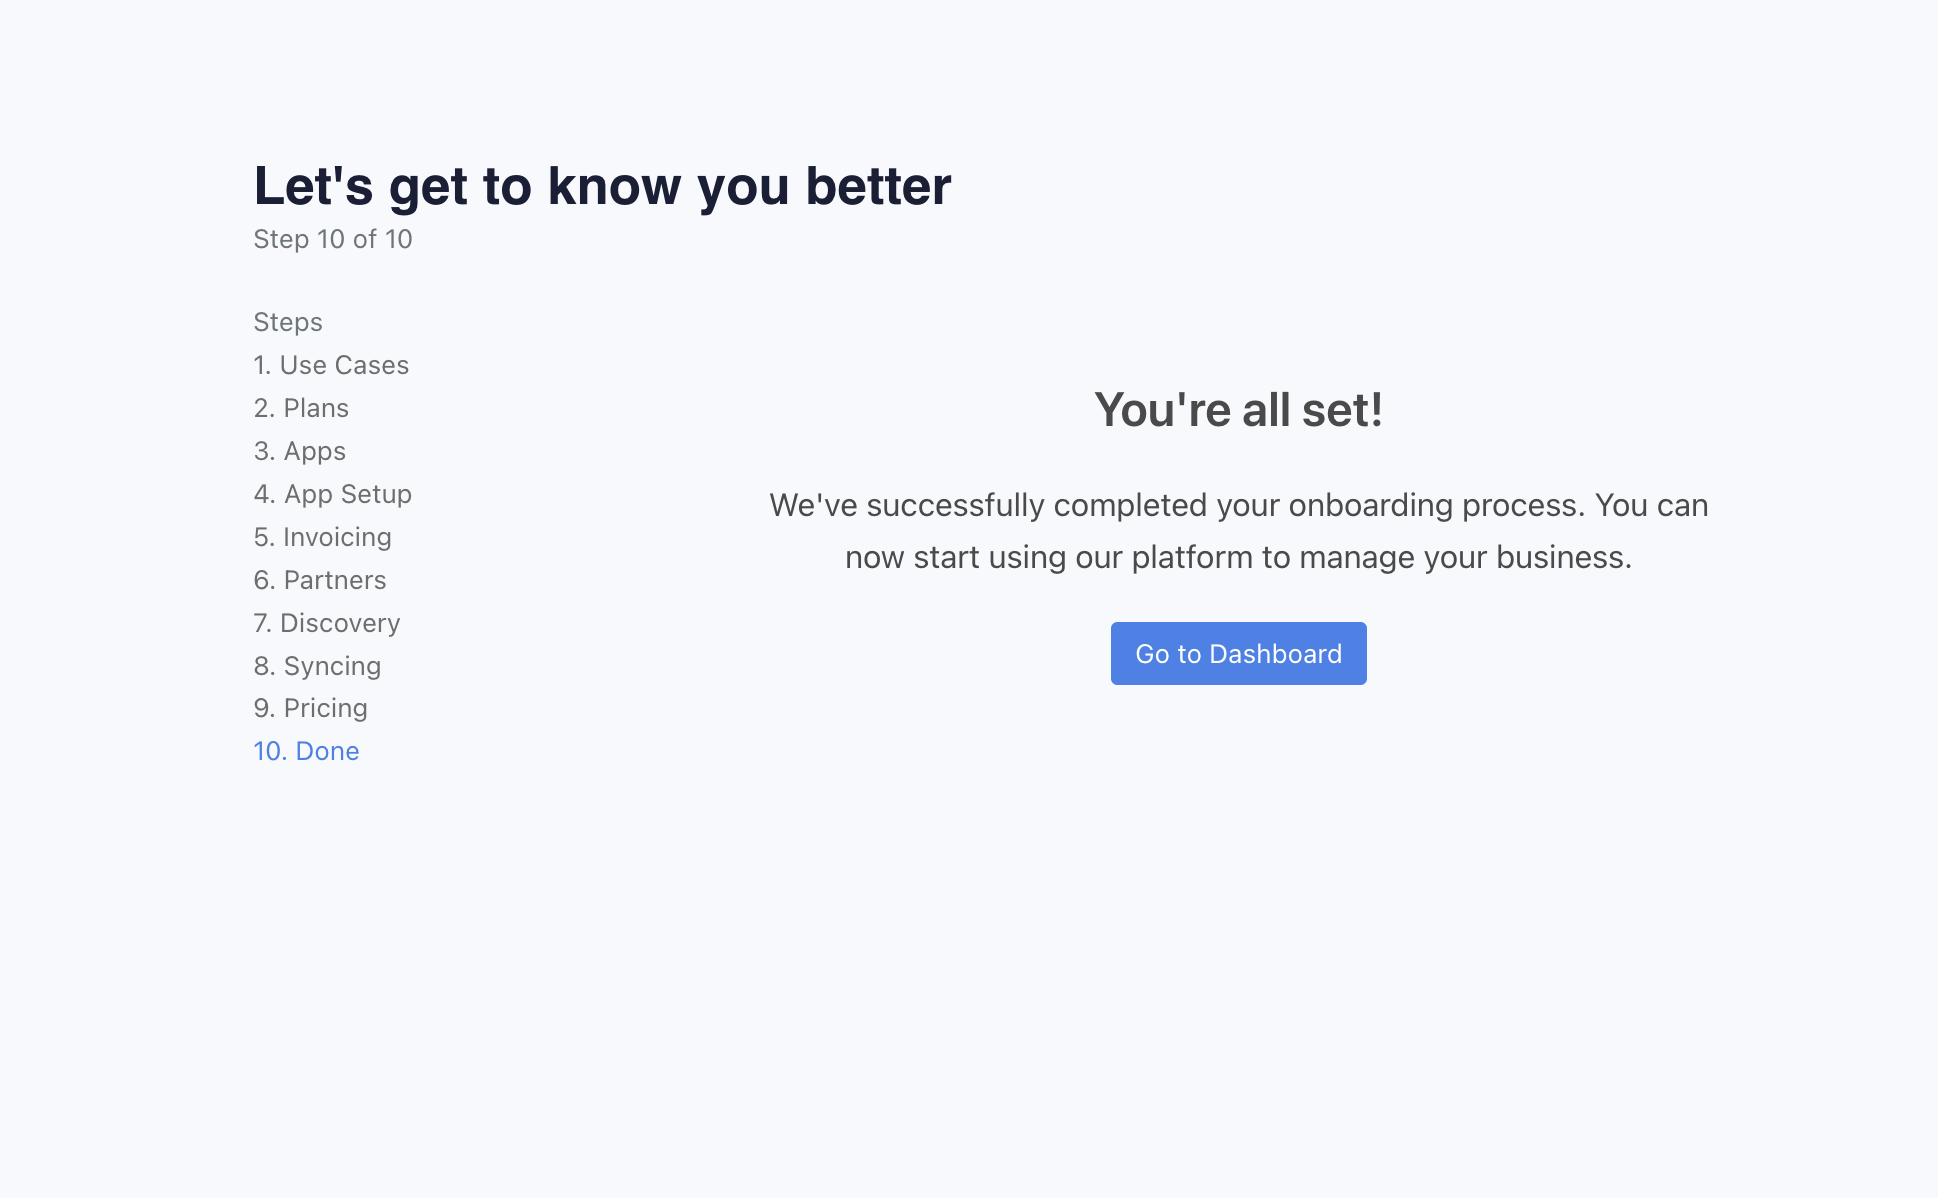
With that, onboarding is complete for the supplier.
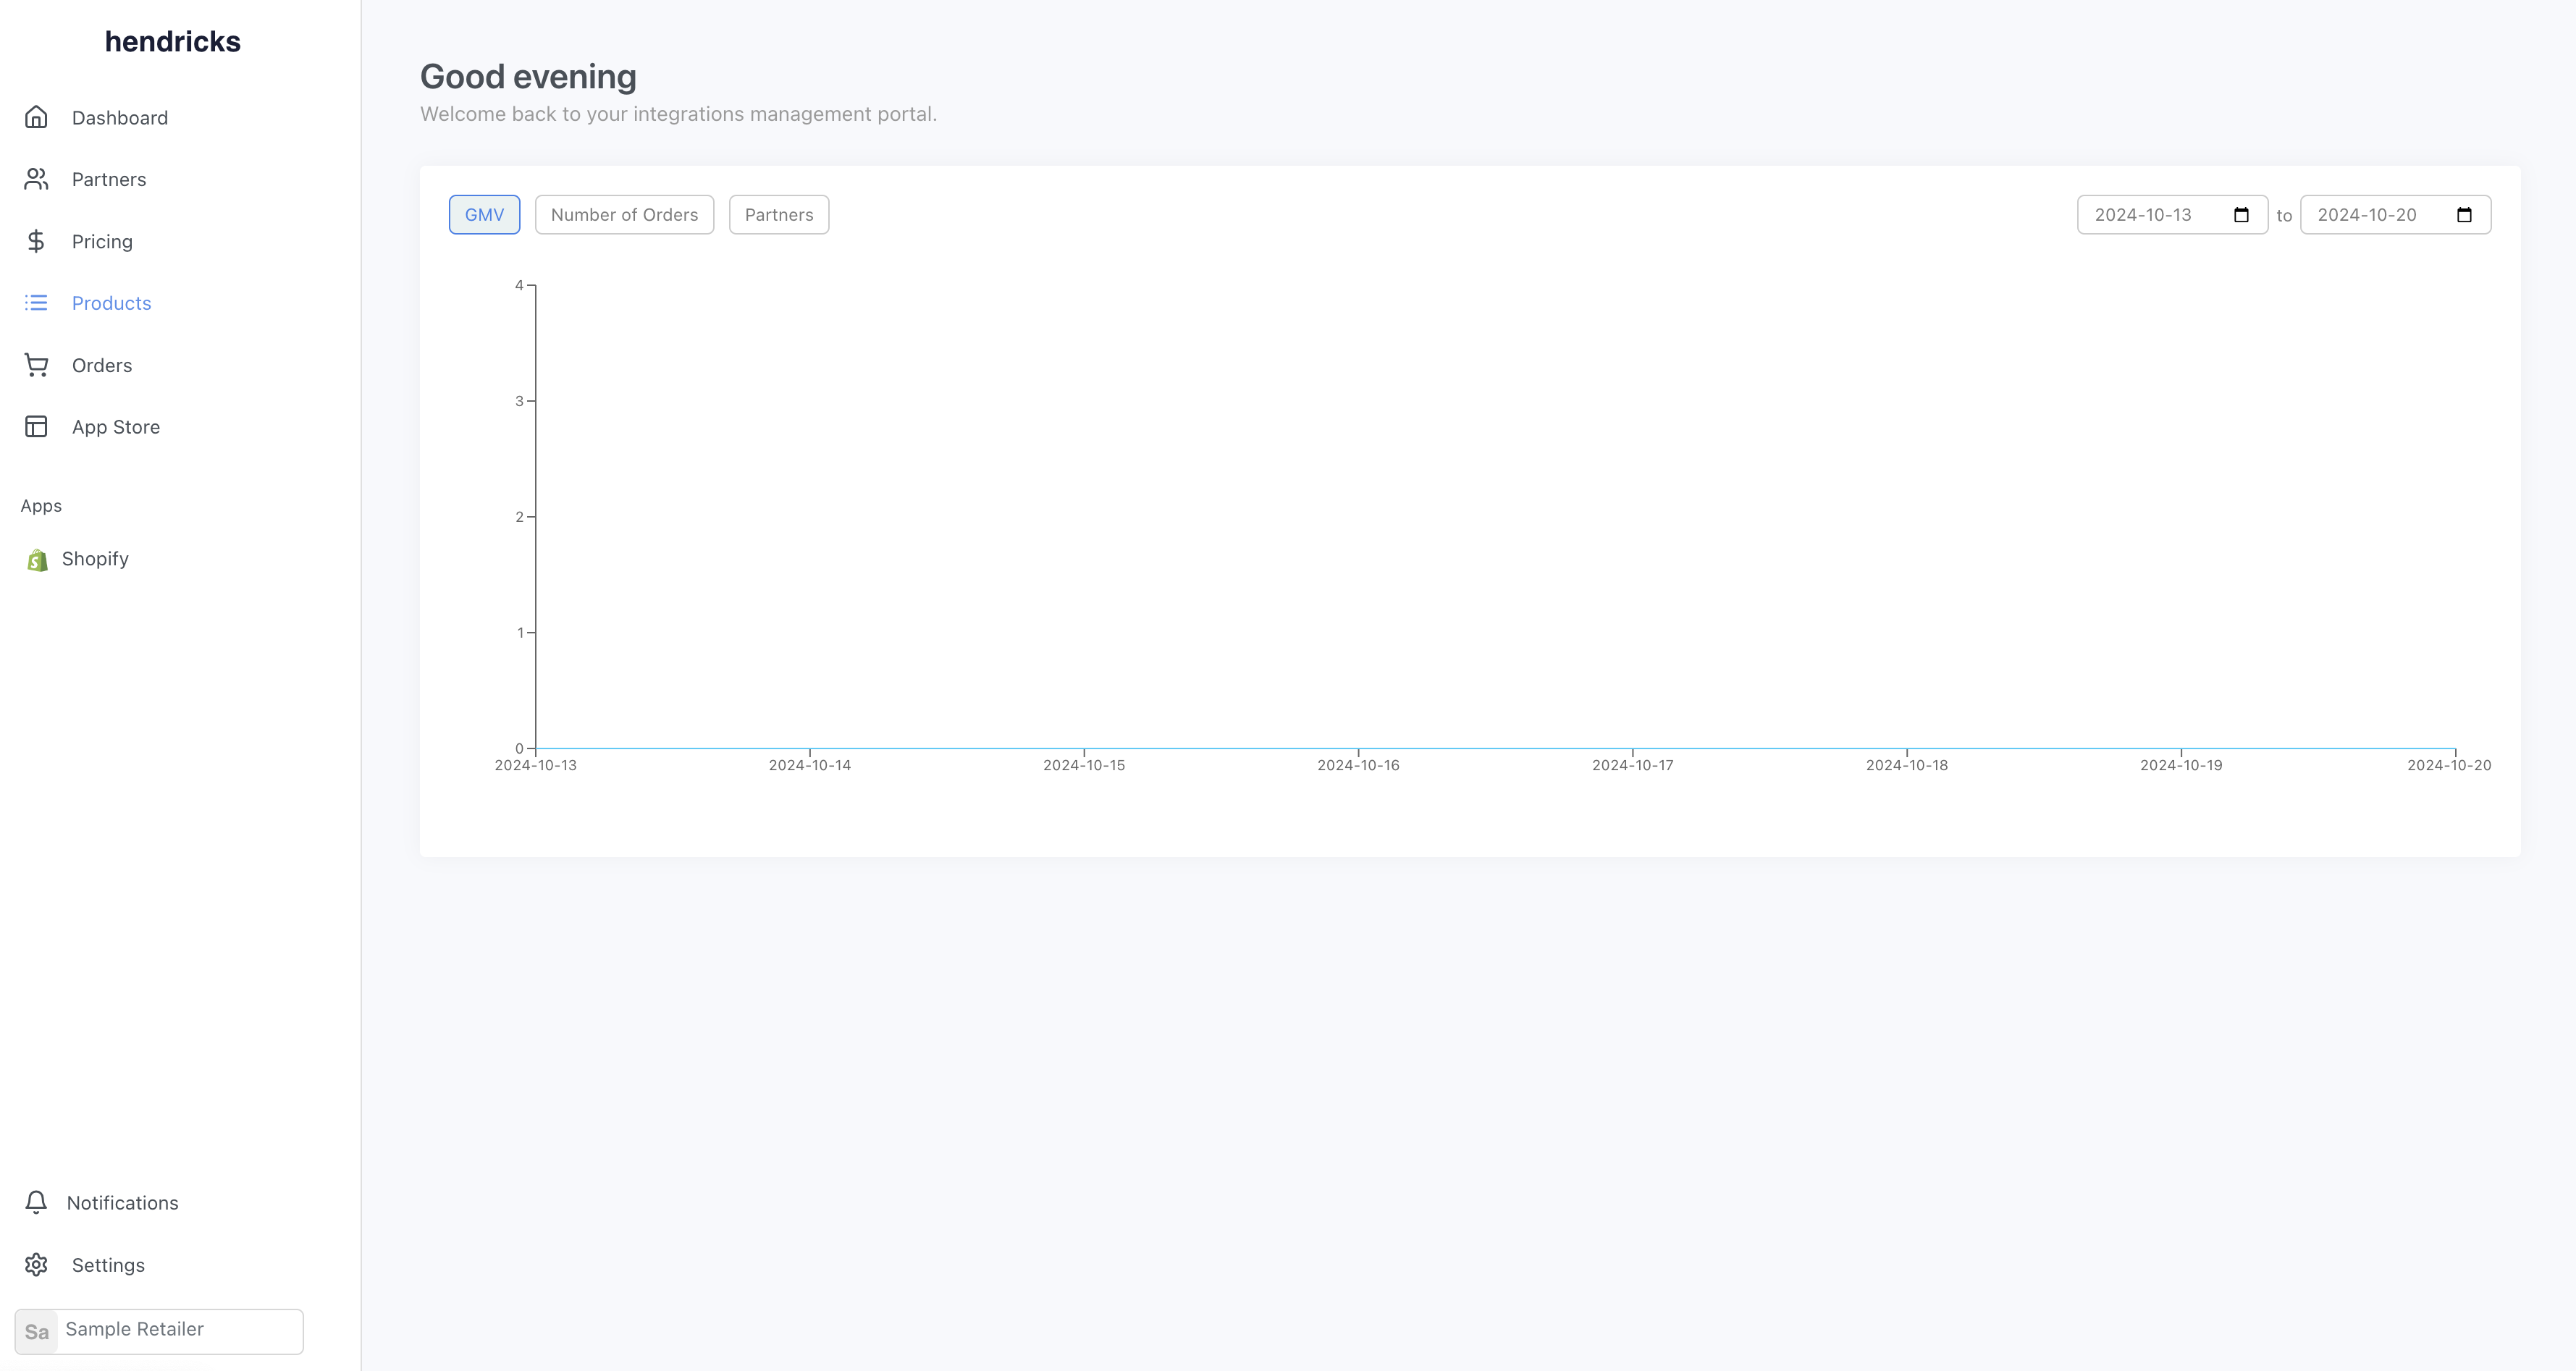
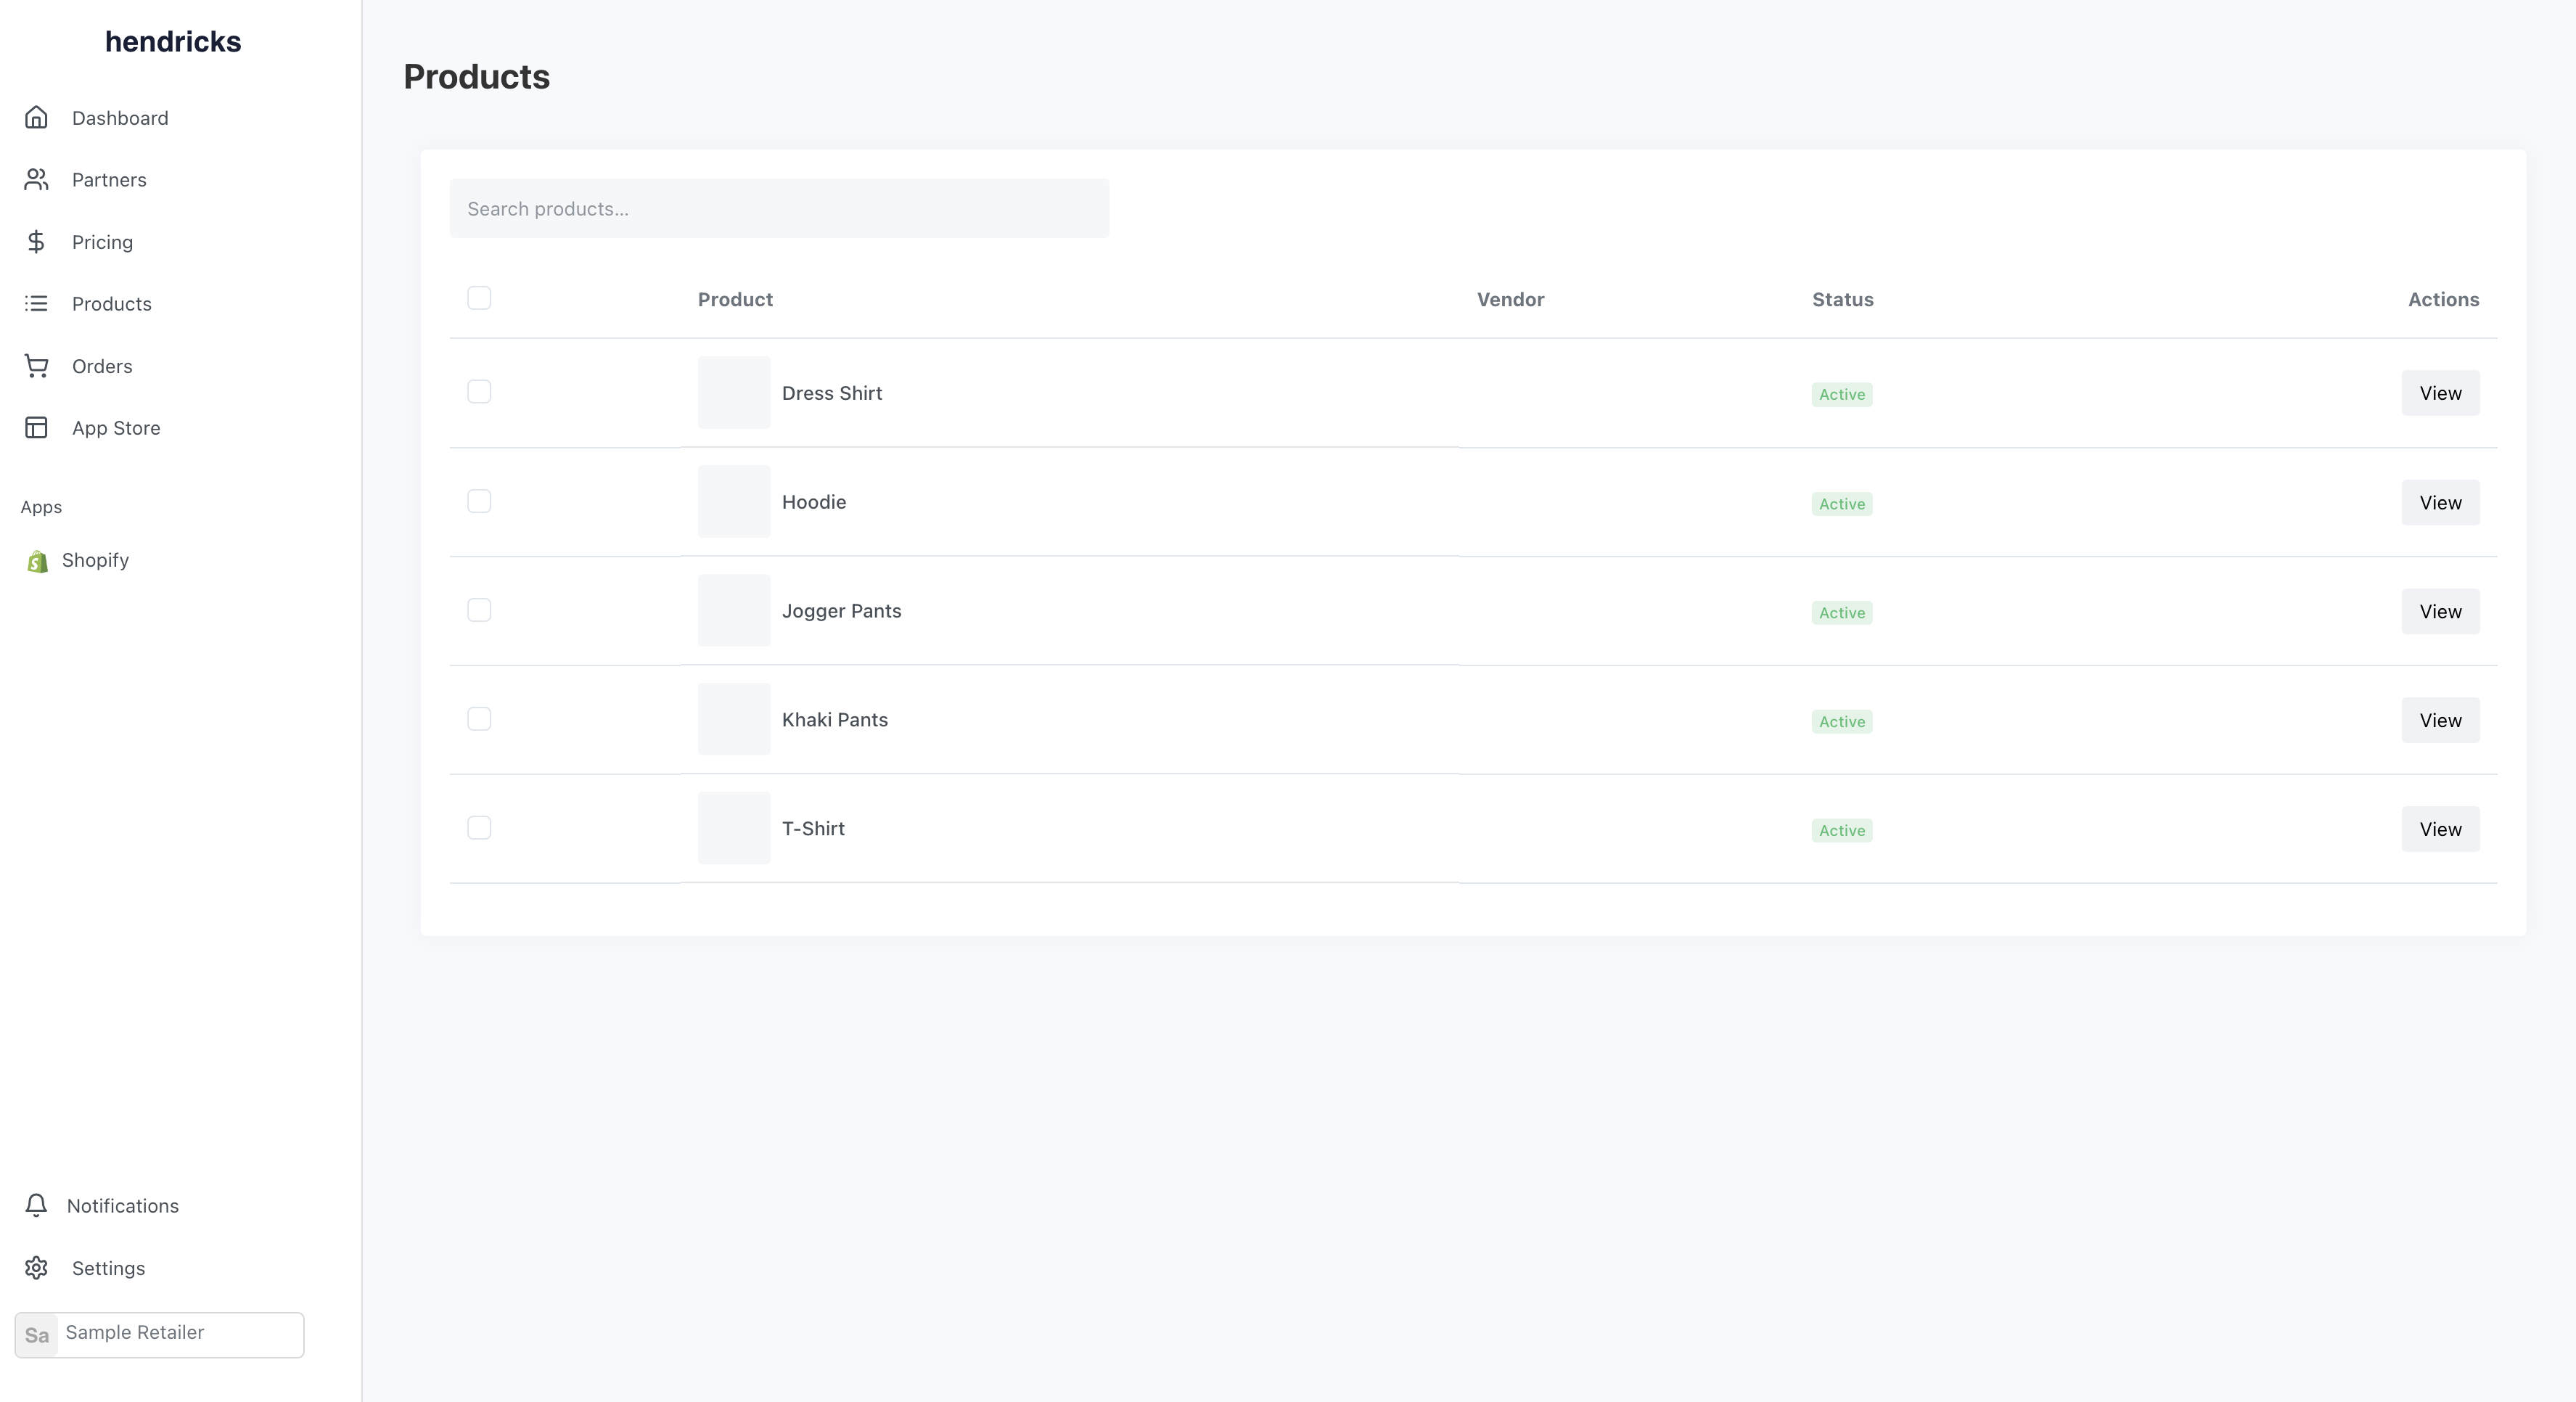
If you navigate to products, you will see all your products.
Step 11: Accept Invites (Retailer)
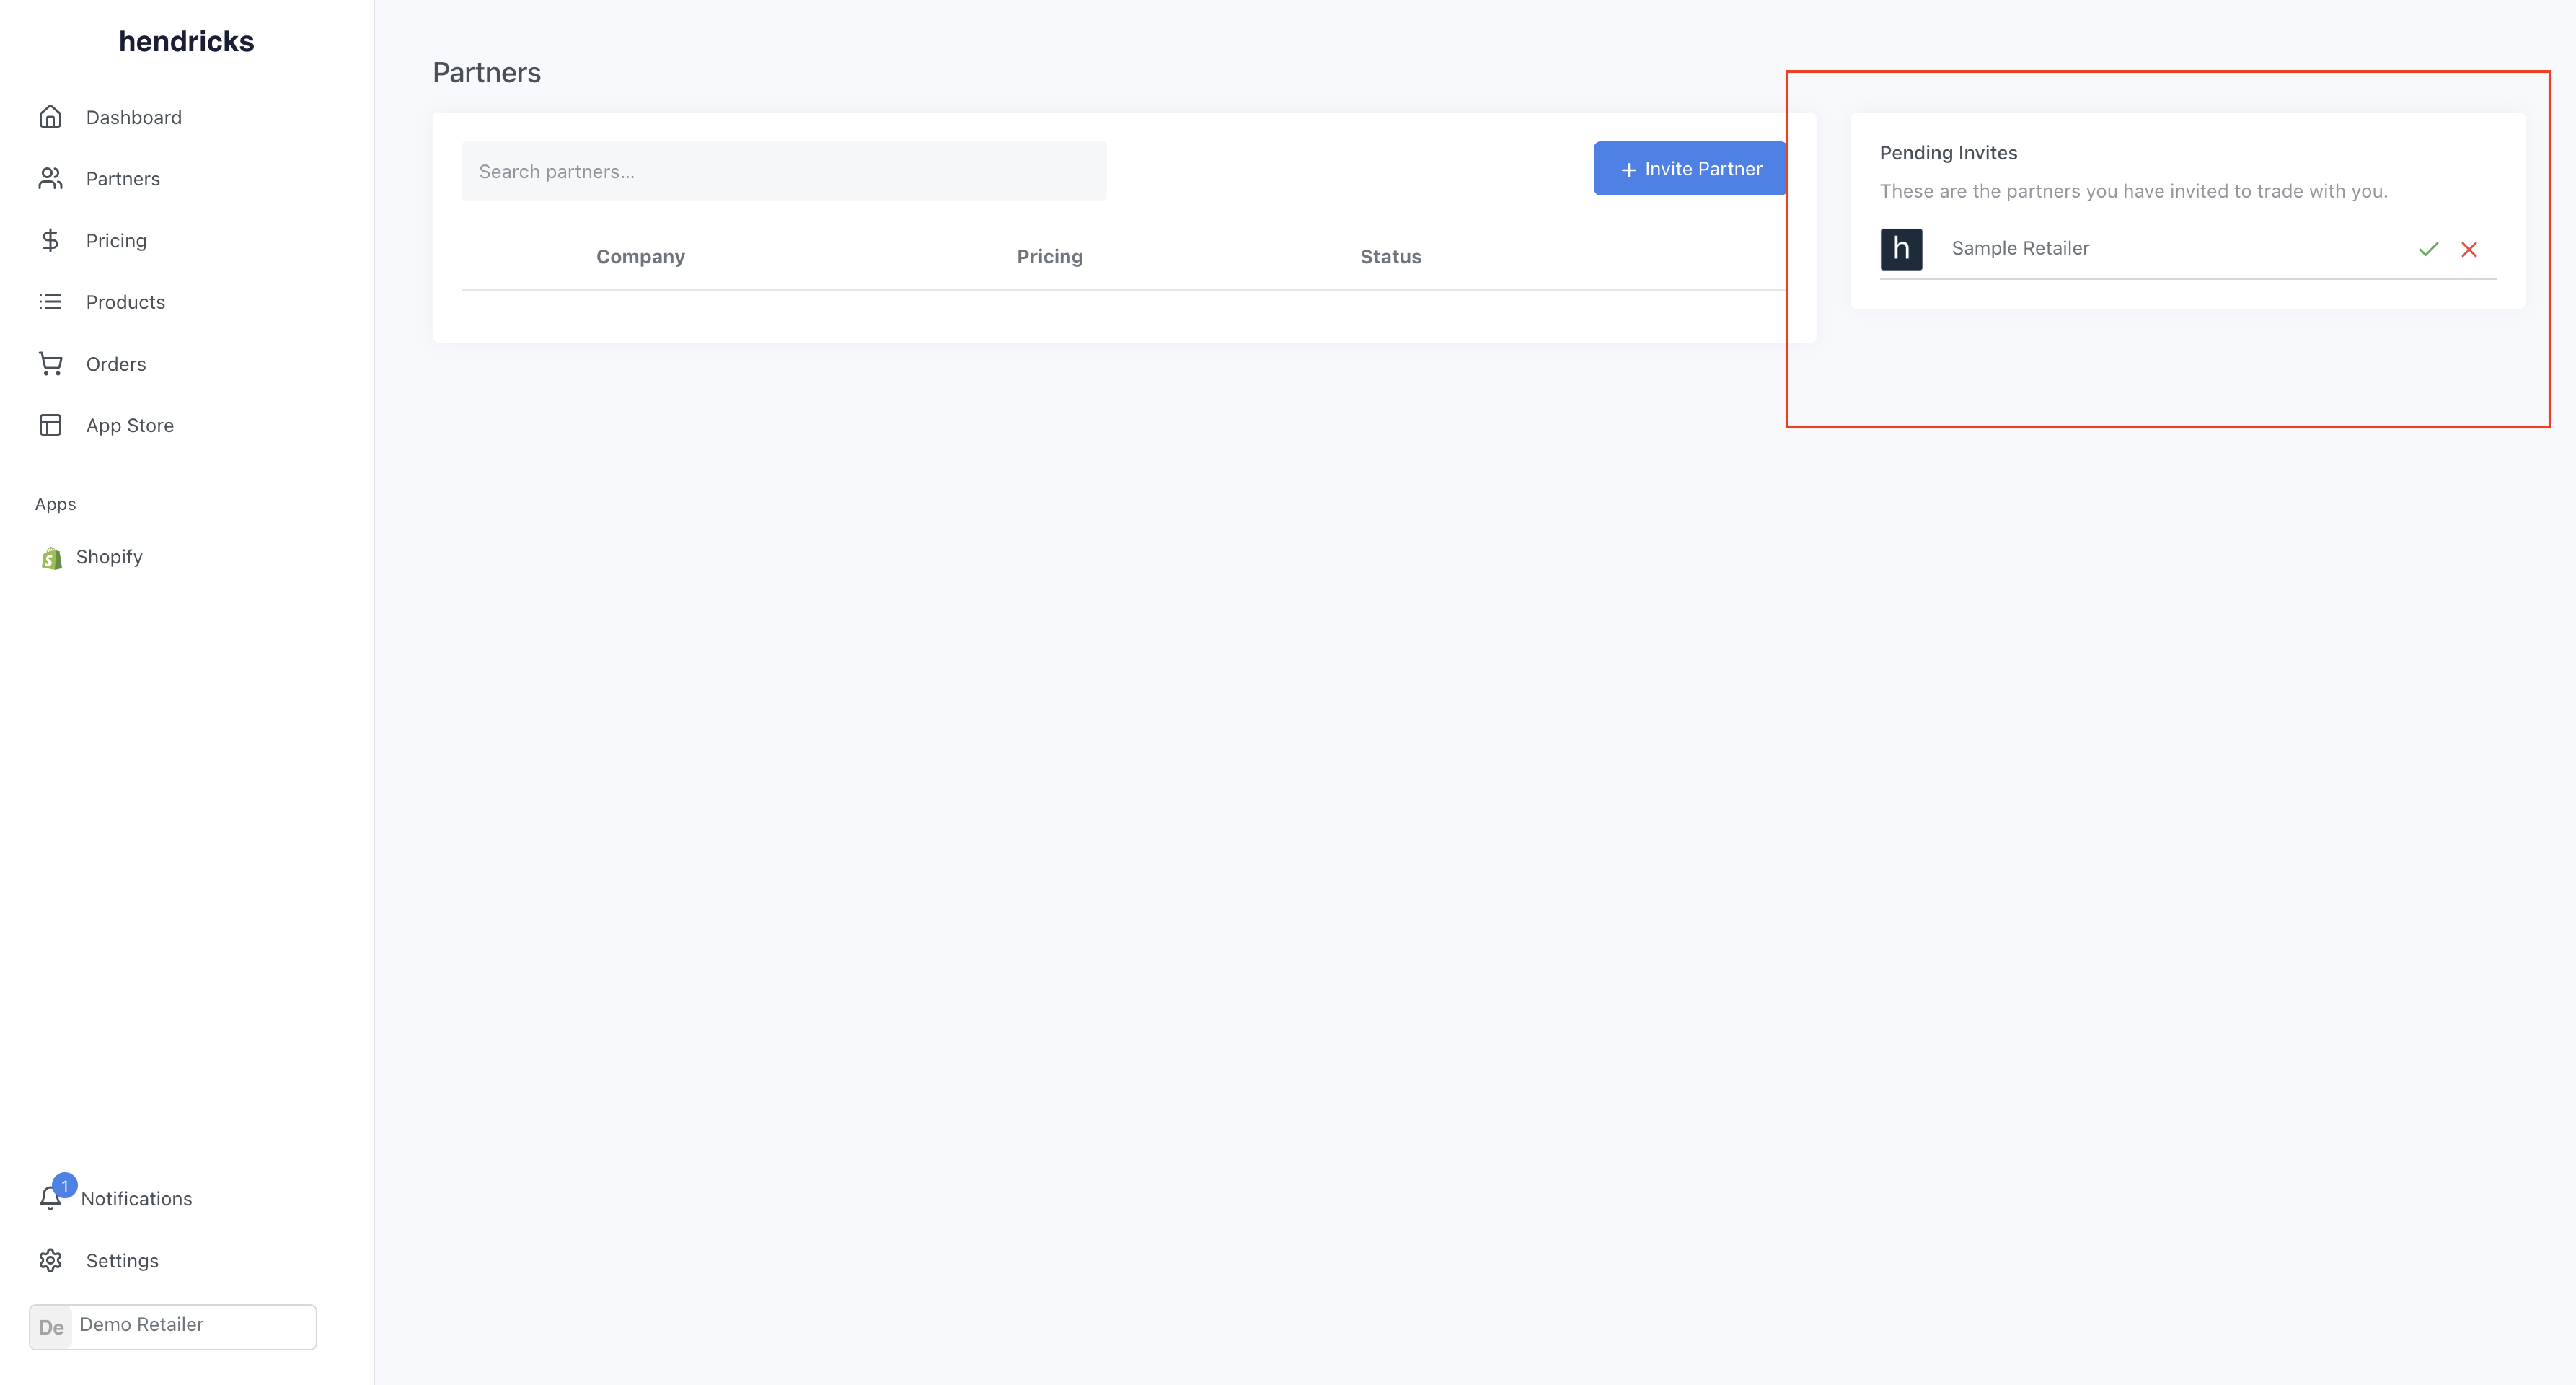
You will need repeat the steps above. During onboarding, you will have the opportunity to accept invites from suppliers.
If you didn't accept it during onboarding, you can find it on the partners page.
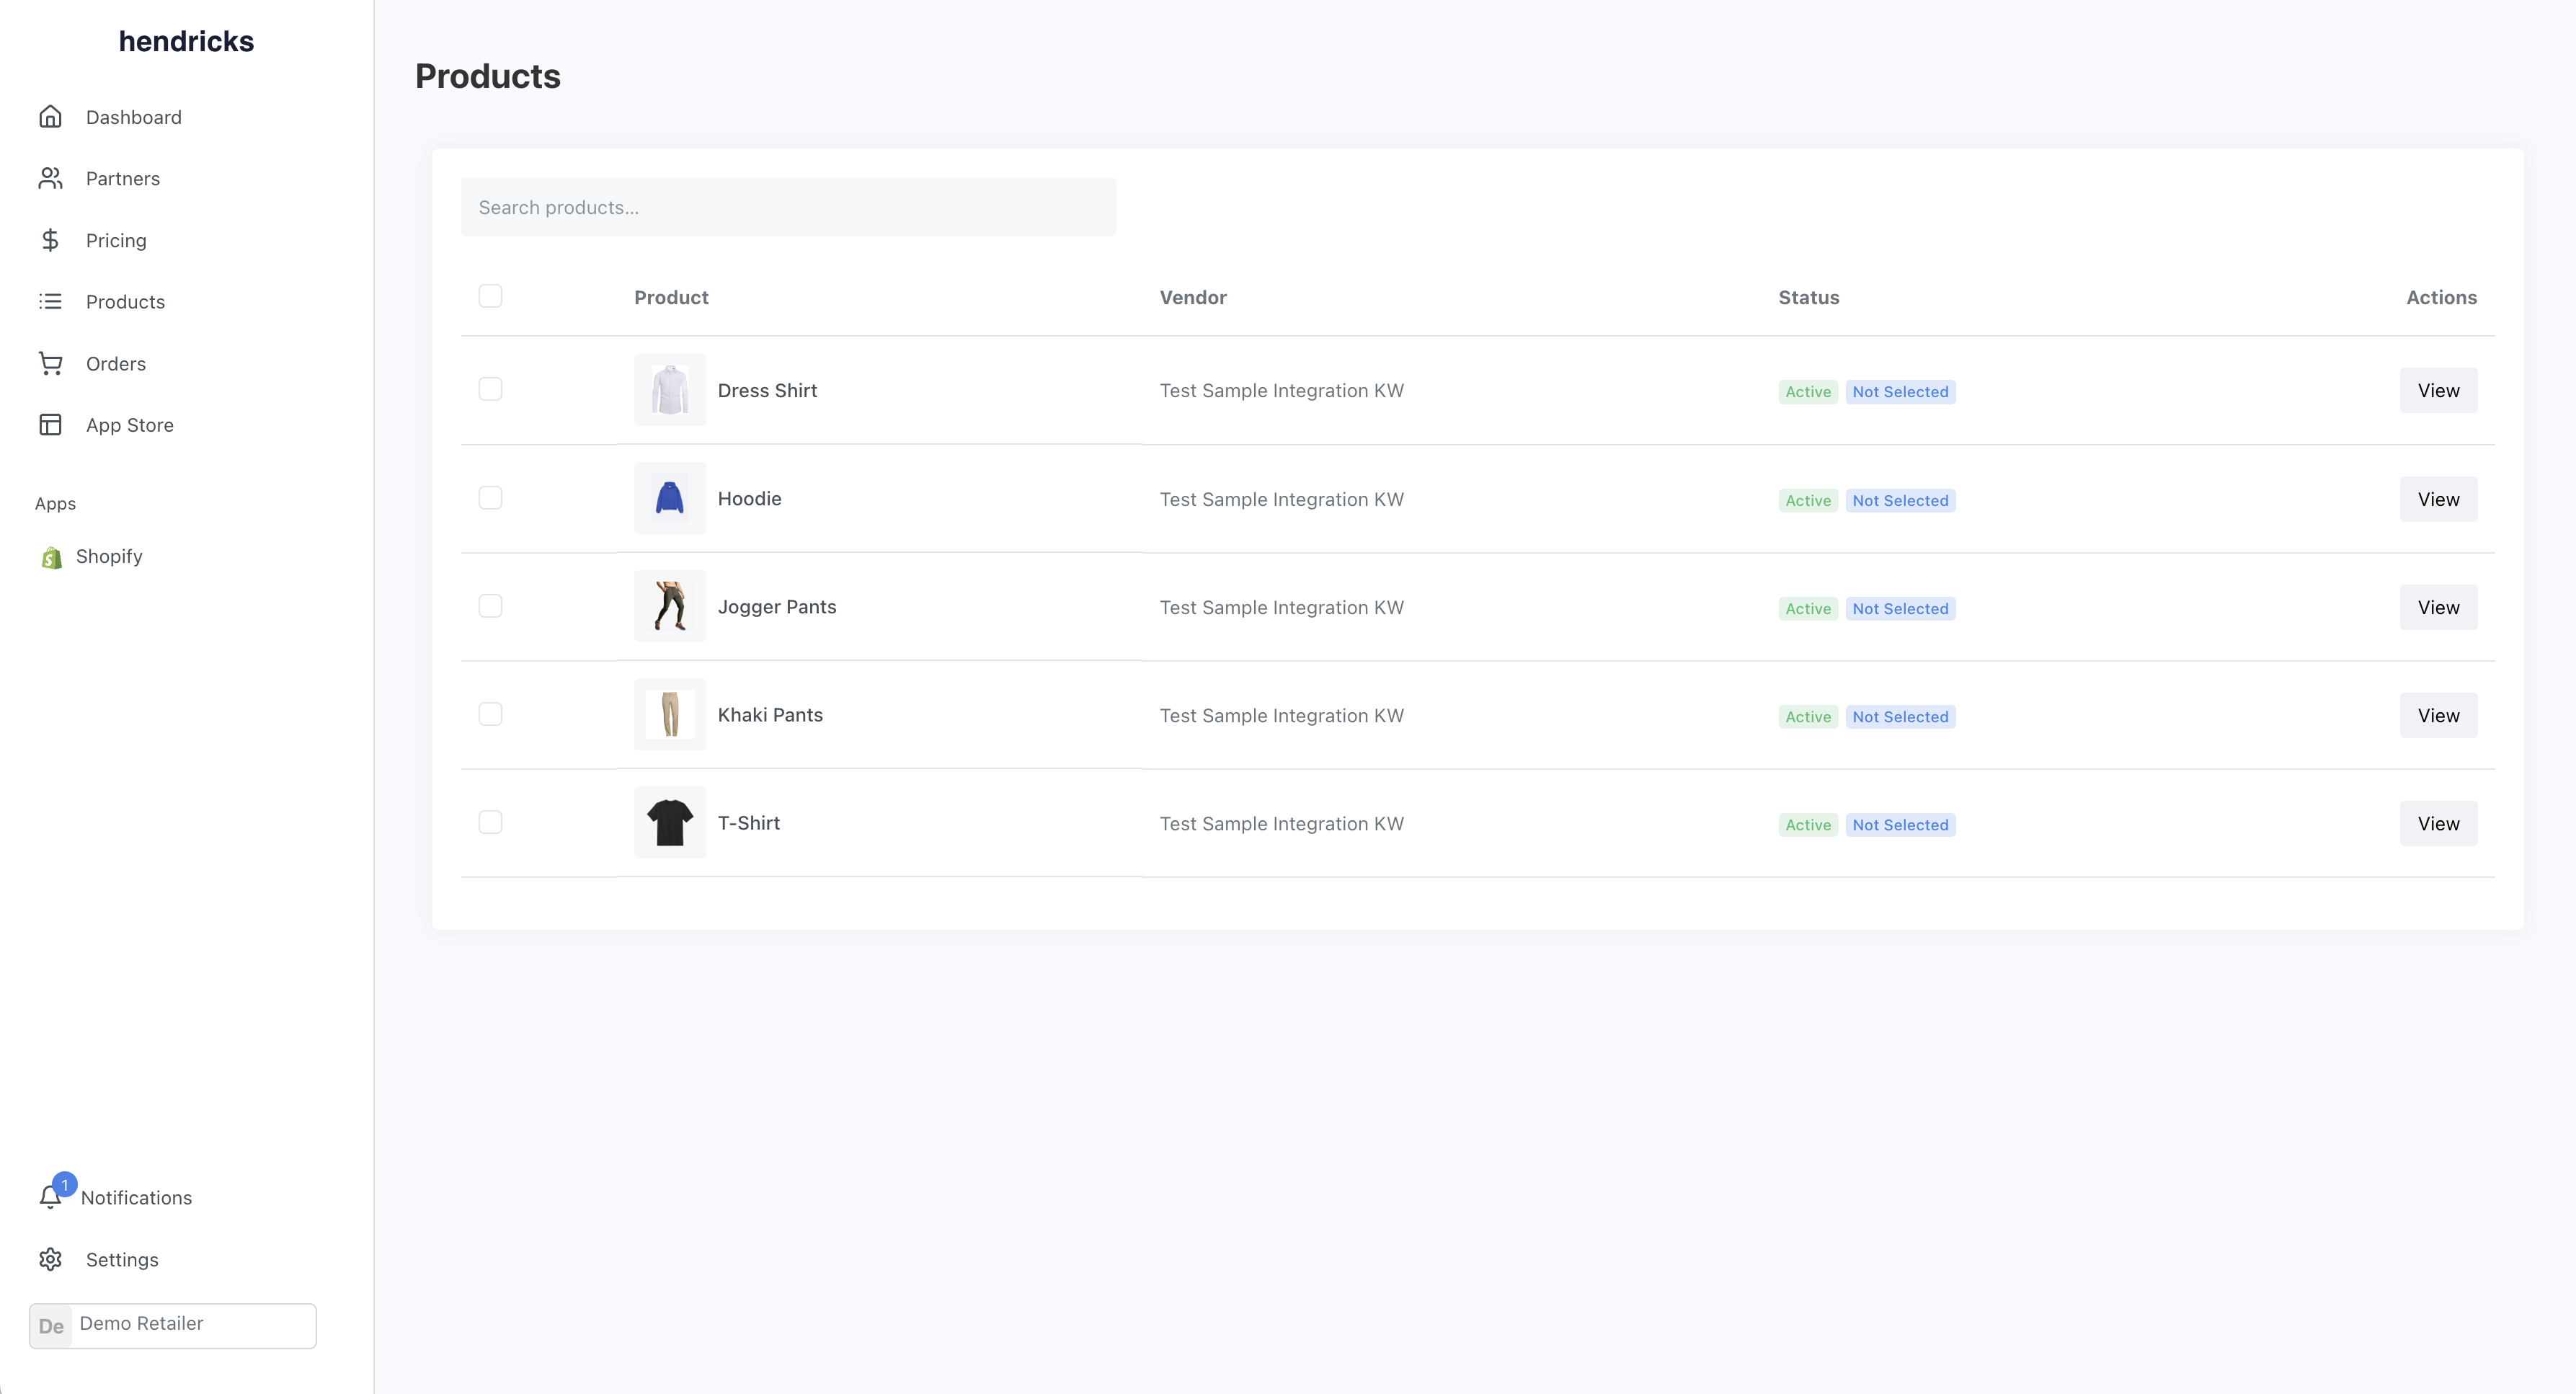
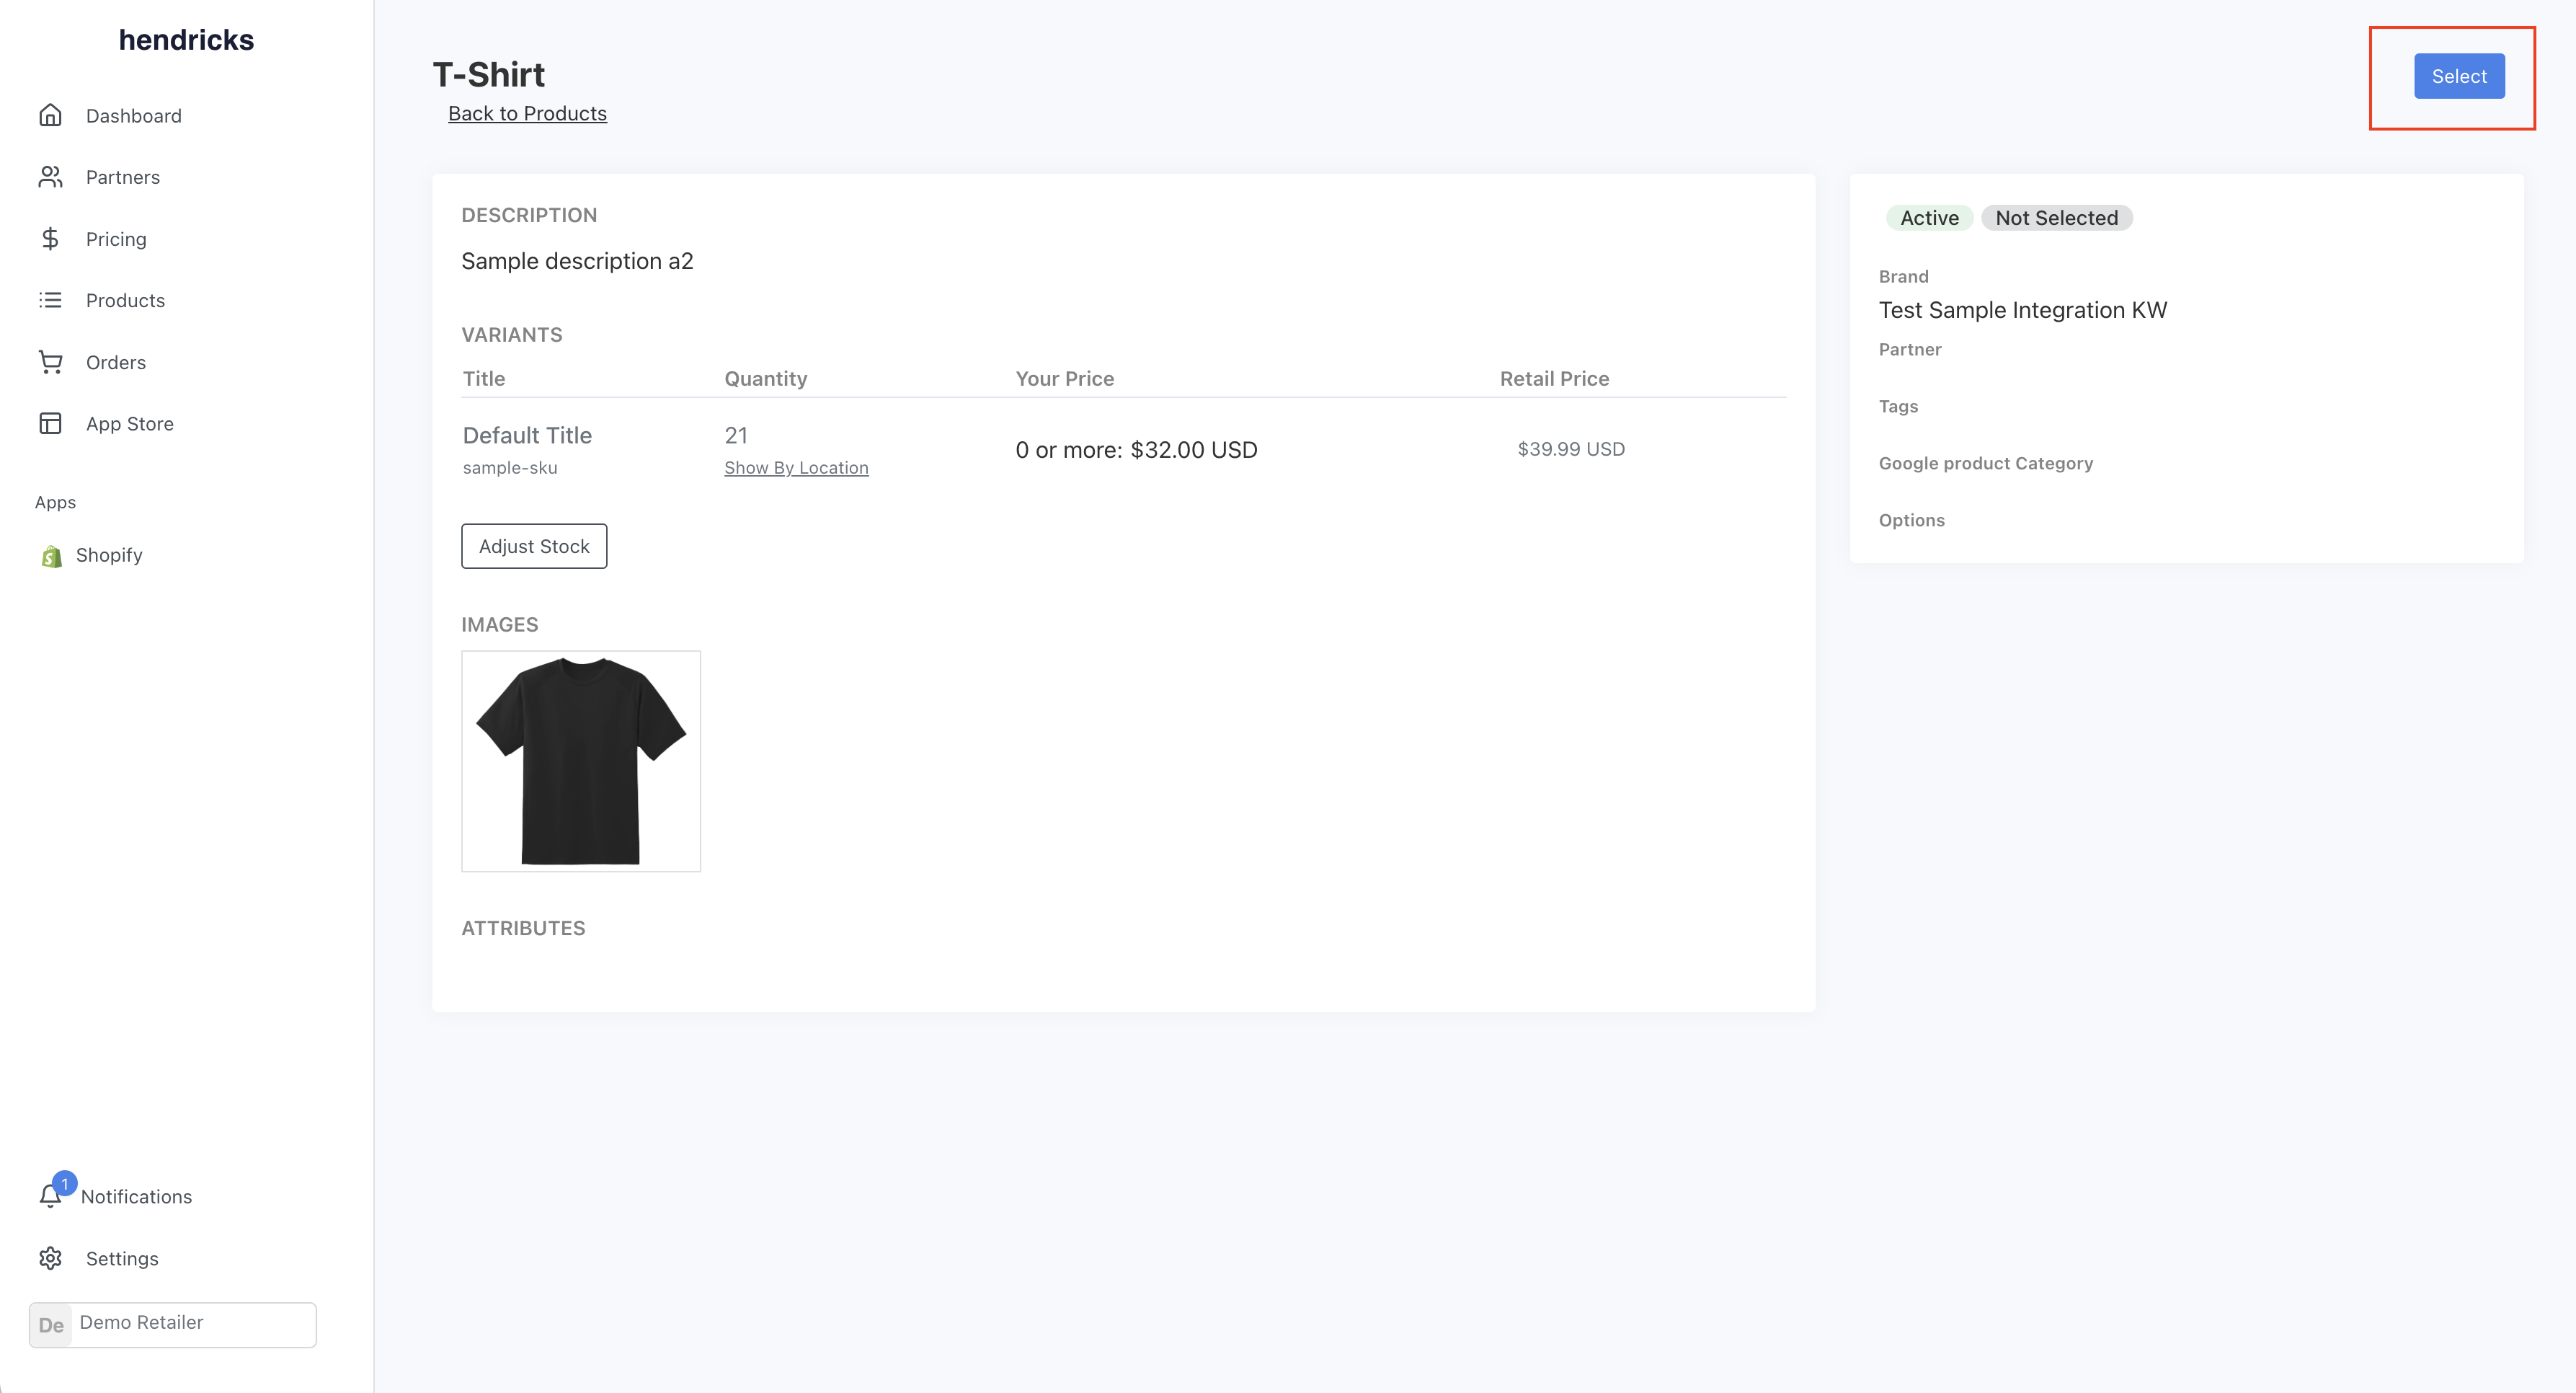
Step 12: Select Products
You should now be able to see the supplier products on the products page. You can select the products you want to sell. They will be pushed to your Shopify store.
Conclusion
With that, you have successfully connected two Shopify stores as trading partners. Inventory, orders, products and fulfillment data will sync automatically. If you have any questions, feel free to reach out to our support team.