Guides
How to Connect your Shopify Store with an EDI Retailer
In this guide, we will step through how to configure your Shopify store to work with a Retailer who uses Electronic Data Interchange (EDI). You do not need any existing experience with EDI to get this configured. Our team is here to help you through the EDI process, and make sure you are successful. You will just need to connect your Shopify store to Hendricks, get the EDI guide documents, and we will handle the rest.
Our goal is to allow you to continue to use Shopify (or linked platforms) as your primary interface for managing your store. We simpy act as the translation layer between the Retailer and Shopify.
Step 1: Sign up for a Hendricks Account
Sign up for a Hendricks account. You will go through the onboarding process, and begin setting up your account. You will provide your organization name. You can invite team members to join the same organization at no additional cost. Next, you will provide a credit card for billing, and see the end date of your free trail.

Next, you will be moved into the onboarding flow. The first step is to provide more details about your use case. This helps us match you with the best apps for your success.

You will then select the Pro plan. This is required for access to use the EDI features. Feel free to reach out about the Enterprise plan.

Step 2: Setup Shopify
Once you've selected your plan, you should see the Apps page for onboarding. The suggestions will be based on what was selected within the use cases. You will also be able to search for specific apps. All of this is also accessible through the app store page.

Install the Shopify app by clicking on the "Install" button. Then hit "Next" at the bottom. You will see the Shopify configuration page. You will need to provide your Shopify store ID, and an API key.
For the Shopify API key, you can follow the instructions here. There's detailed instructions and screenshots of each step. At a high level, you need to:
- Go to the Shopify Admin
- Open Settings from the Left Menu
- Click on Apps and Sales Channel
- Click on Develop Apps
- Click on Create App
- Fill in the App Name, and select an email.
- Click on Create App
- Open the Configuration tab after being redirected to the settings for this new app.
- Click on Configure Admin API integration.
- This app will require the permissions listed below. After selecting all of them hit save.
- Click on "Install app".
- Finally navigate to "API Credentials" tab within the app settings.
- Reveal the Admin API Access Token, and copy it into Hendricks.
1 2 3 4 5 6 7 8 9 10 11 12 13 14 15 16 17 18 19 20write_orders read_orders write_products read_products read_locations write_locations write_inventory read_inventory write_assigned_fulfillment_orders read_assigned_fulfillment_orders write_fulfillments read_fulfillments write_third_party_fulfillment_orders read_third_party_fulfillment_orders

For the Shopify URL, you should be able to find it in your Shopify Admin URL, or in the top right corner of the Shopify Admin page. It should look like https://<store-name>.myshopify.com. The access token is the API key you copied from the Shopify Admin.
Finally the direction is either: Retailer, or Supplier. For this tutorial, select "Supplier". This means you are syncing products from Shopify to Hendricks, and receiving orders from Hendricks to Shopify. After inputting all values, click on "Next".
Step 3: Invoicing
We make it easy to invoice partners for individual purchase orders. With most use cases, once you fulfill the order, it will automatically invoice the retailer for that order. For now, simply select "Disabled" for invoicing. This can be adjust later depending if the retailer supports Invoice EDI documents (810).

Step 4: Pricing Products & Partnerships
Once again, just skip this step for now. Navigate to the end of the onboarding flow by clicking "Next".


You've setup your Shopify store with Hendricks. Now you can begin to manage your products, and receive orders from the Retailer.
Step 5: Install EDI
For the rest of this guide, we are going to install the Demo EDI app. You do not need to do this, but this highlights a simple EDI flow. Just book some time with our team, and we can go over the details of the EDI flow. We will conifgure a custom application for this retailer.
In terms of the demo app, navigate over to the App Store on the left menu. Search and install the Demo EDI app.


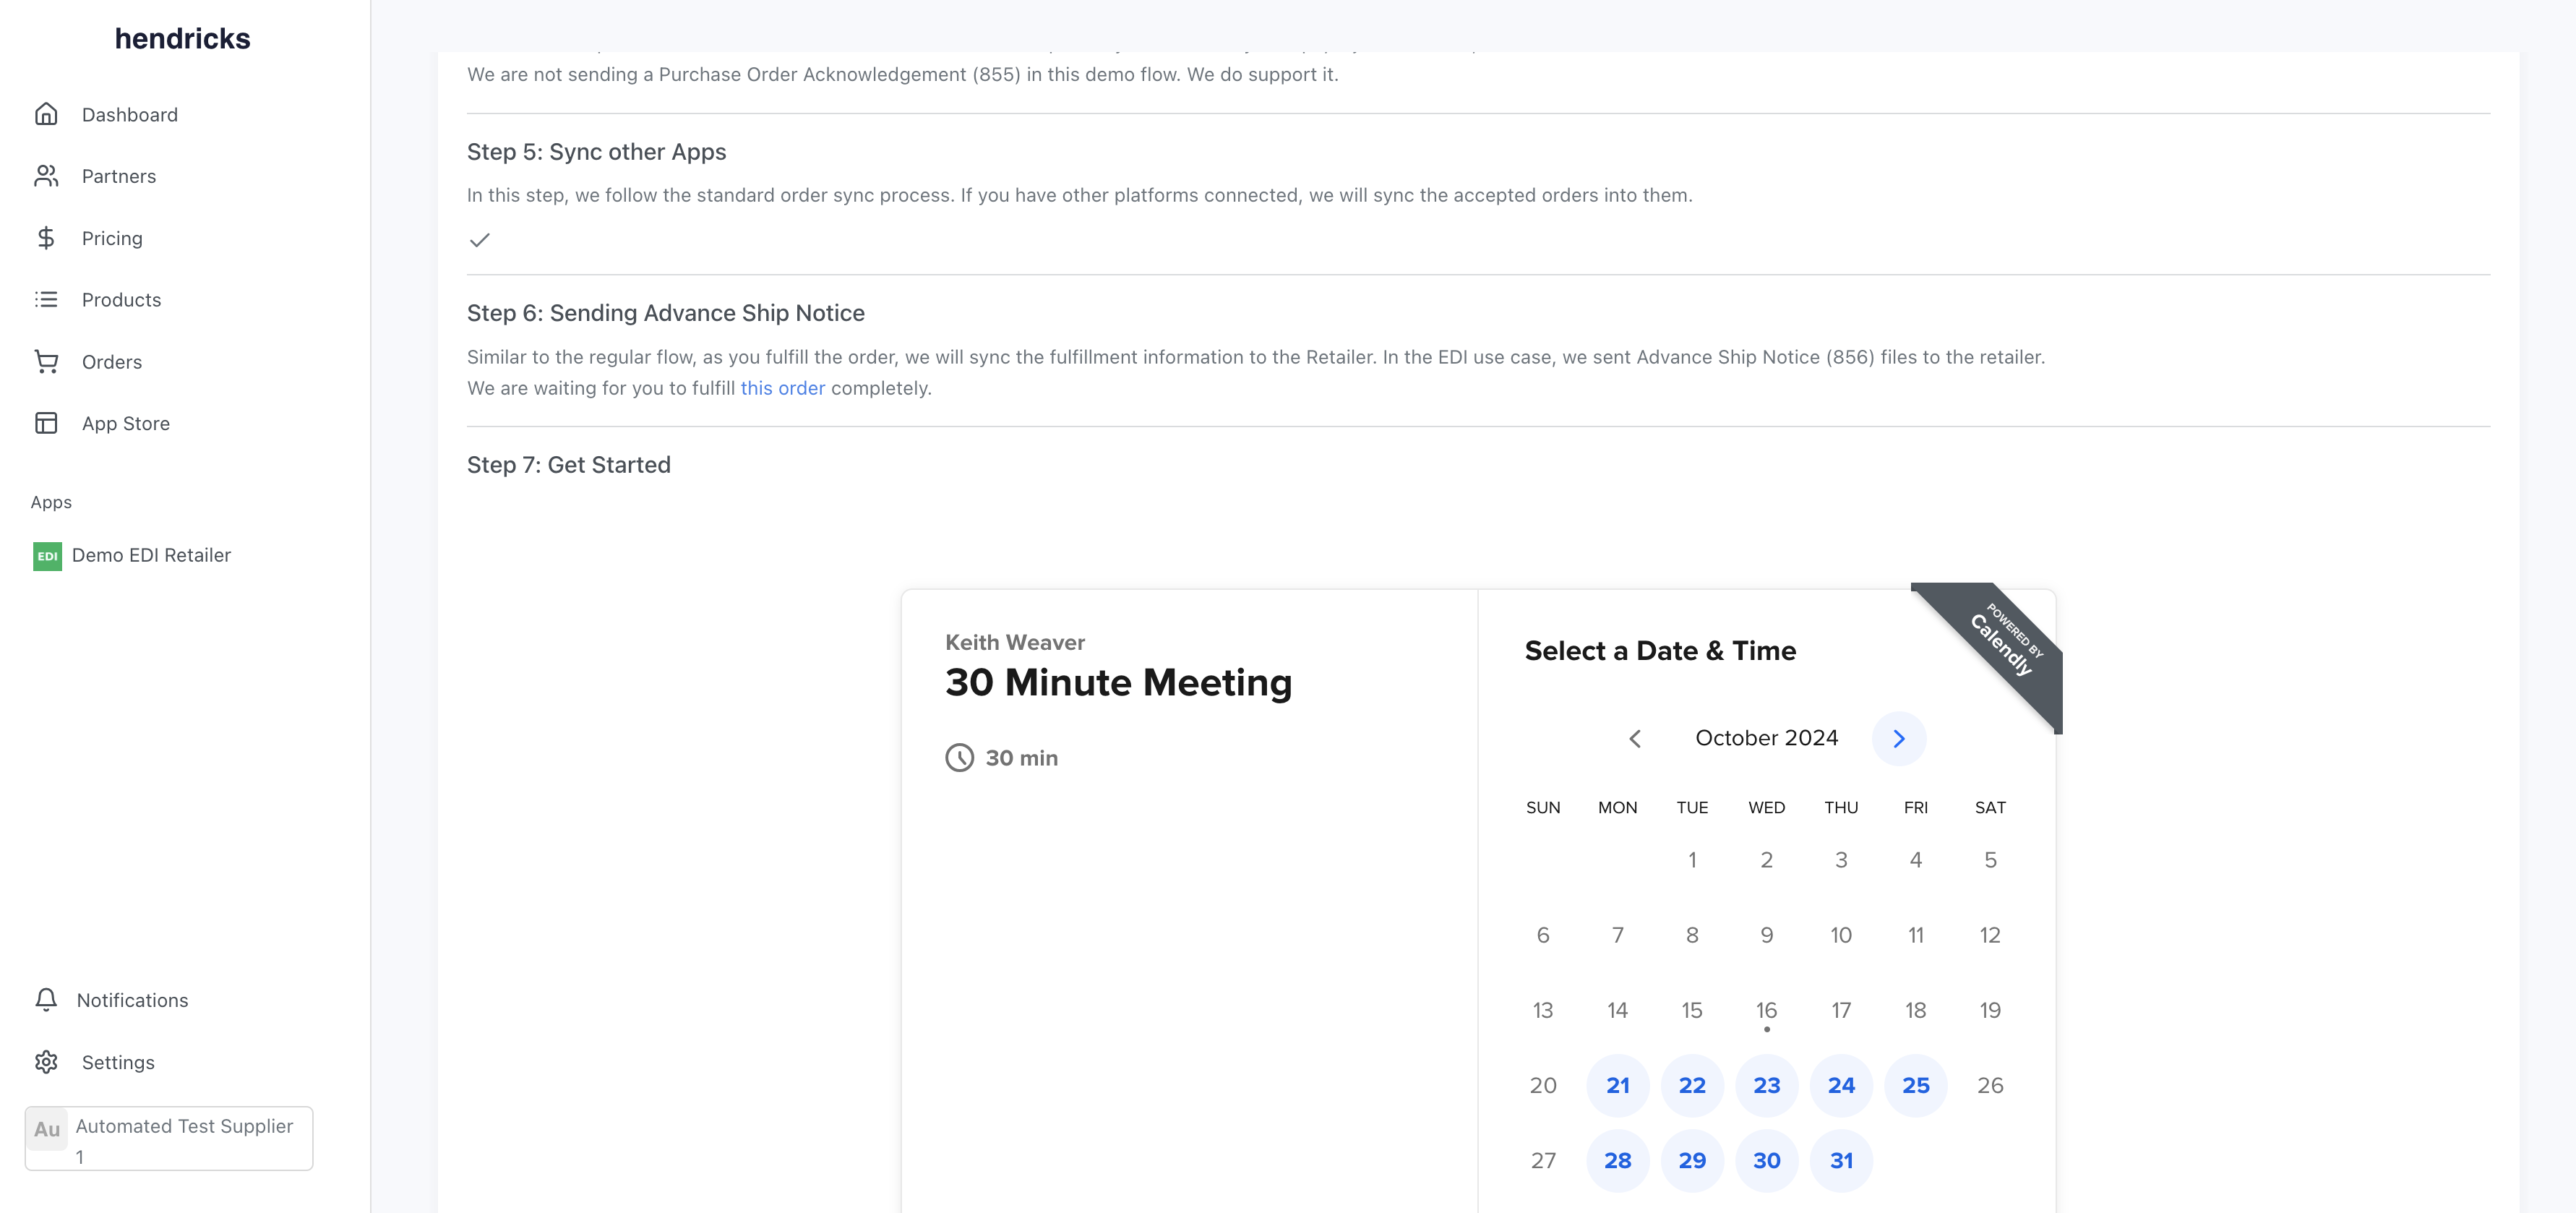
We will step through the testing flow for EDI. The first step was configuring a SFTP user. Next, you need to assign pricing to the "Demo EDI" partner. This would represent the retailer.


Next, you can create a test order. We will generate a Purchase Order (850) EDI document to be ingested. Add a few line items to the order, enter a shipping address, and then click on "Finish Order".


We will place the order on the Retailer's behalf. This will generate an EDI document, and send it to the SFTP server. We will then ingest the document, and create a new order in Hendricks.
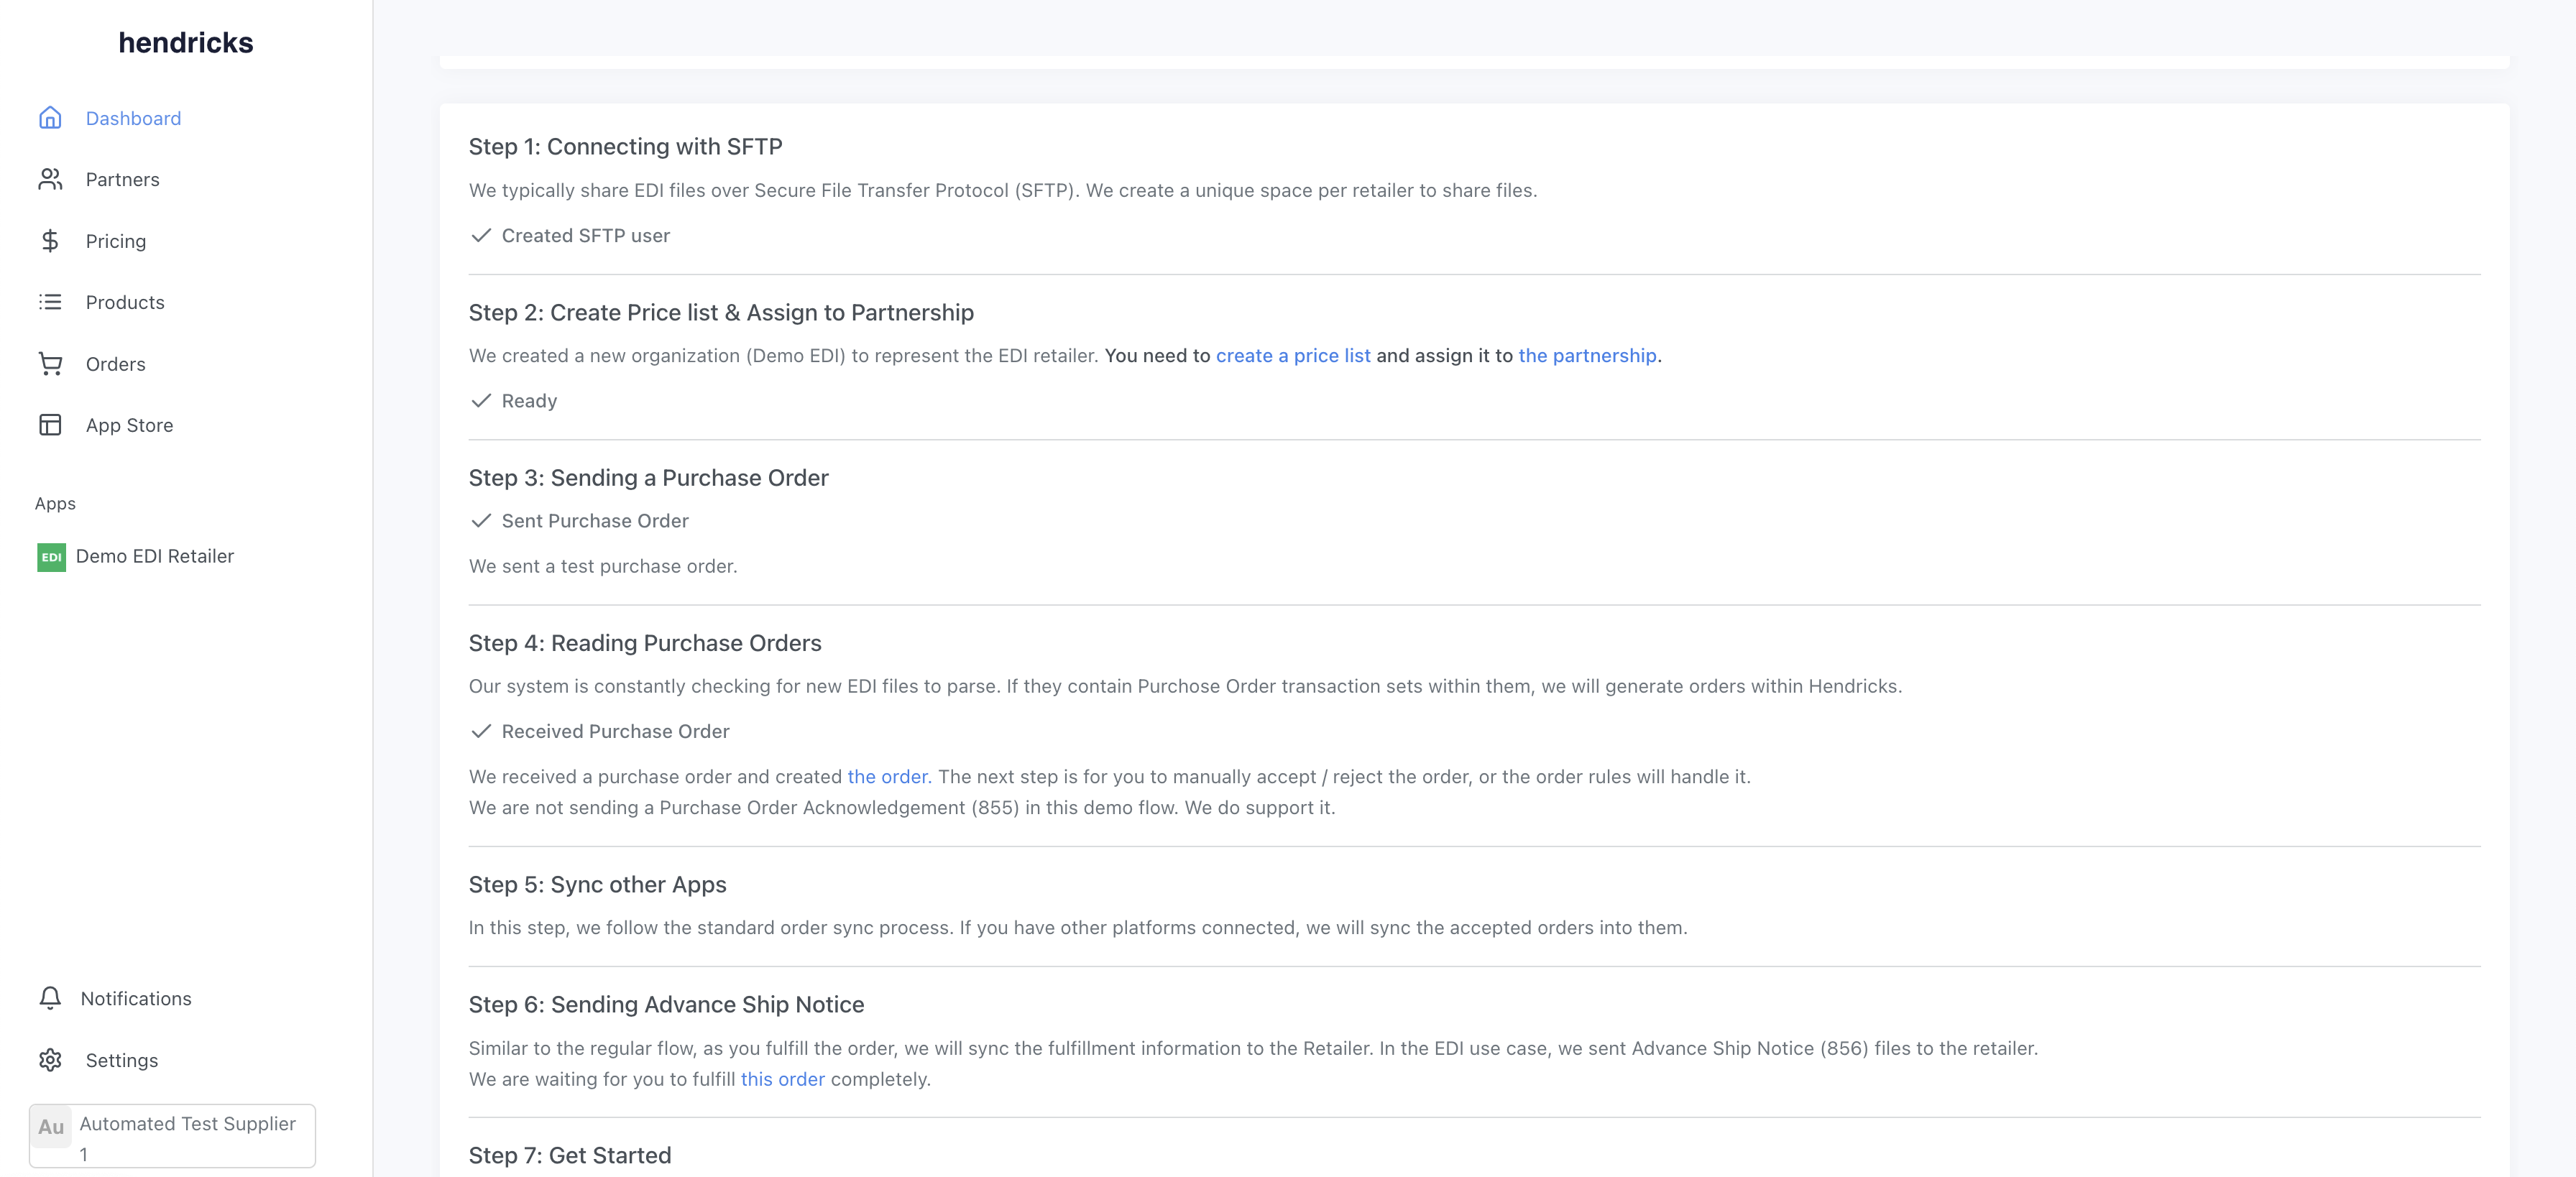
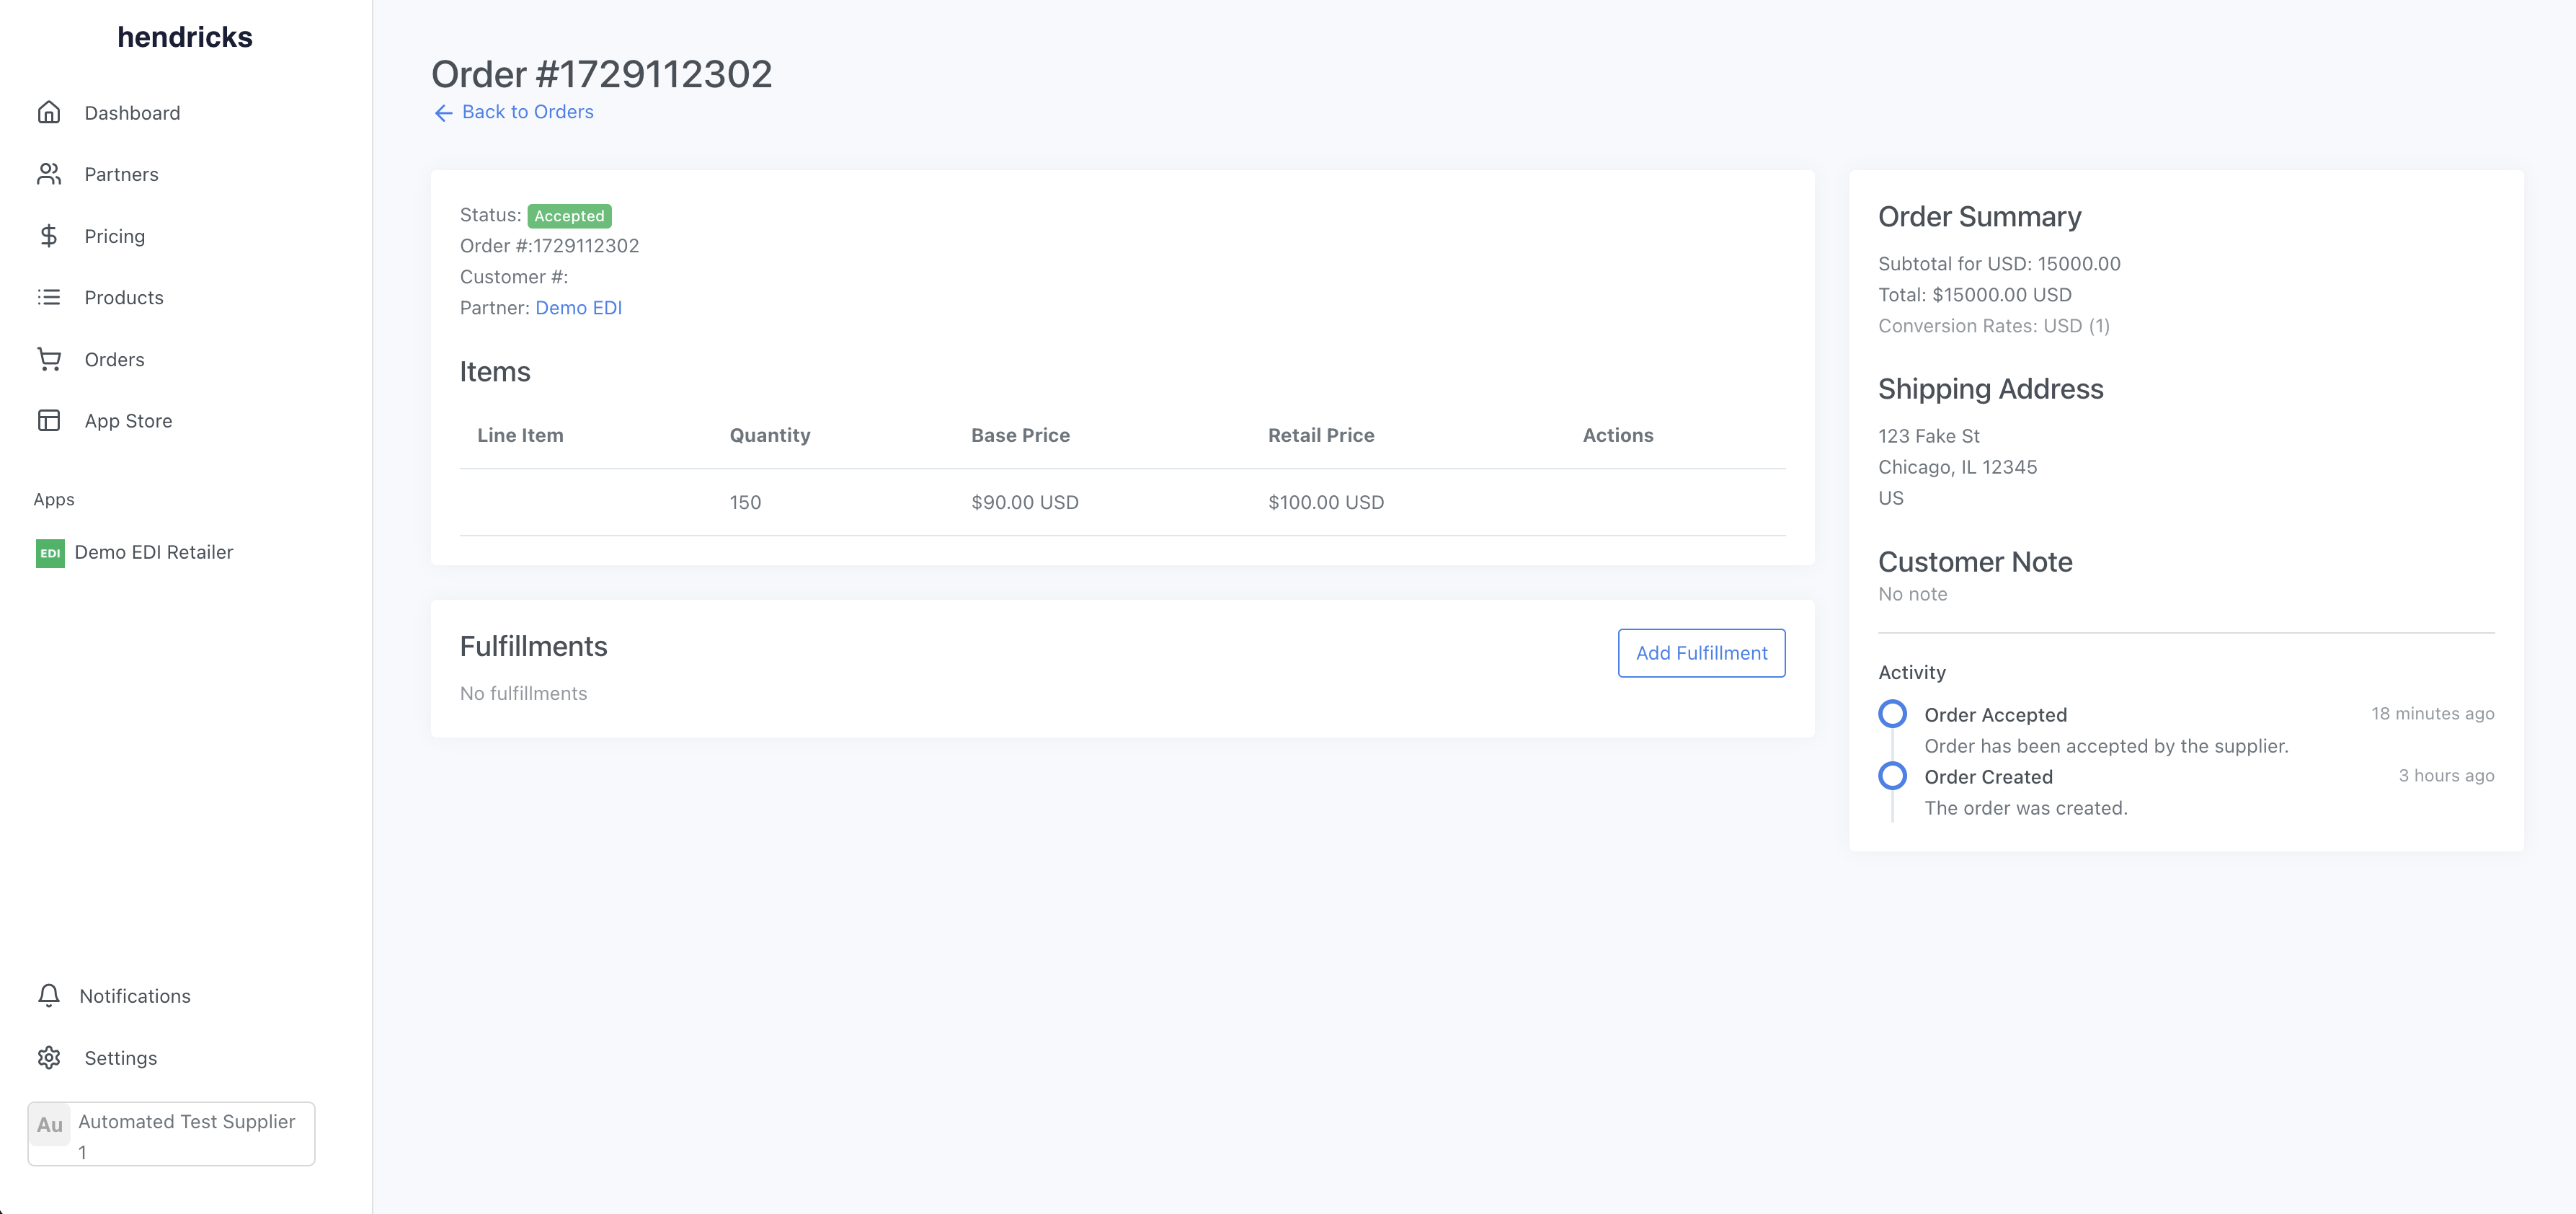
You can see that the EDI document was ingested, and the order was created. Orders will start in a pending state, and based on the Order Rules either move to accepted, rejected, or require manual review. Once accepted, the order will be sent to your Shopify store.
You can now fulfill the order, and ship the products to the Retailer. Since this is a test, just create the fulfillment in your Shopify store. We will sync this fulfillment into Hendricks. You can find it under Fulfillments on the order page. Back on the EDI testing page, you can see that we've convert the Fulfillment into Advance Ship Notice (856) document. This was sent to the Retailer.
Conclusion
That's the basic flow. We made a few assumptions in the demo:
- X12 4010 was the EDI Standard being followed.
- We skipped Purchase Order Acknowledgement (855) and Invoice (810) documents.
- We used internal IDs instead of barcodes (more standard).
- Generic EDI documents were used, and not custom ones.
We can help you with all of these. Just book some time with our team, and we can go over the details of the EDI flow. We will conifgure a custom application for this retailer.